jessicaruthb
probably watching jeopardy

  • My first top! I decided to keep it simple by choosing a beginner-friendly pattern that is similar to something I already have in my closet.

    This project is step one in a larger effort to become more comfortable wearing color and pattern. With this project I’ve chosen a fabric in a color I am already comfortable wearing, but is slightly more vivid and has a bit more texture than what I would typically choose.

    Figuring out what size to make was a bit of a guessing game. The pattern suggests choosing your size based on your bust measurement, so looking at their size chart I initially thought I would make a medium. However, the finished garment measurements show that the finished bust dimension for the size small ends up being 1″ smaller than my actual bust measurement. Luckily the pattern included a note on fit that says if you’re between sizes you can size down, so that’s what I did.
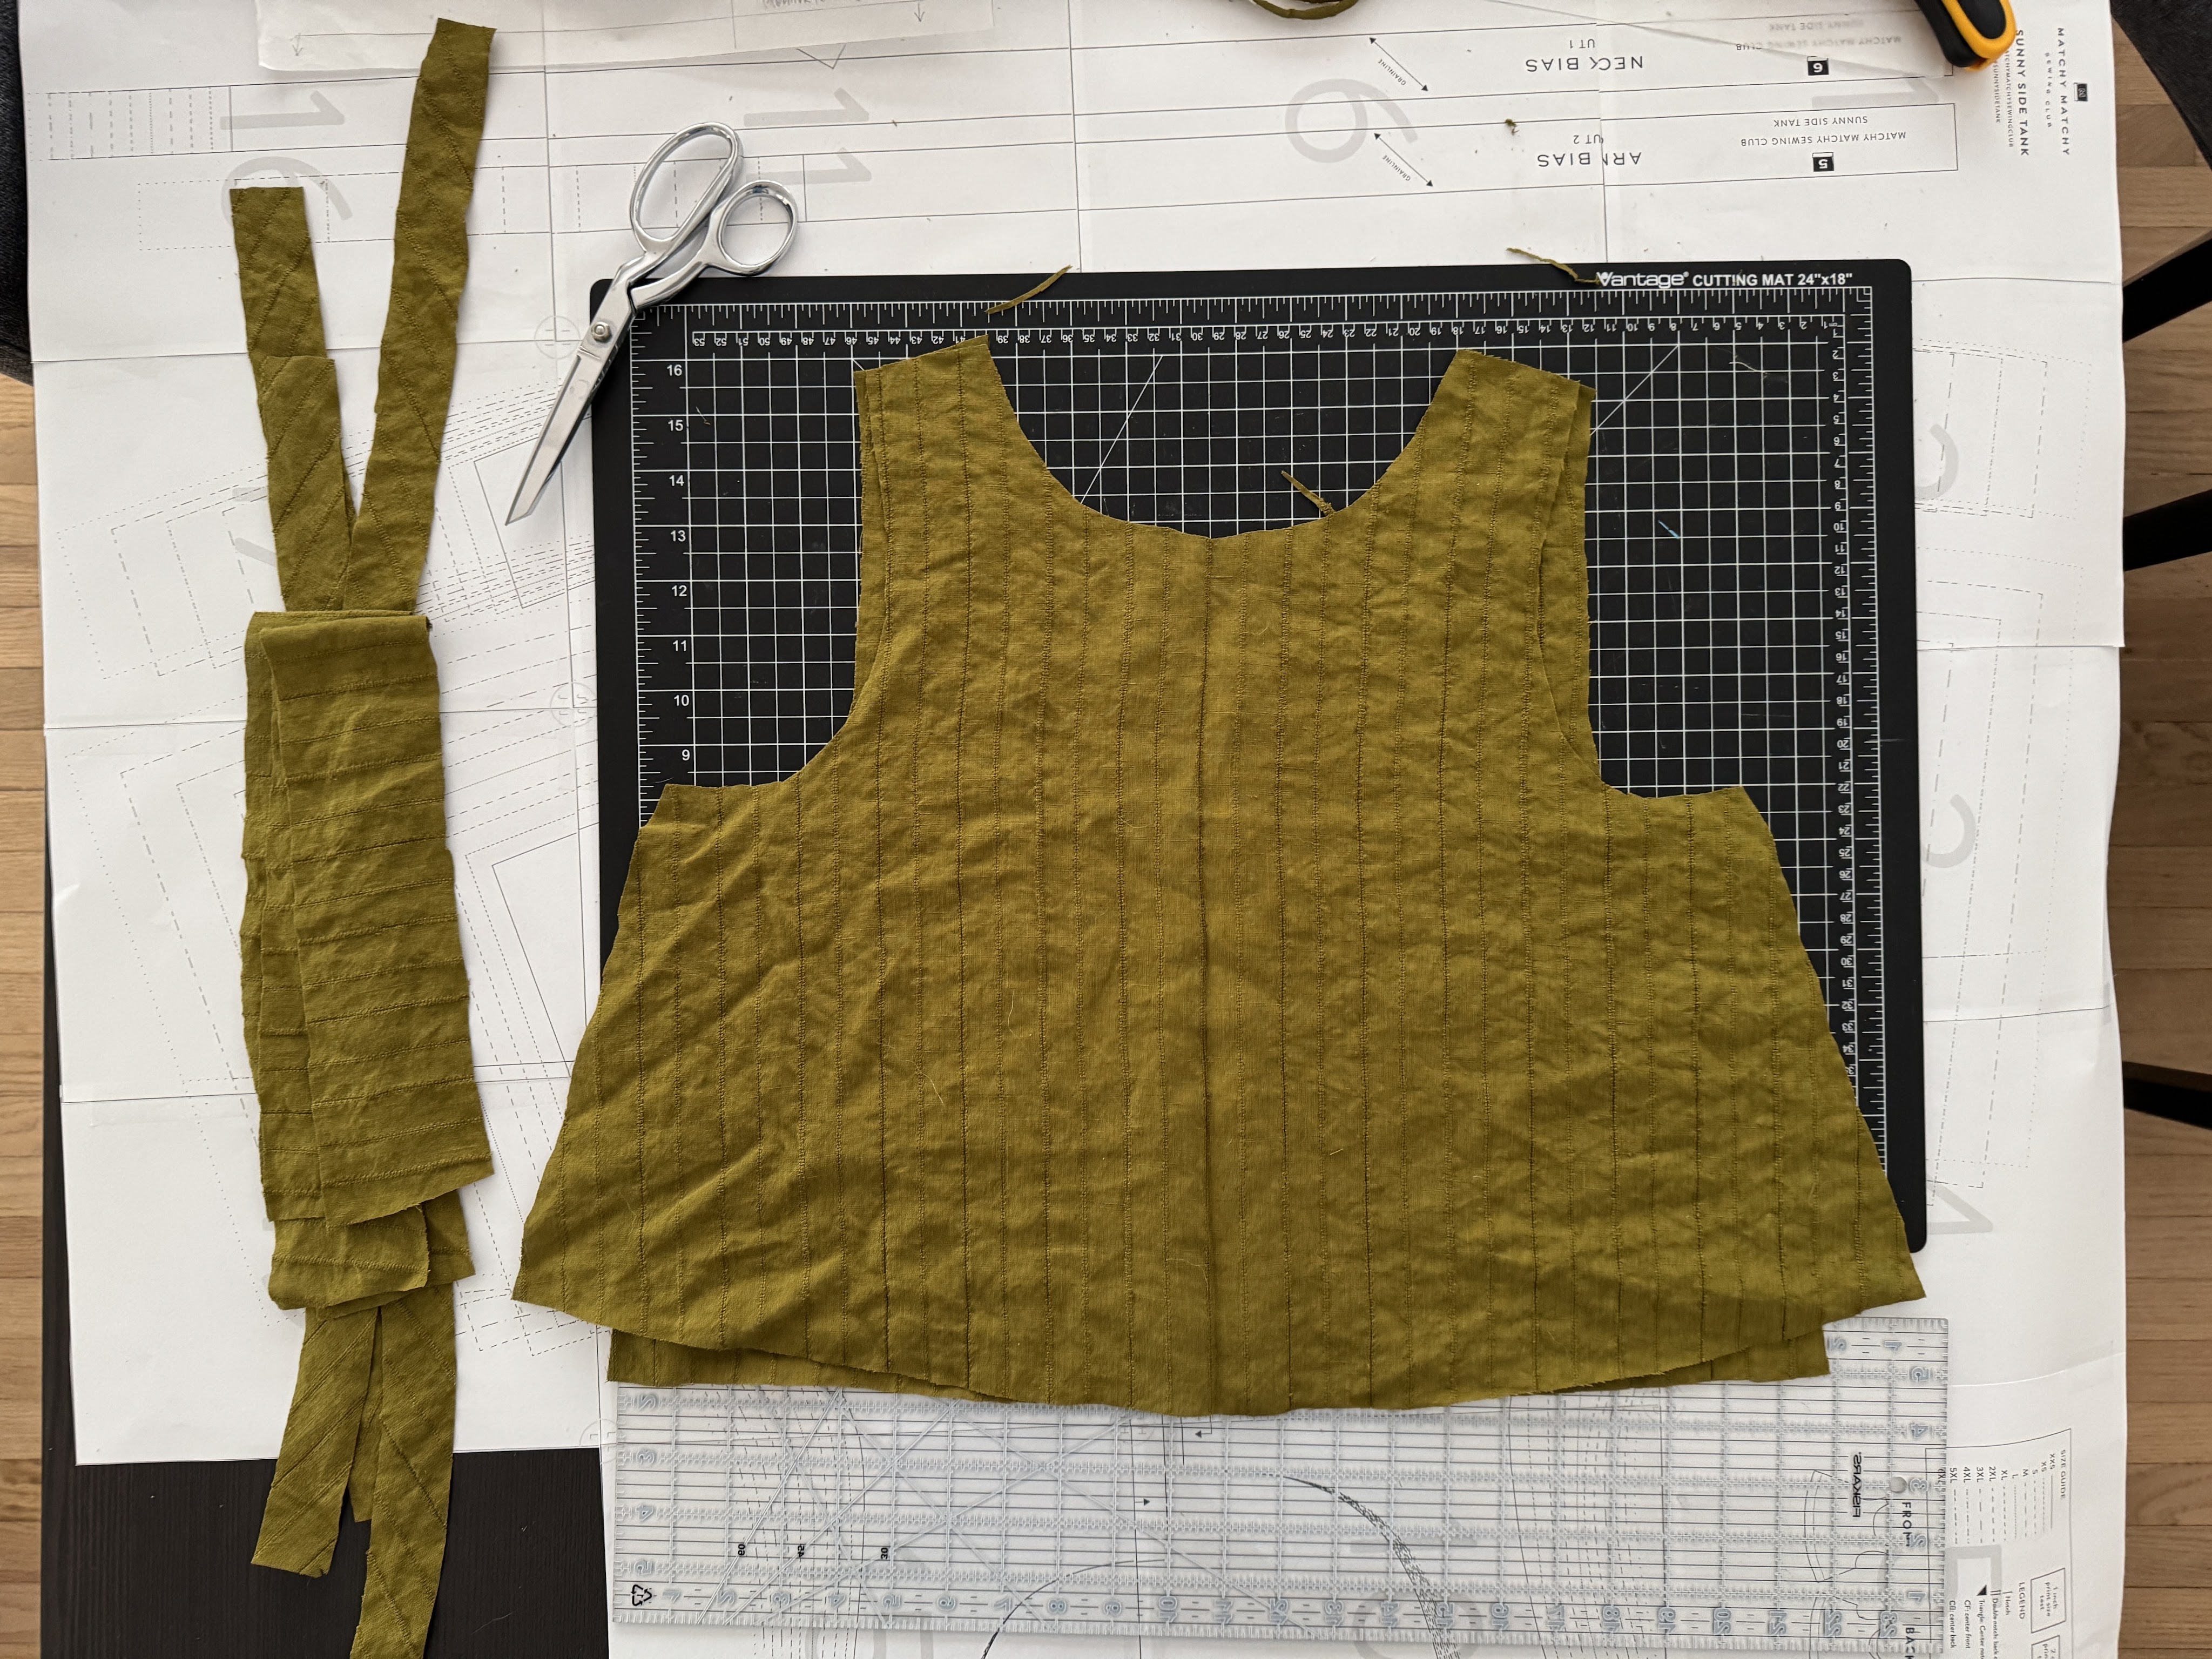
    pattern pieces cut out

    Aside from the bias tape, all of the pattern pieces were cut on the fold. I made sure to press the fabric along one of the vertical lines to ensure it would be centered nicely on both to front and back sides.
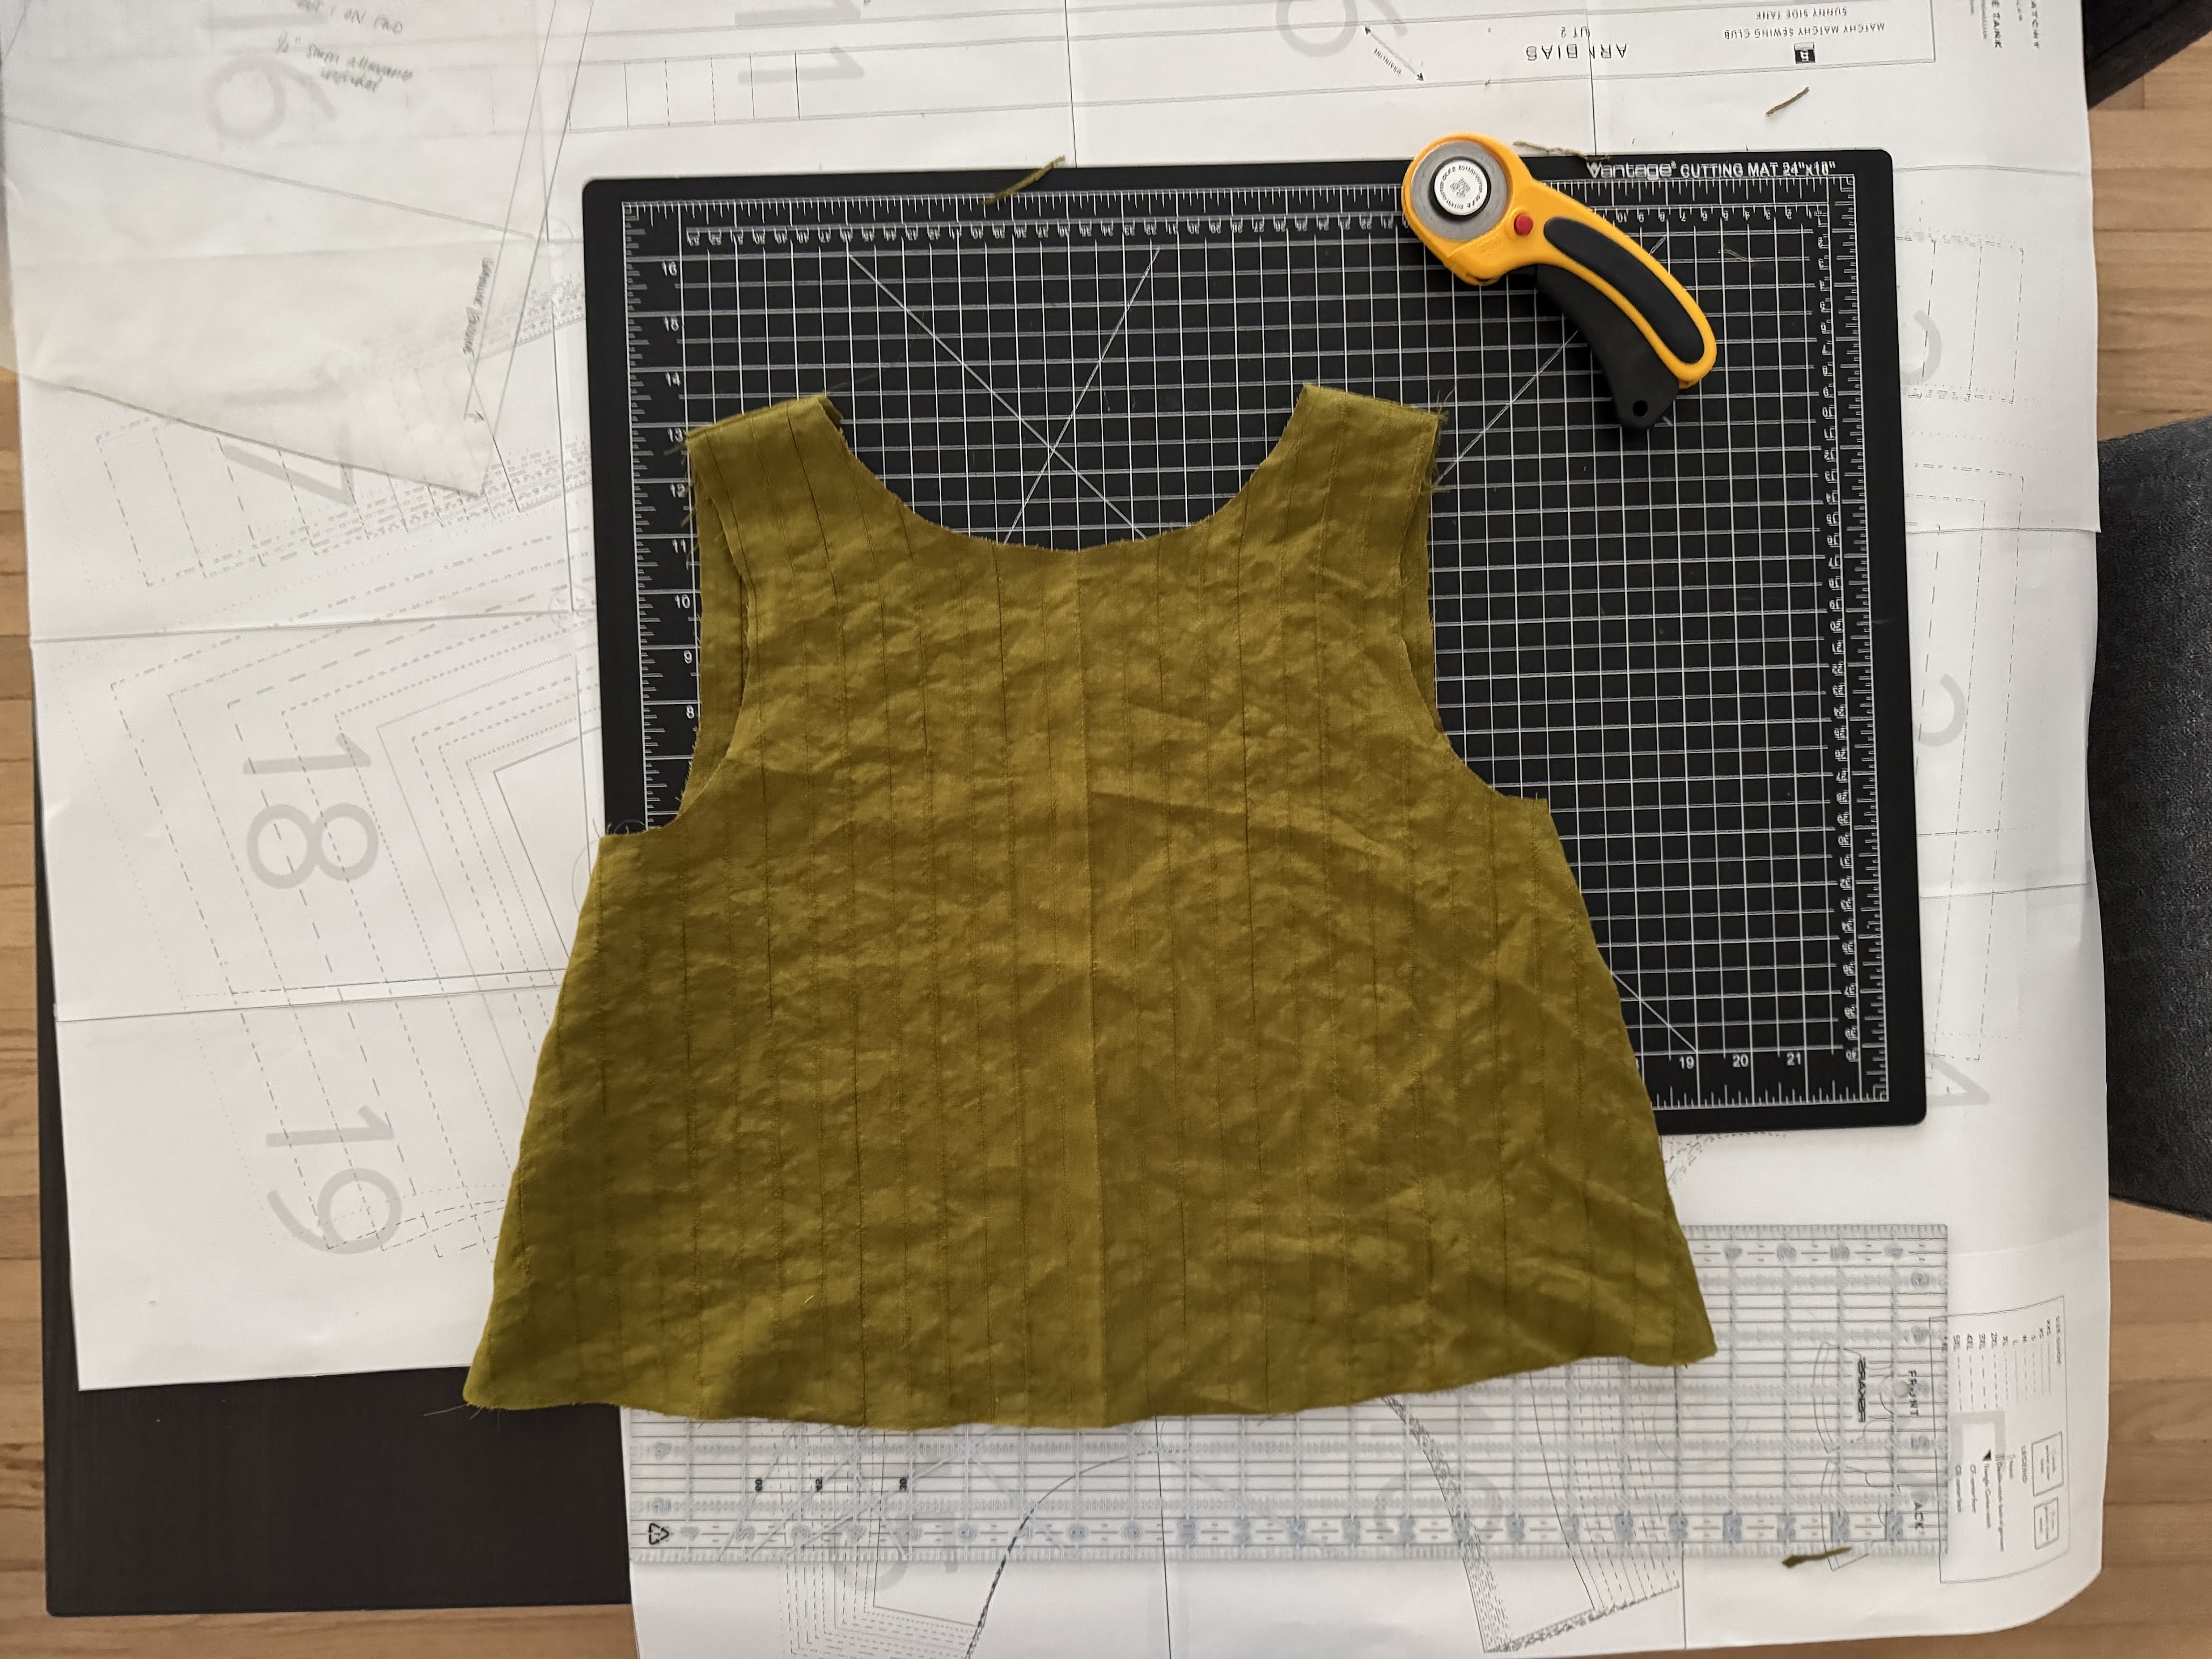
    immediately after stitching the shoulder and side seams

    Two terms I had to immediately look up were staystitch and understitch. Understanding what a staystitch was was easy enough, but I definitely had to watch a few videos to grasp the understitch.
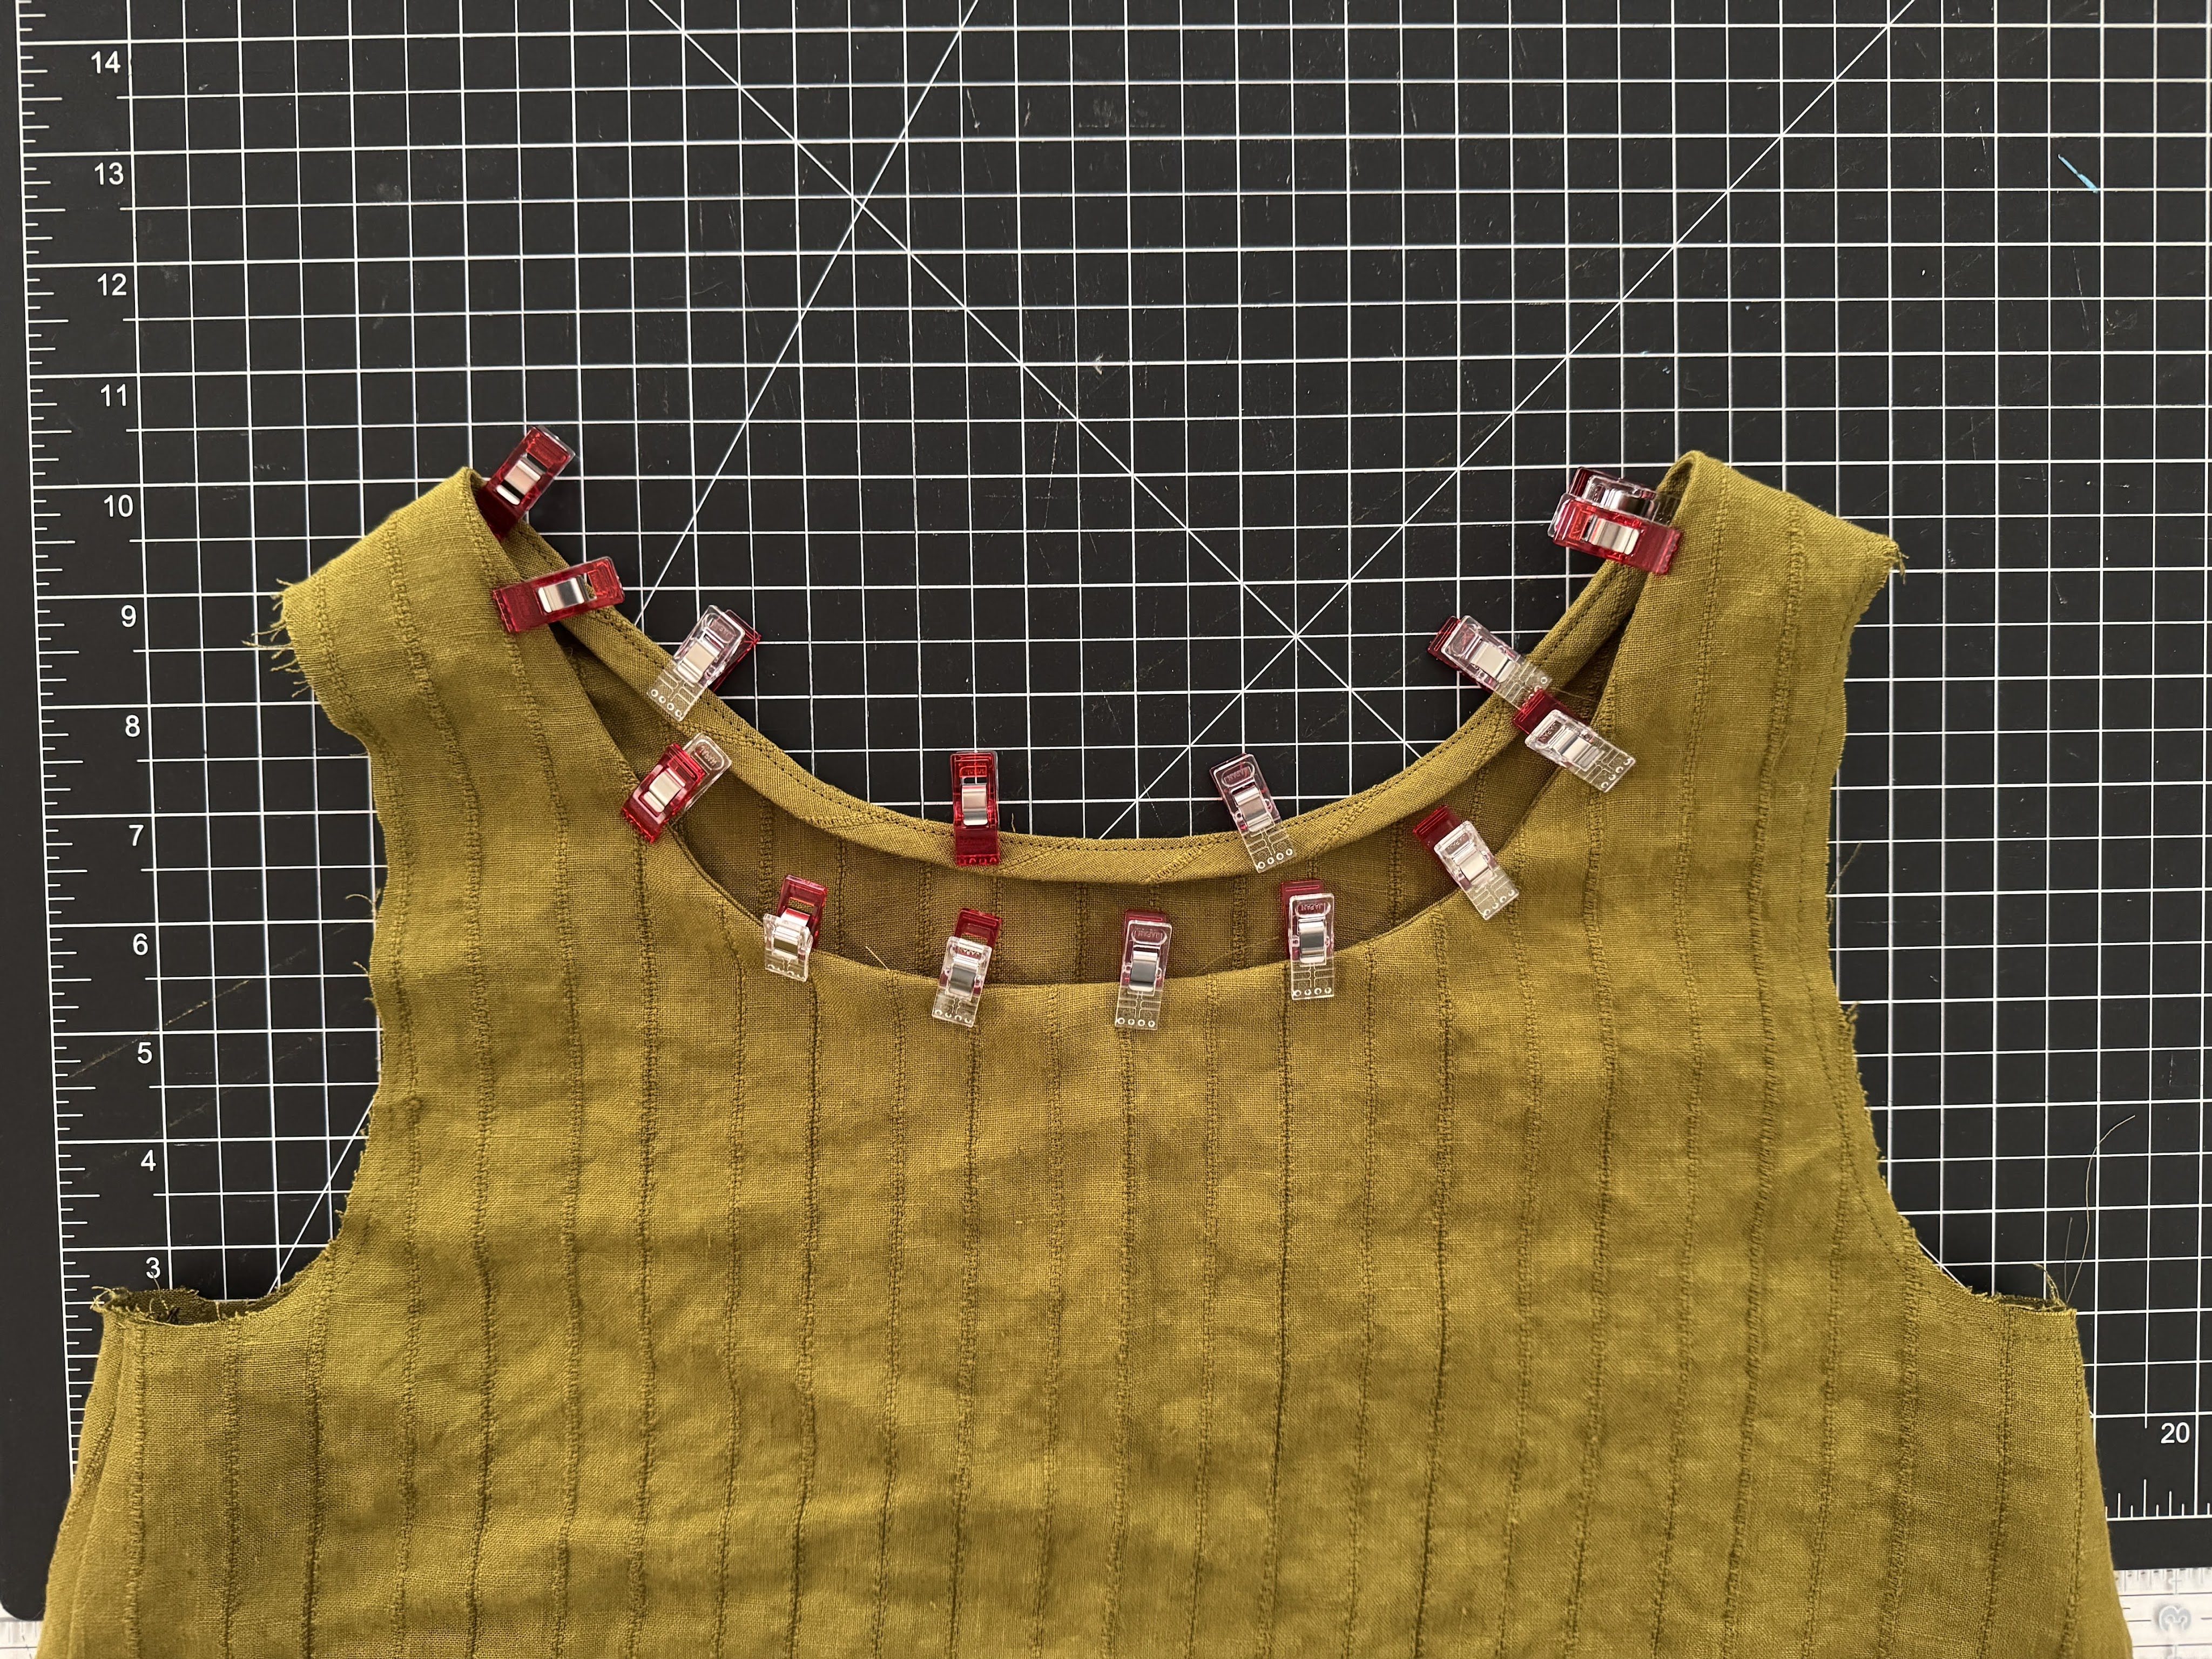
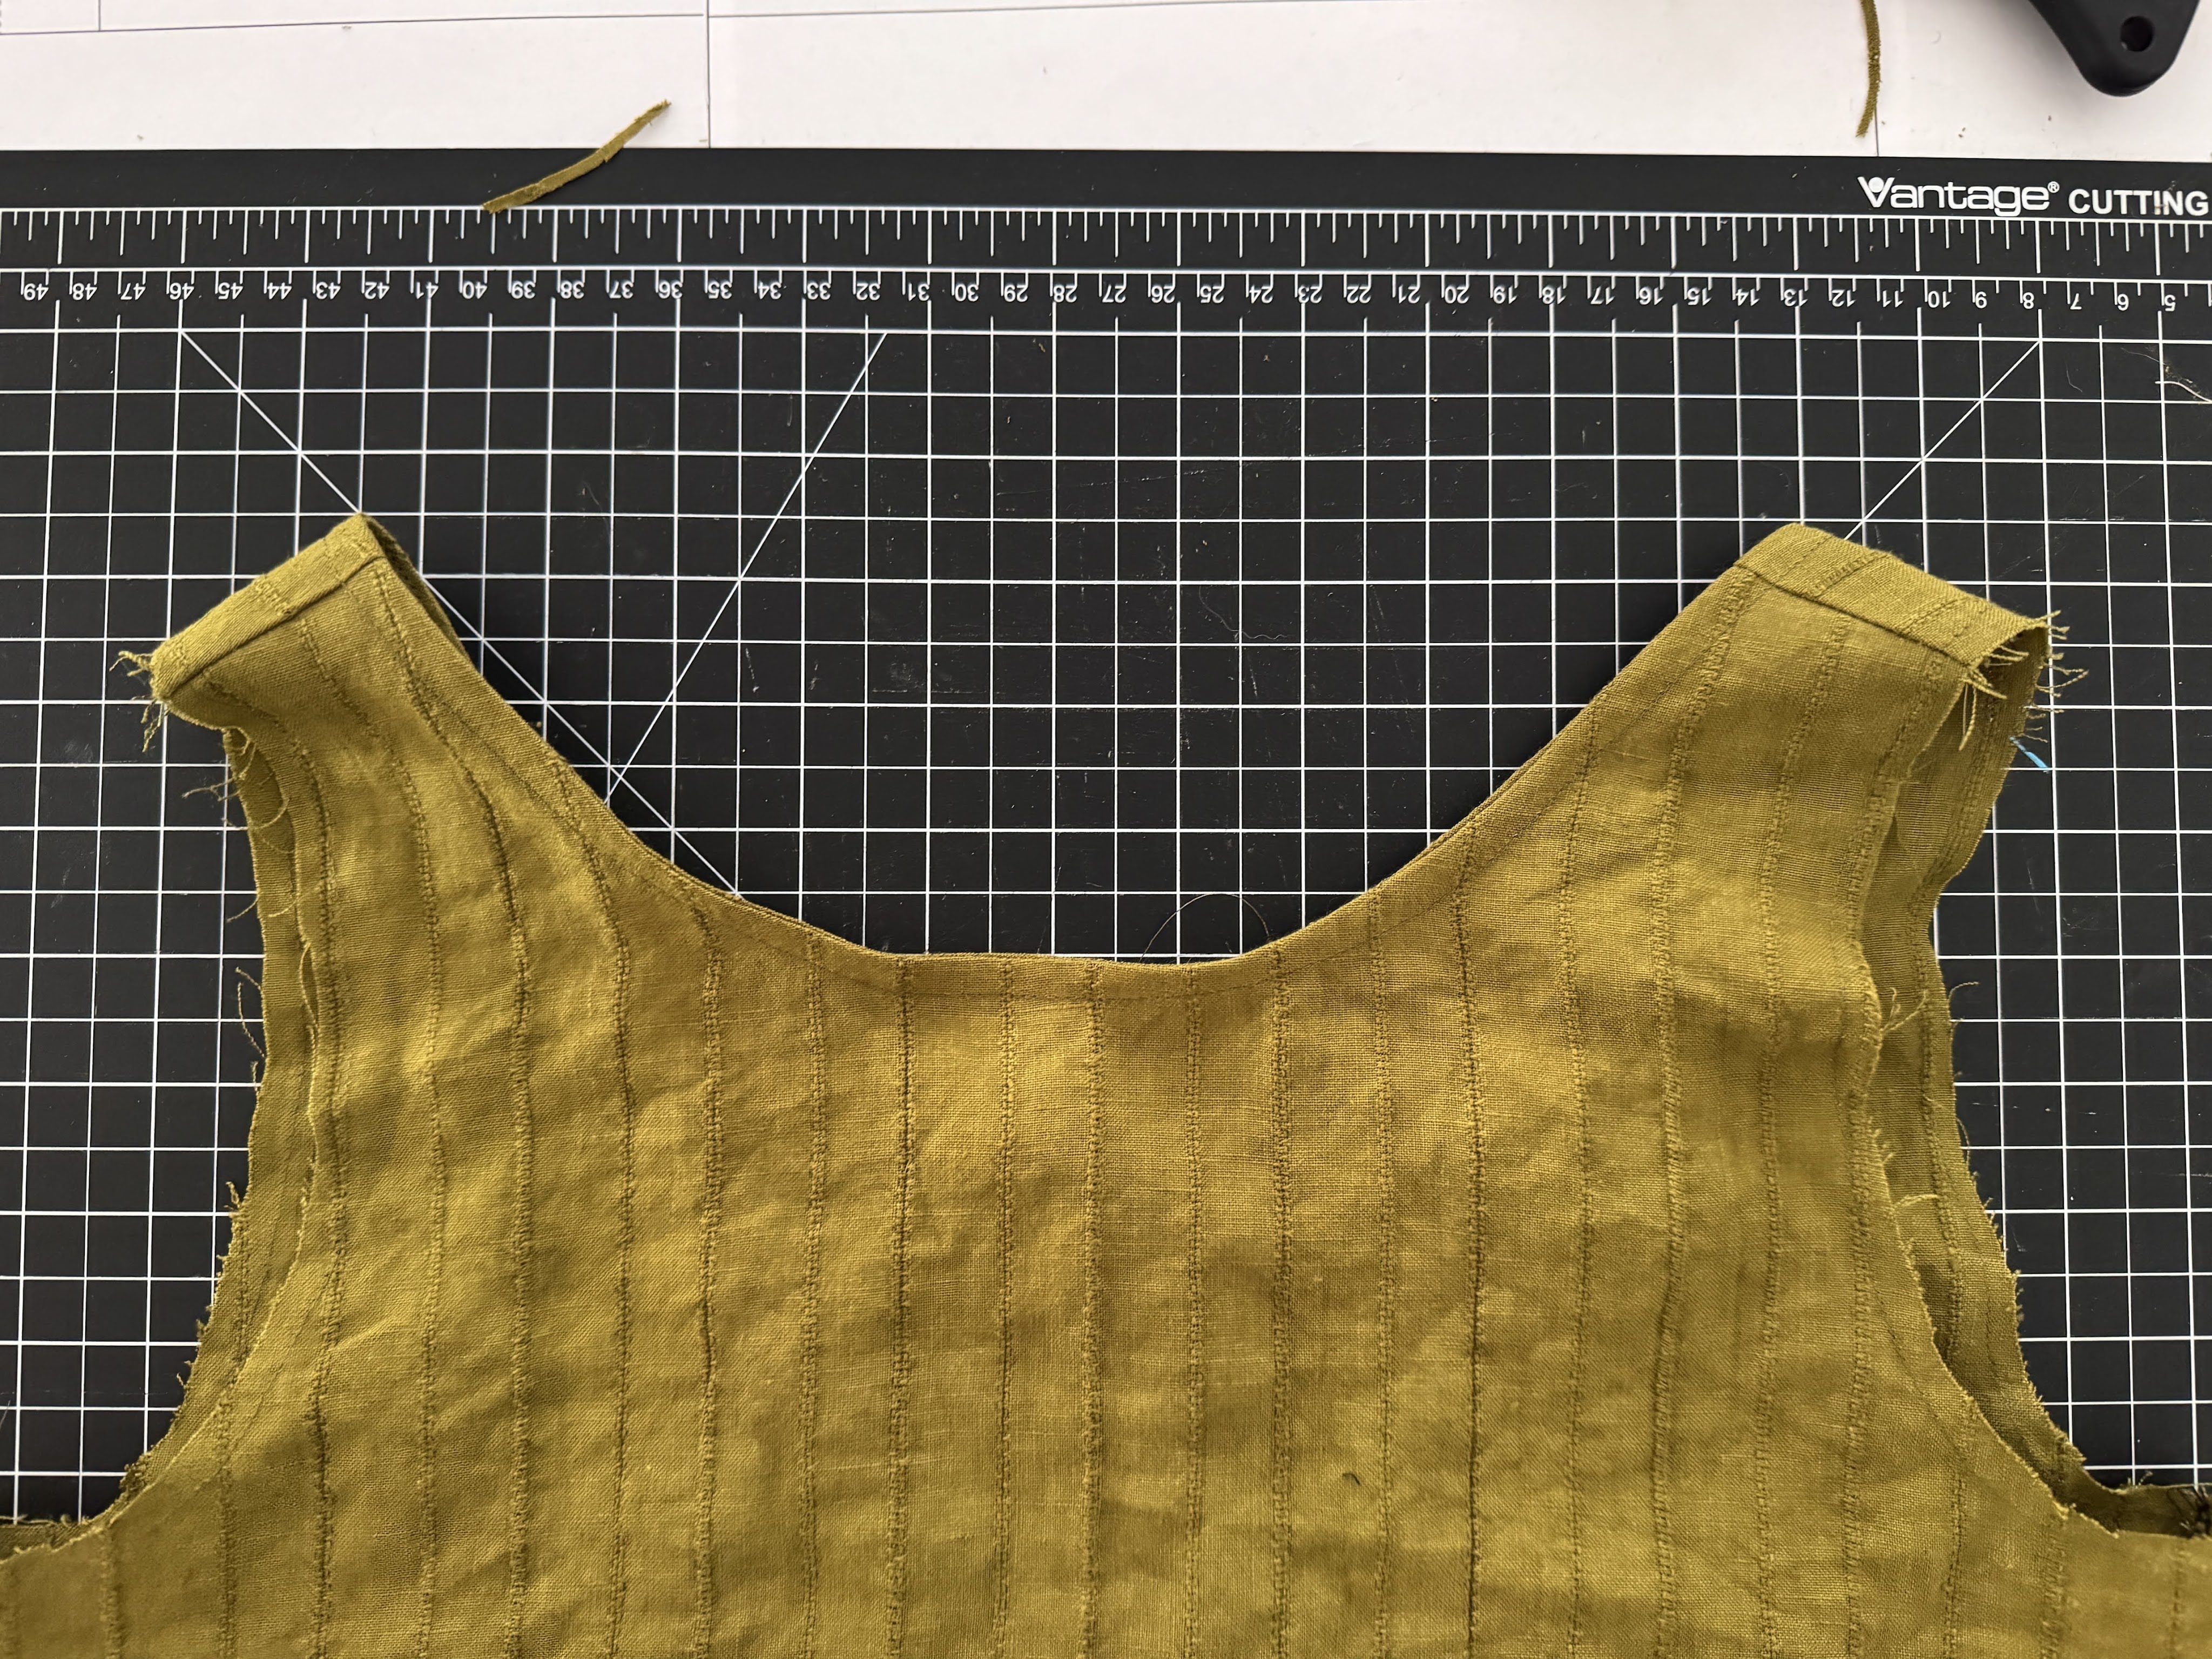
    Something else that was new to me was bias tape! I had to watch a few videos to understand what to do, but after completing the neckline, the armholes were a breeze!
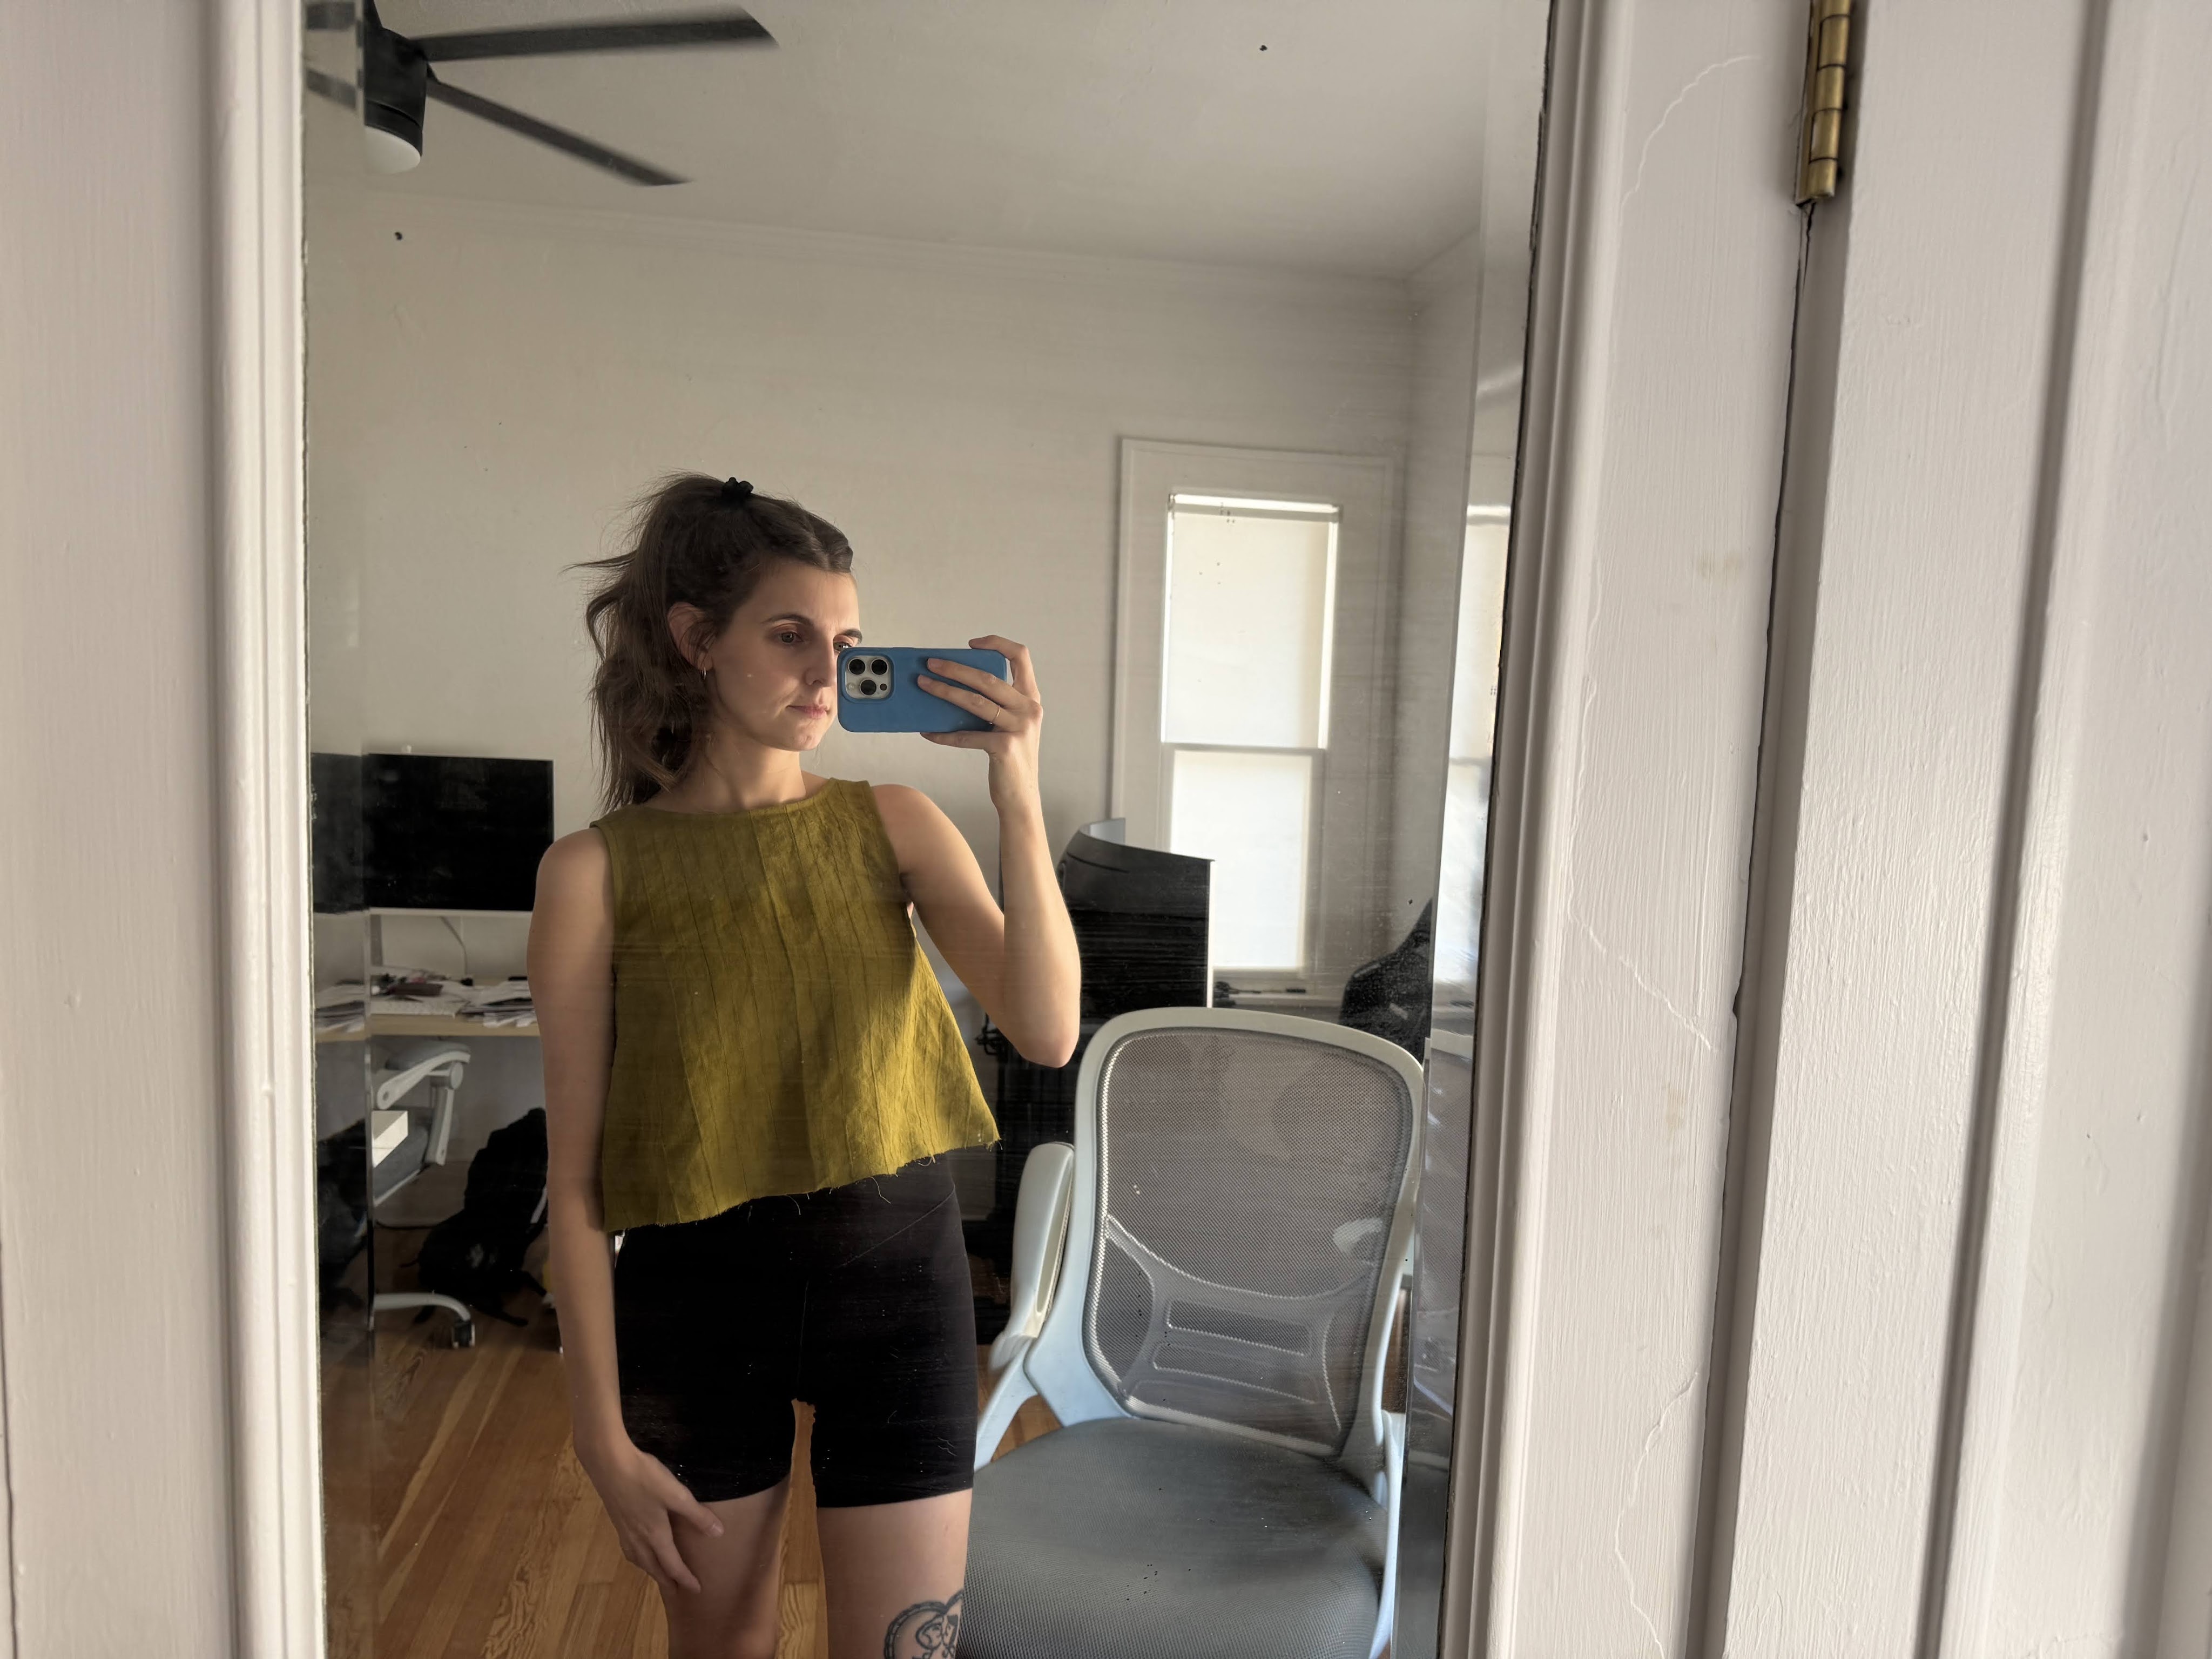
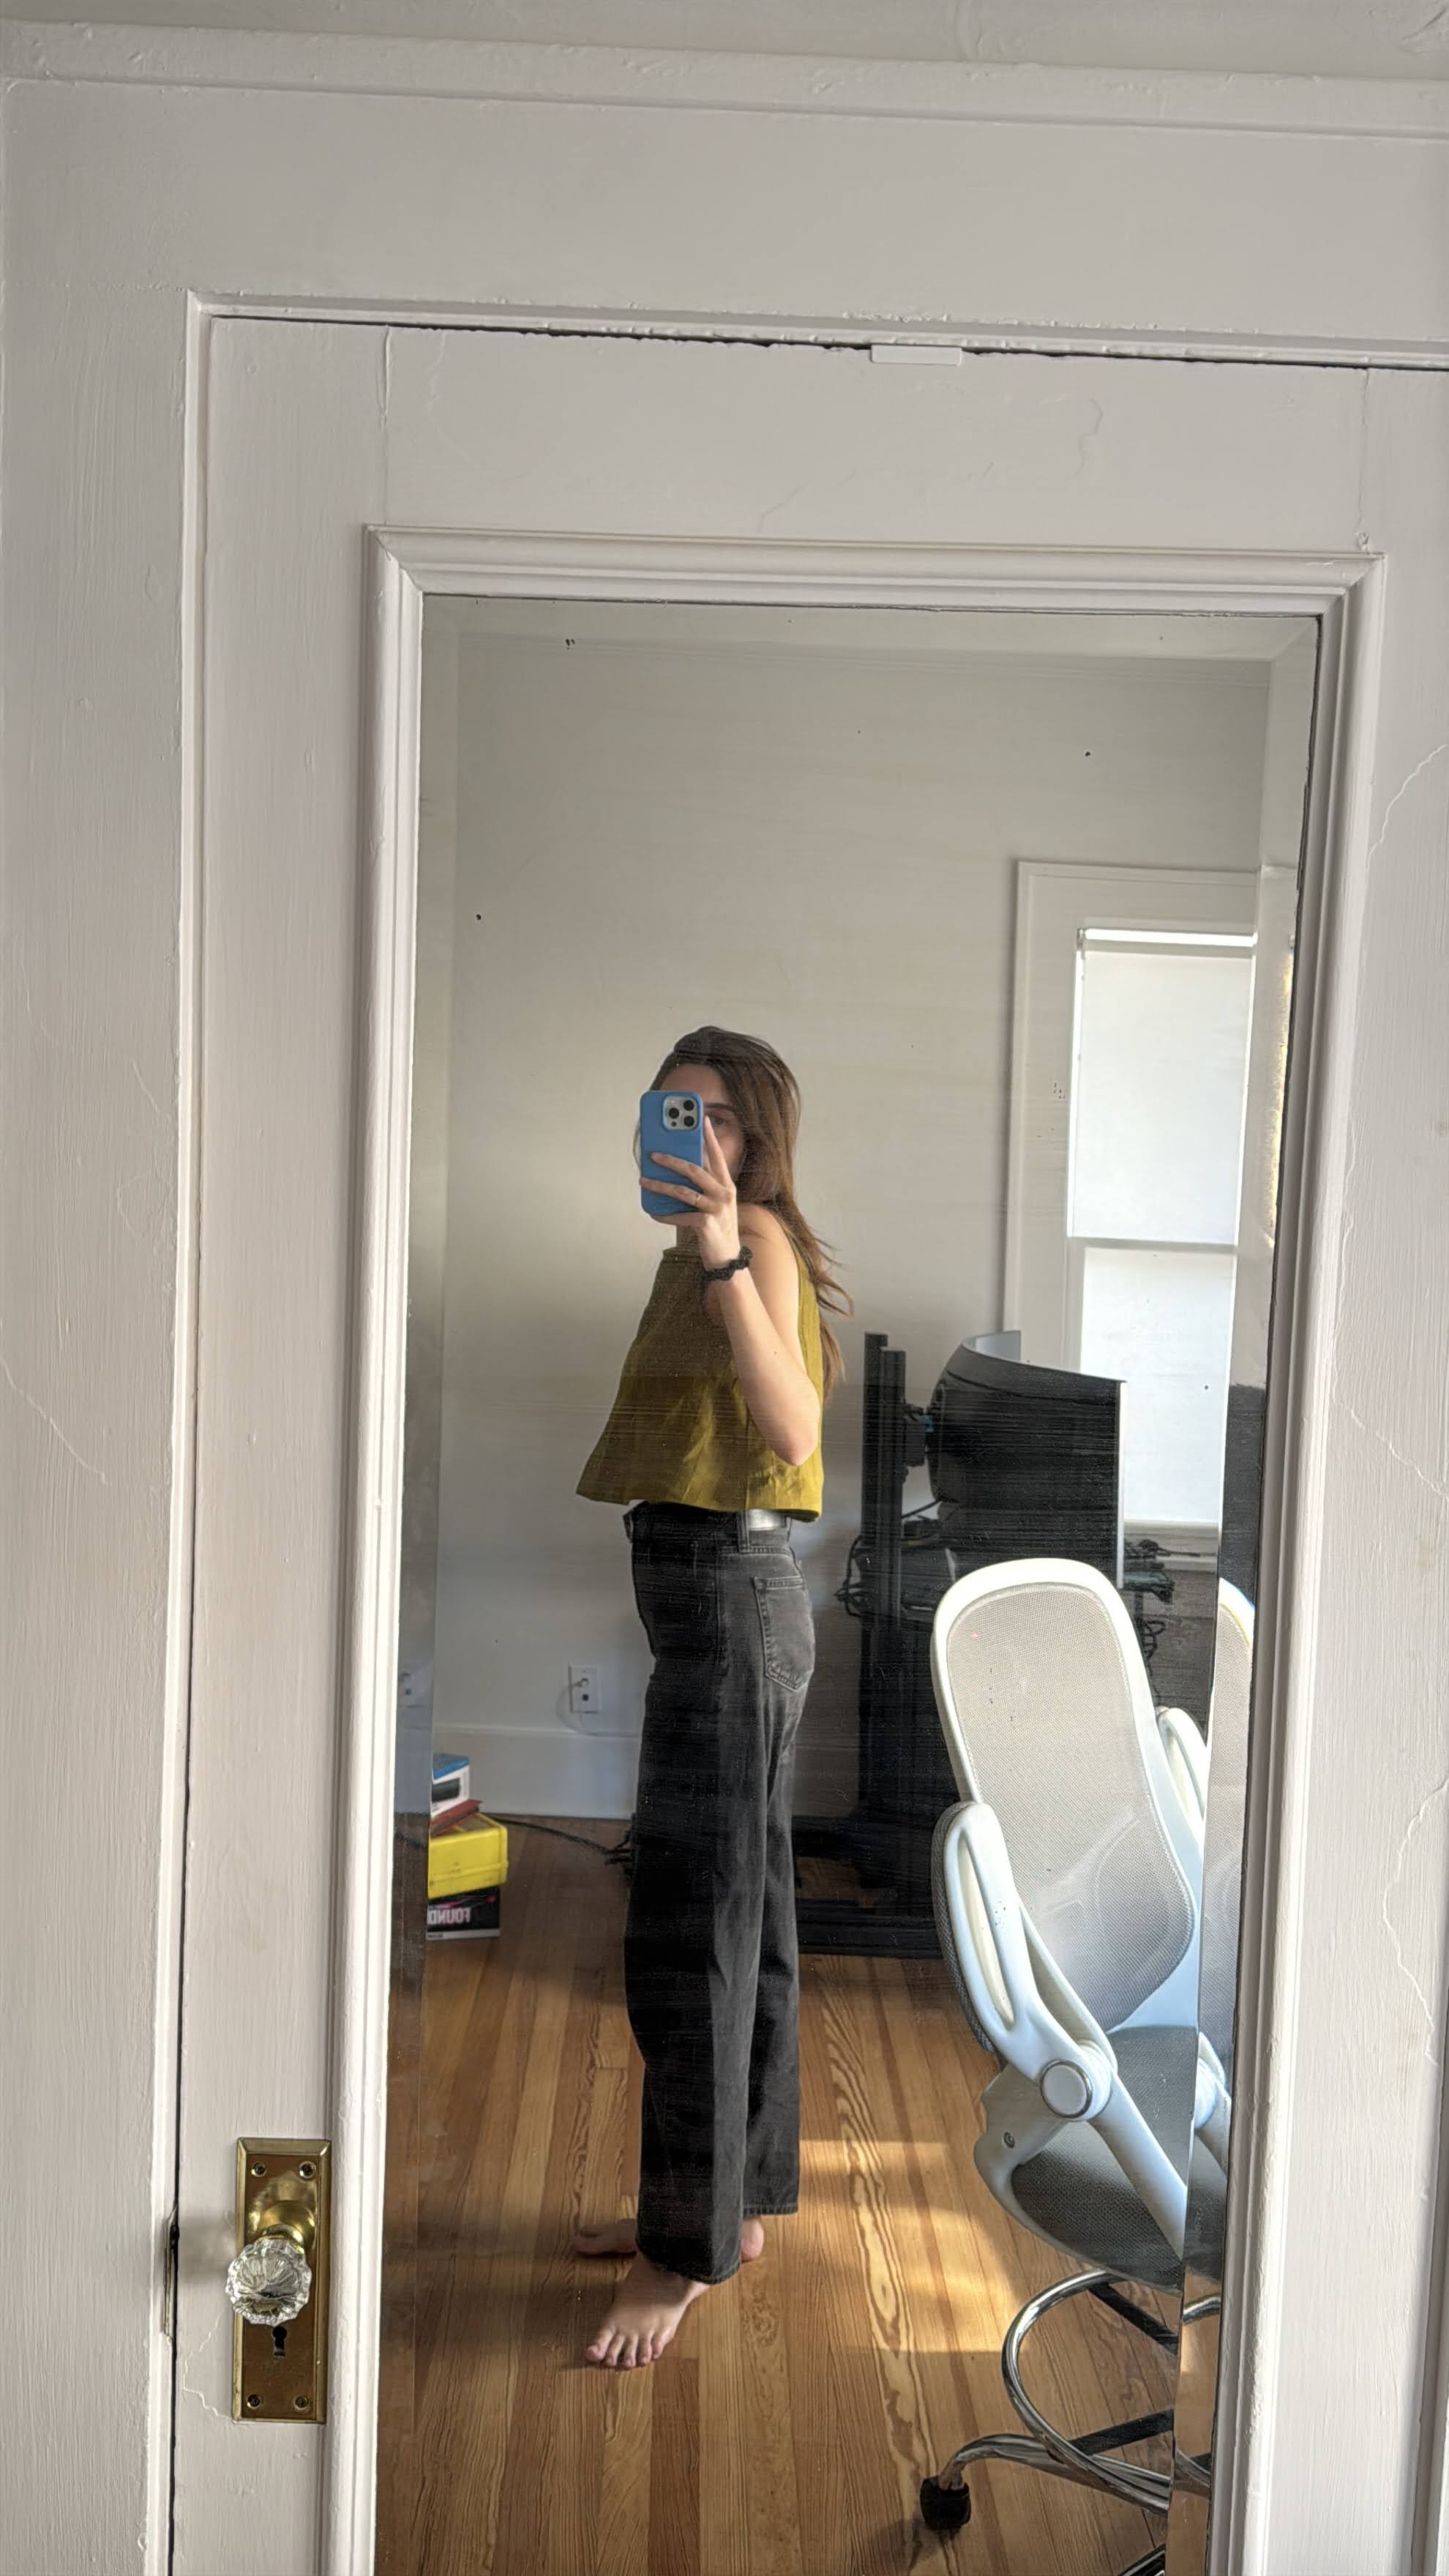
    quick try on after finishing the bias tape

    I forgot to take any photos of the rest of the process, but attaching the hem facing was fairly quick and easy. There’s a tiny bit of puckering along one of the side seams, but I hope that as the top relaxes a bit it’ll be less noticeable. It’s probably not noticeable to anyone but me in the first place…
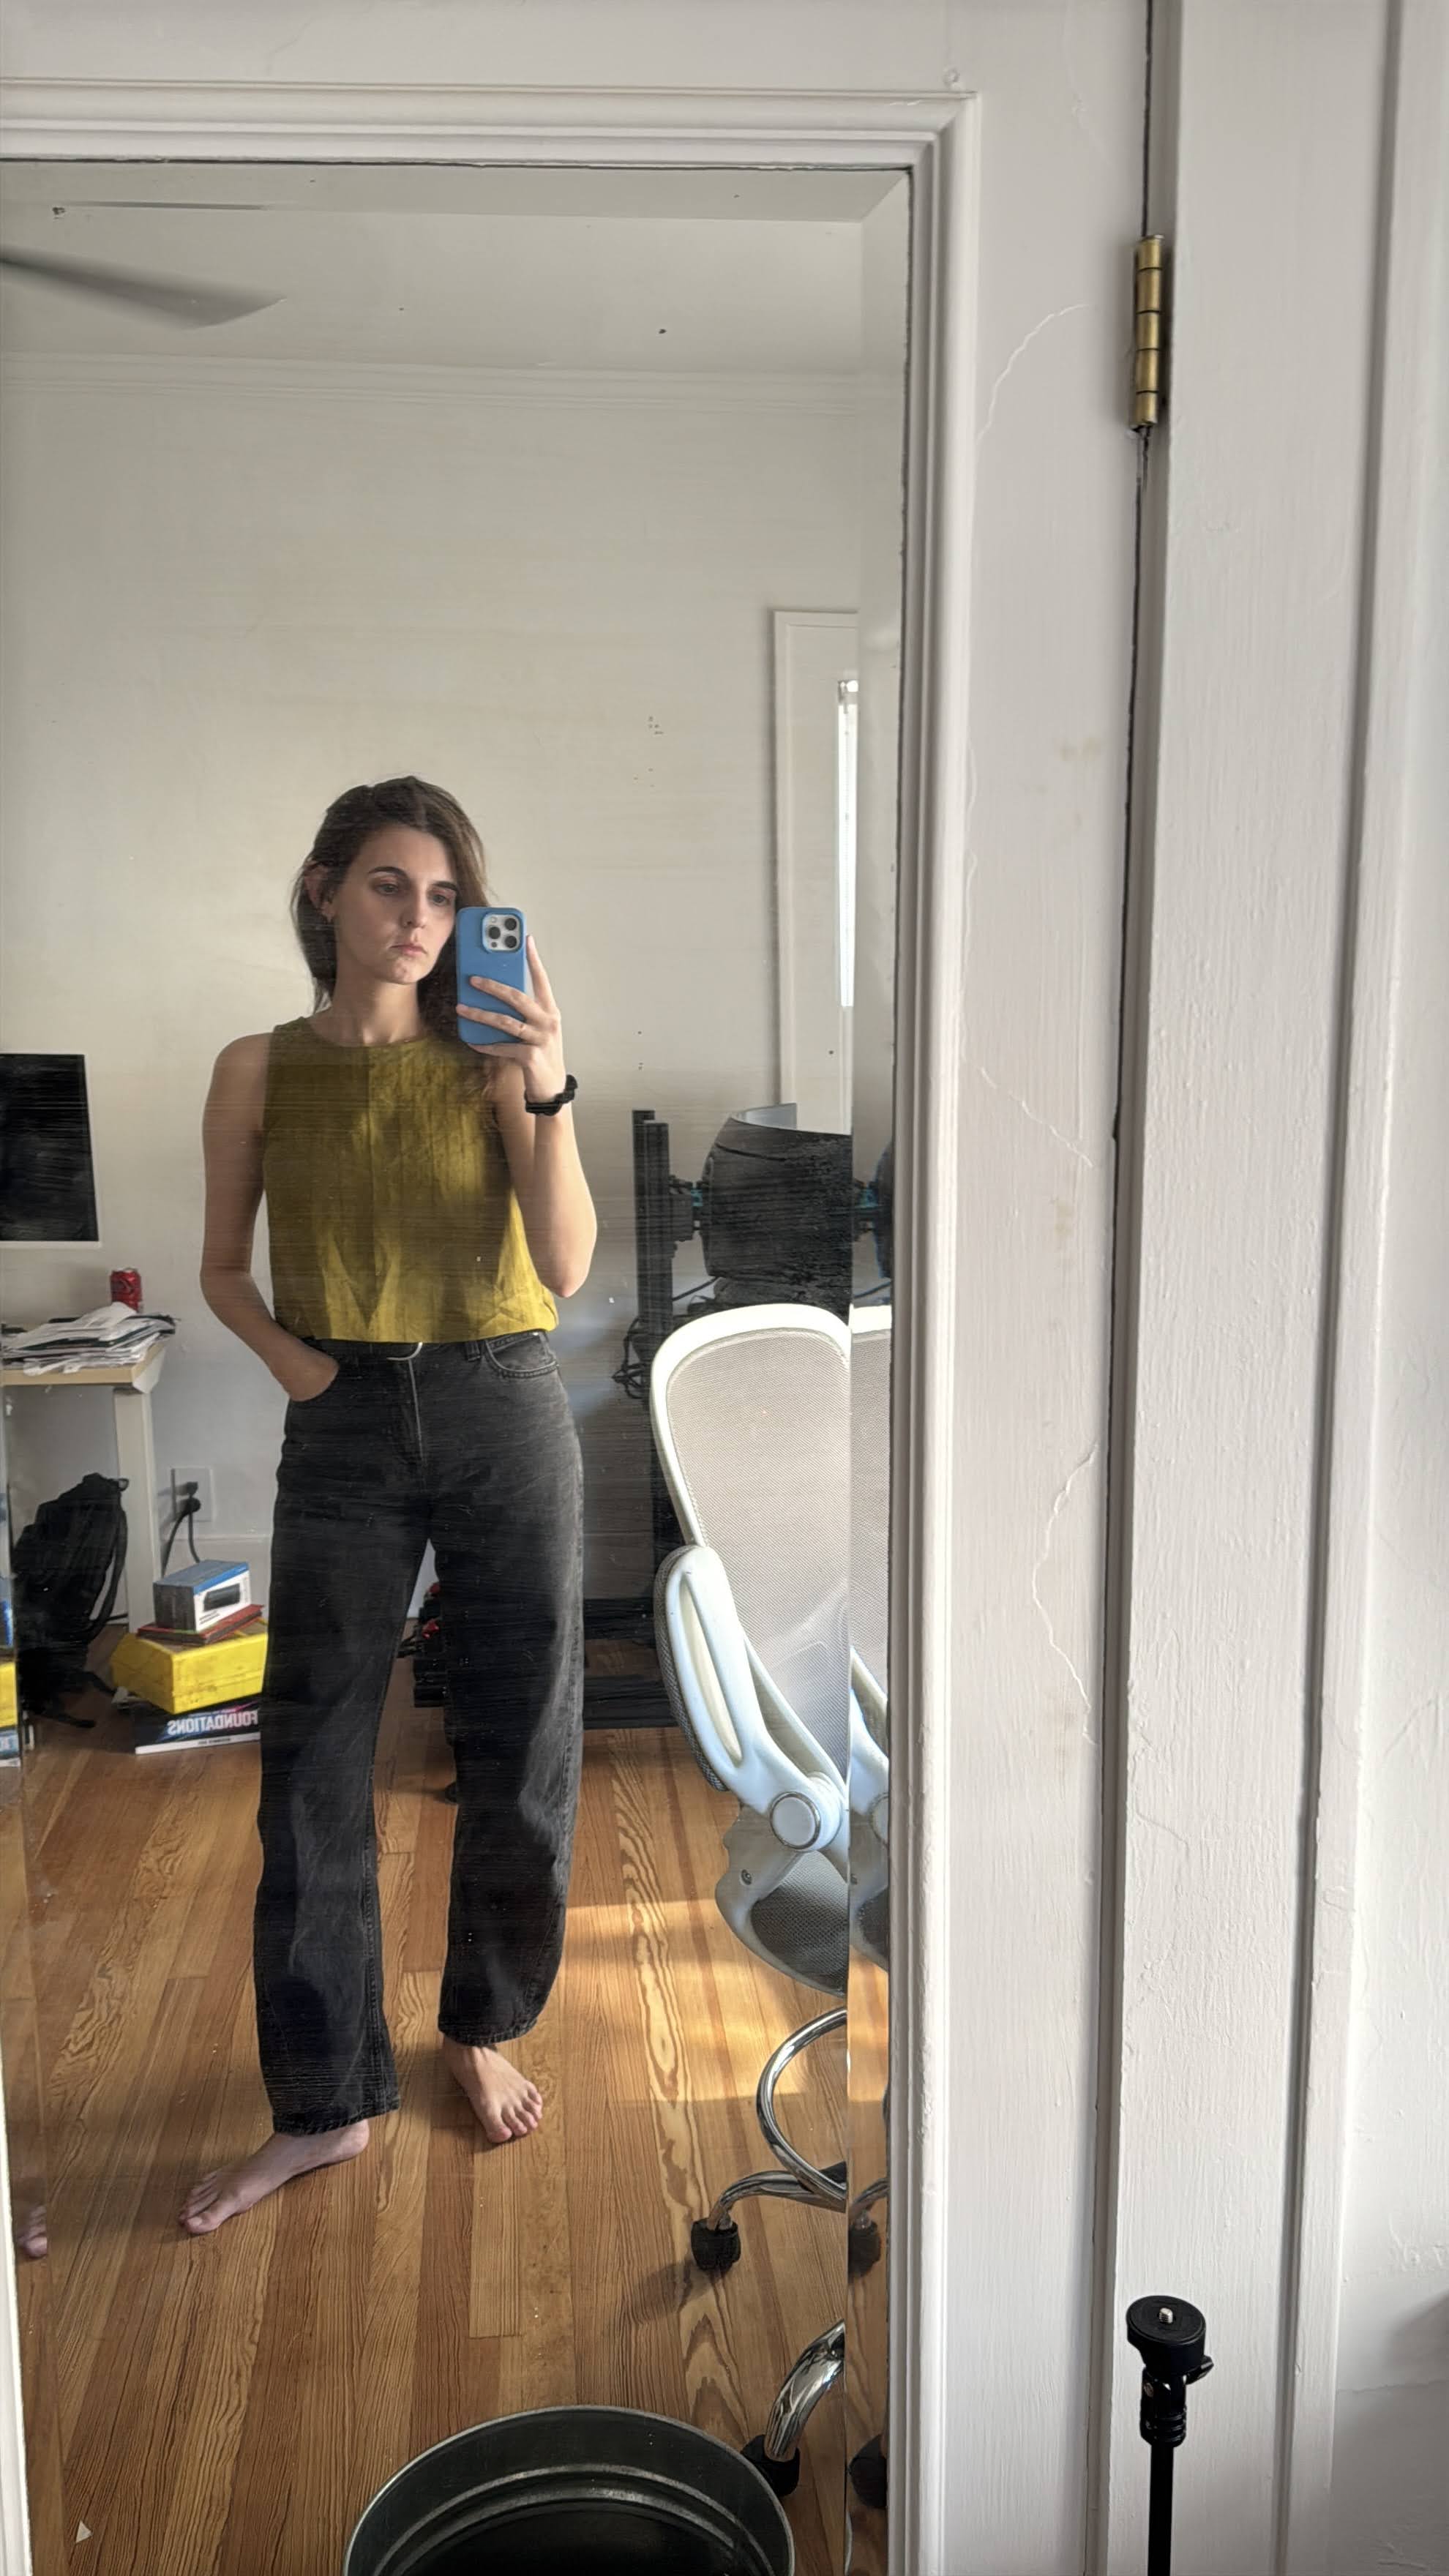
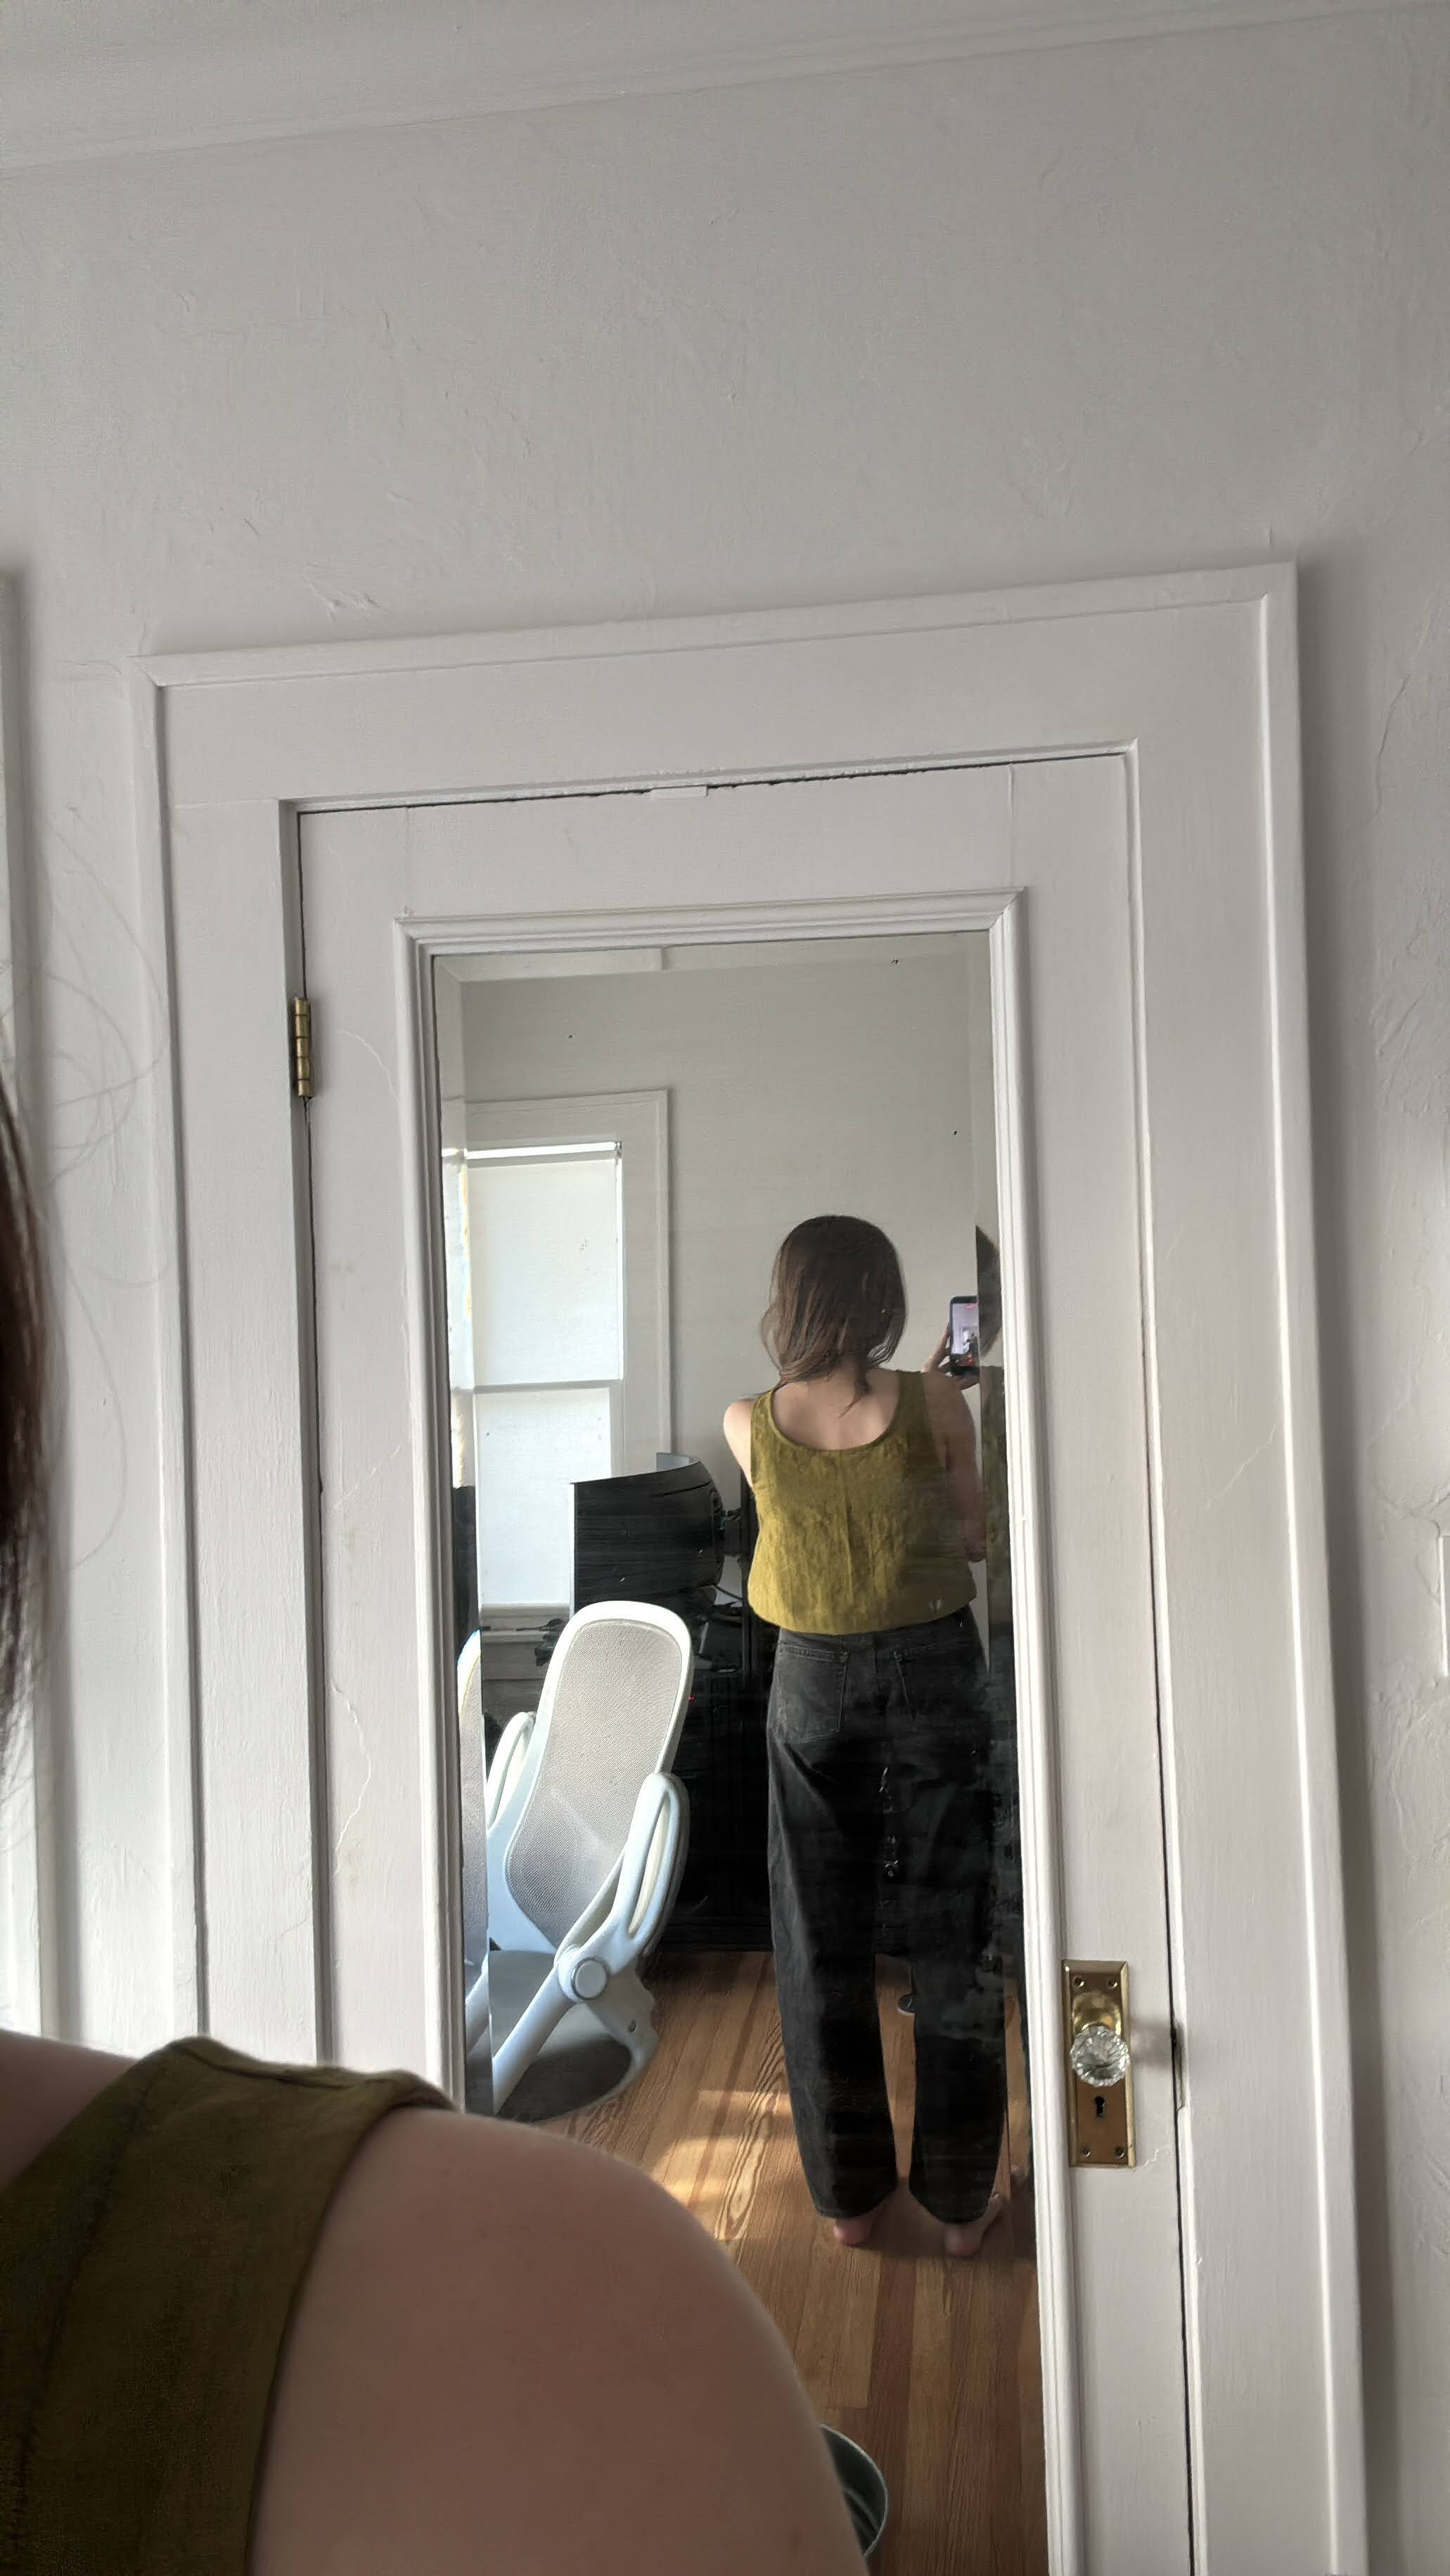
    Overall, I am happy with the outcome. This pattern was a good place to start from, and I can see it becoming something I make over and over again in a wide variety of colors and patterns!

    A couple of things I might play around with in future iterations are the length and cut. The pattern did include a lengthen/shorten line, but I wanted to see where the standard size would fall and go from there (for reference, I am 5’10”). I might also try a version with a straighter side seam! We shall see!

    Pattern: Sunny Side Tank by Matchy Matchy Sewing Club
    Fabric: Anderson Green Leno Weave Premium Linen from Matchy Matchy Sewing Club
    Size Made: Small
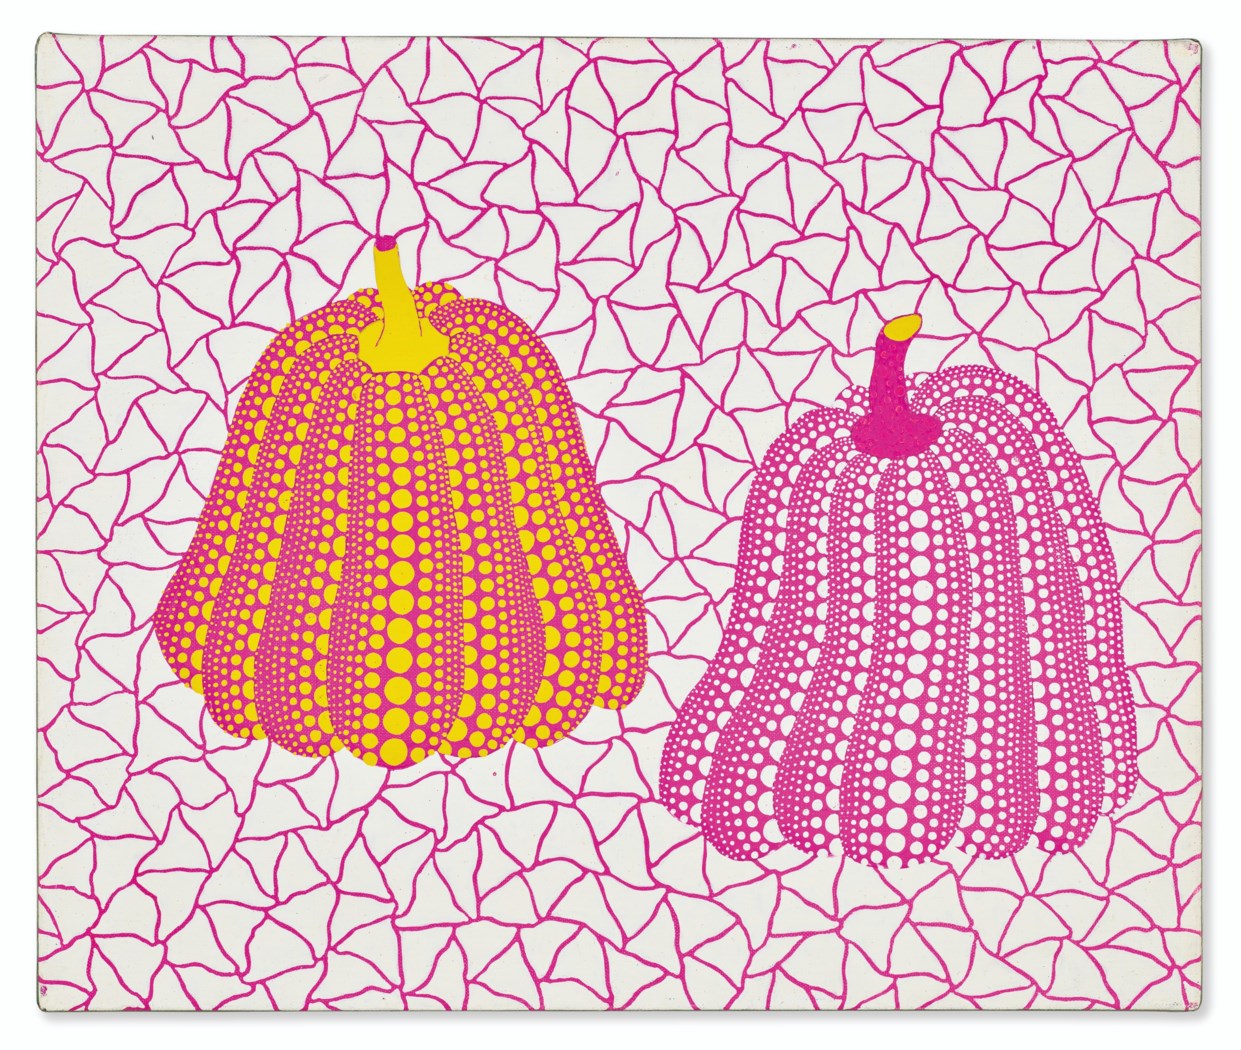
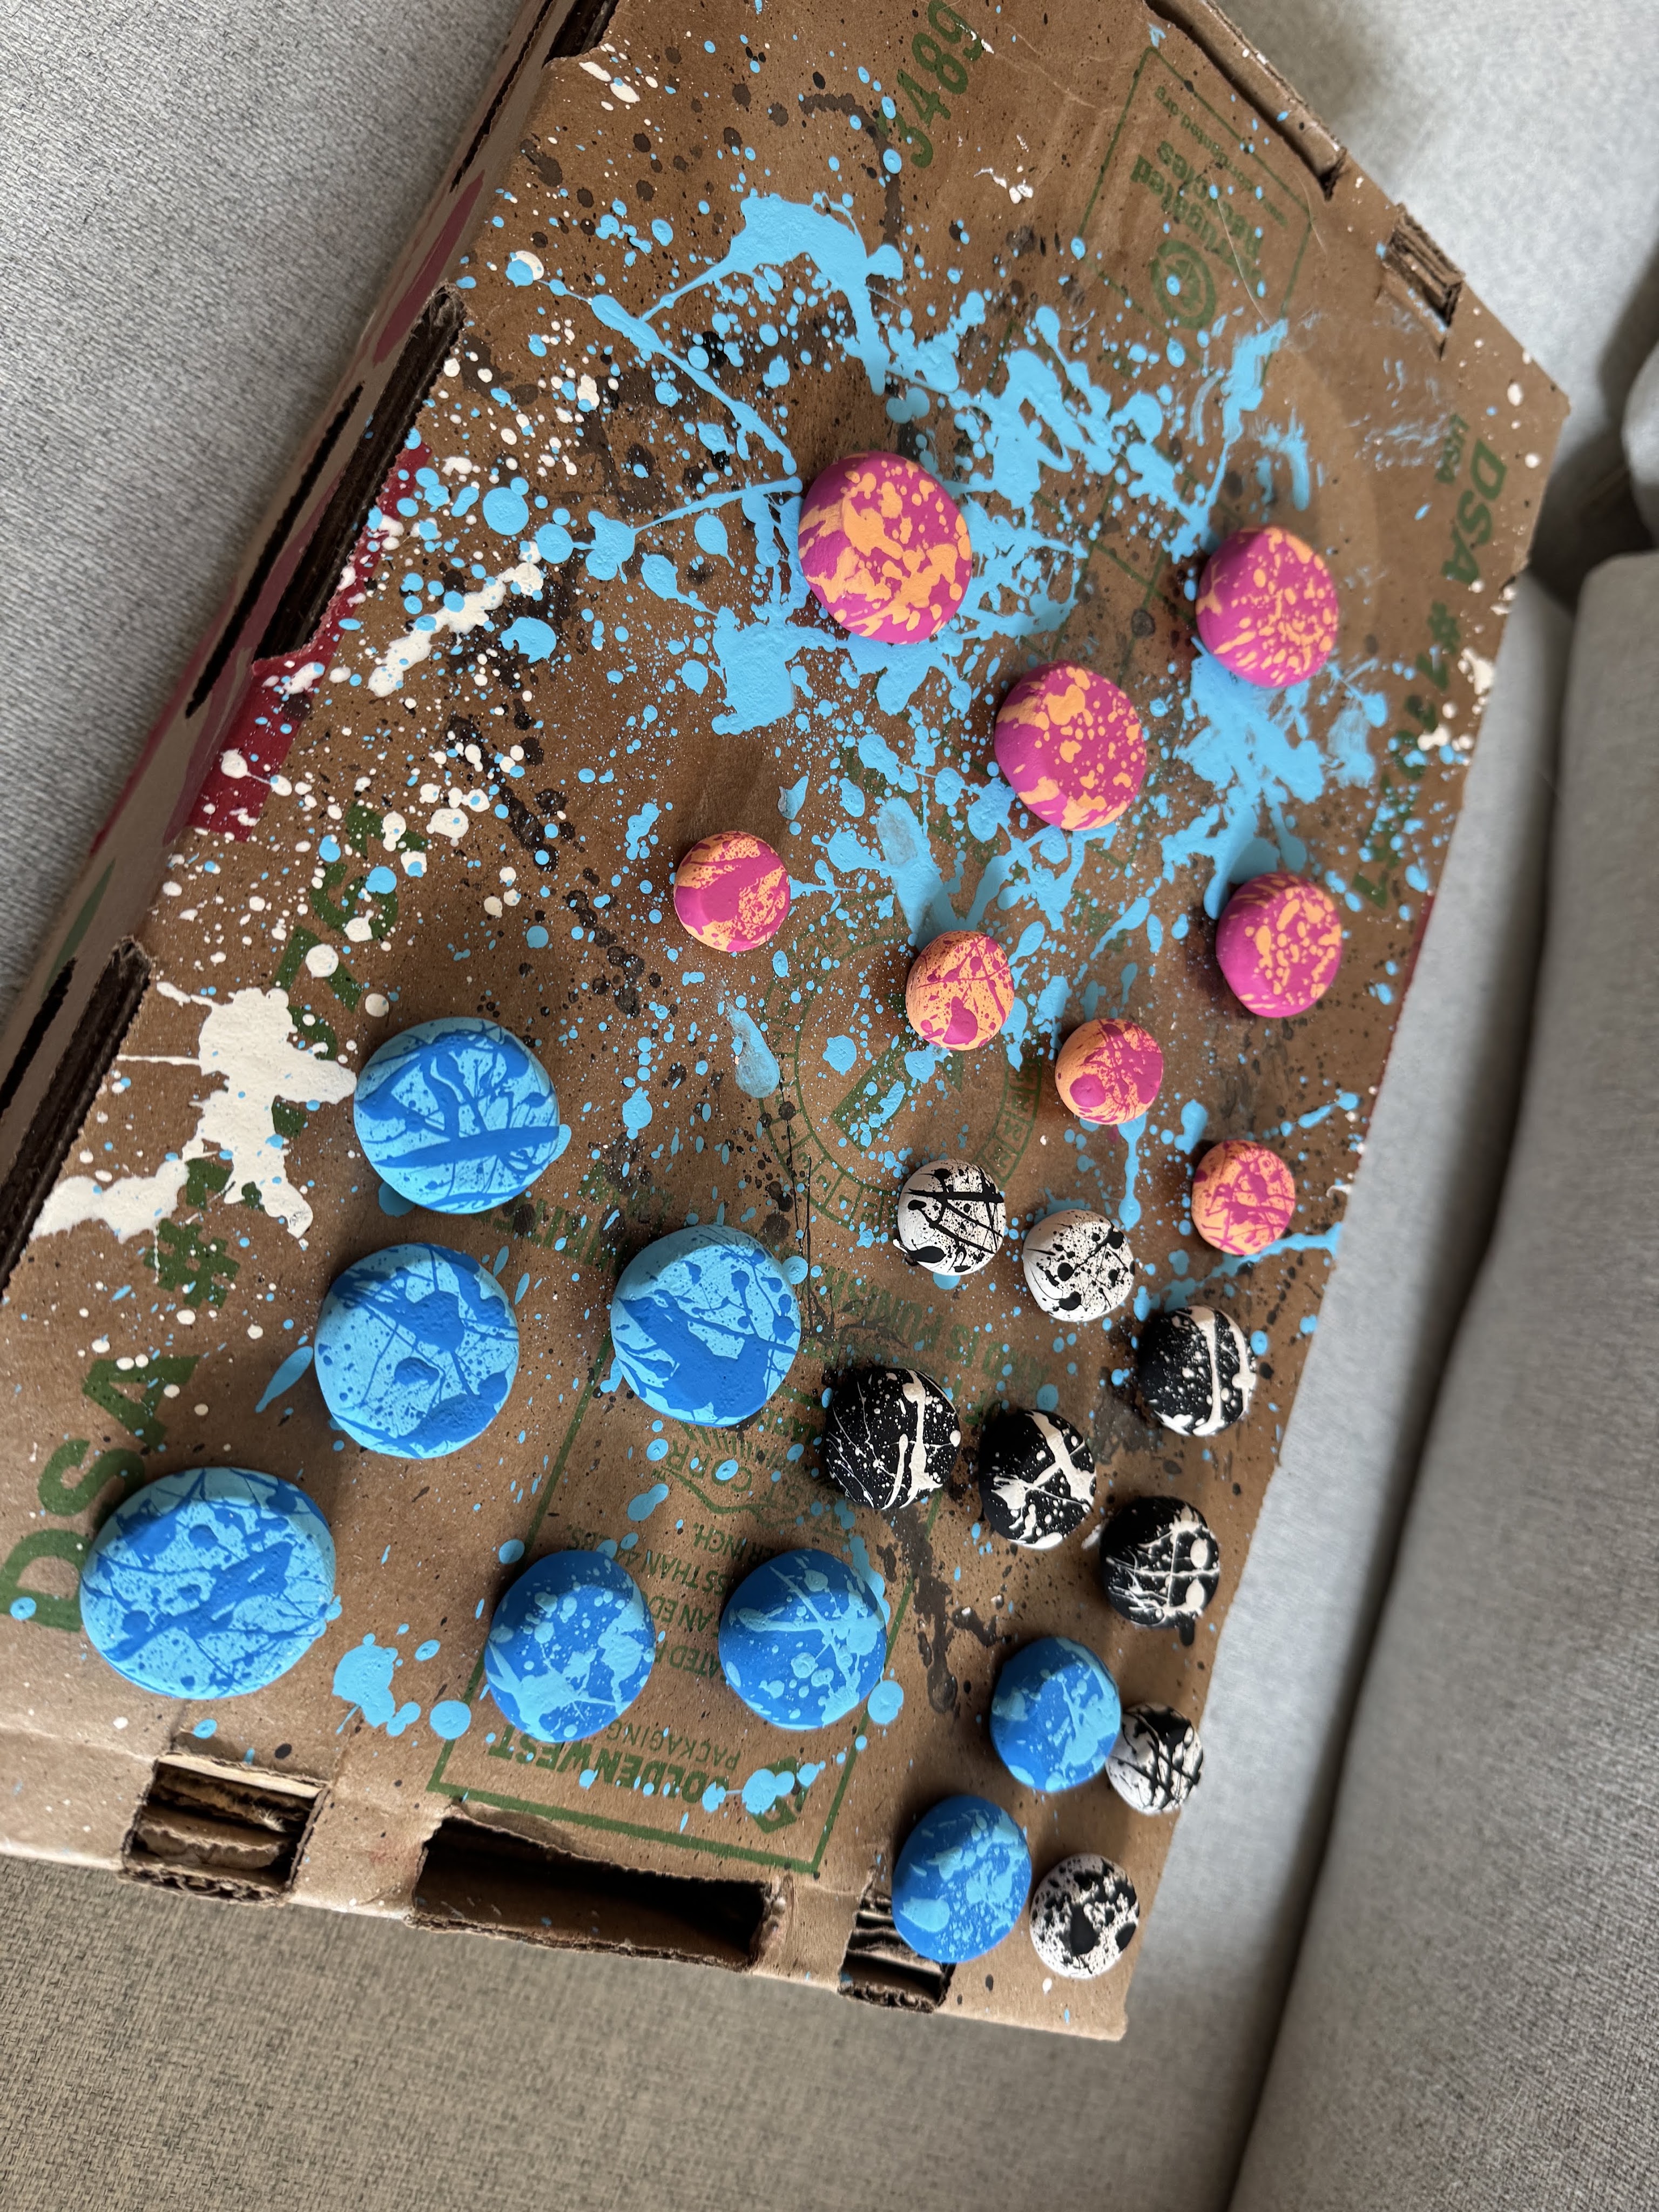
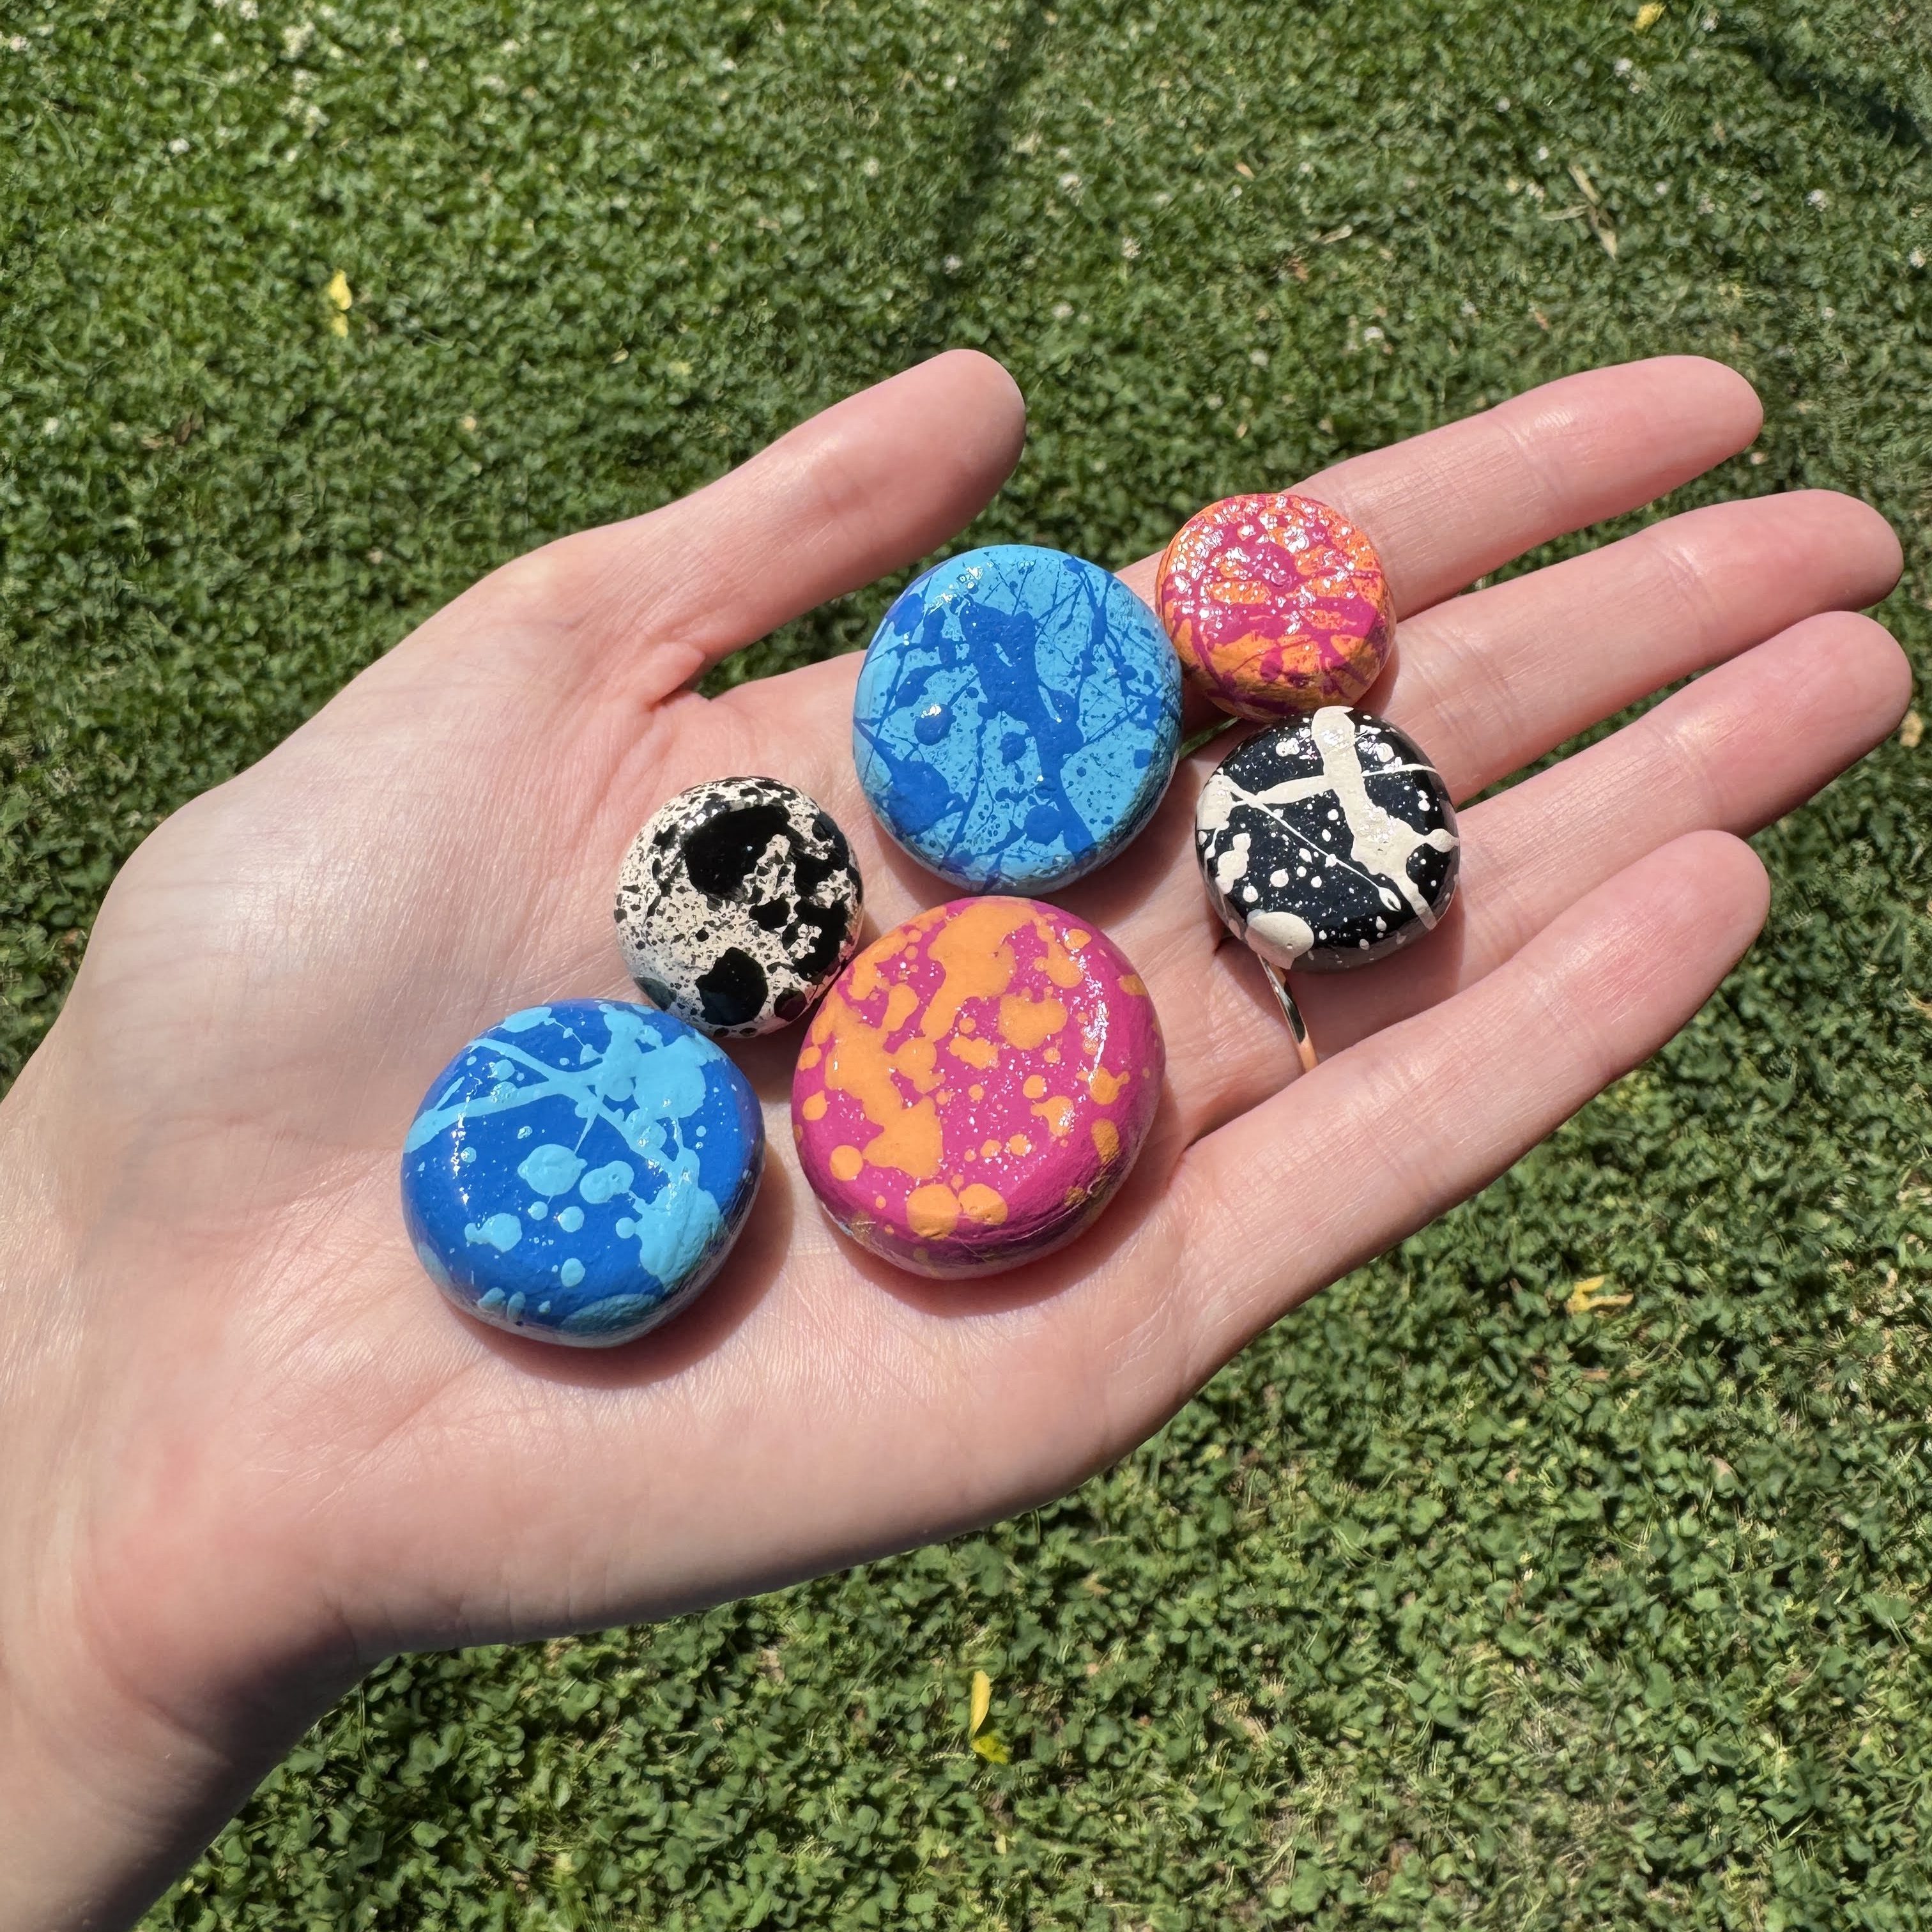
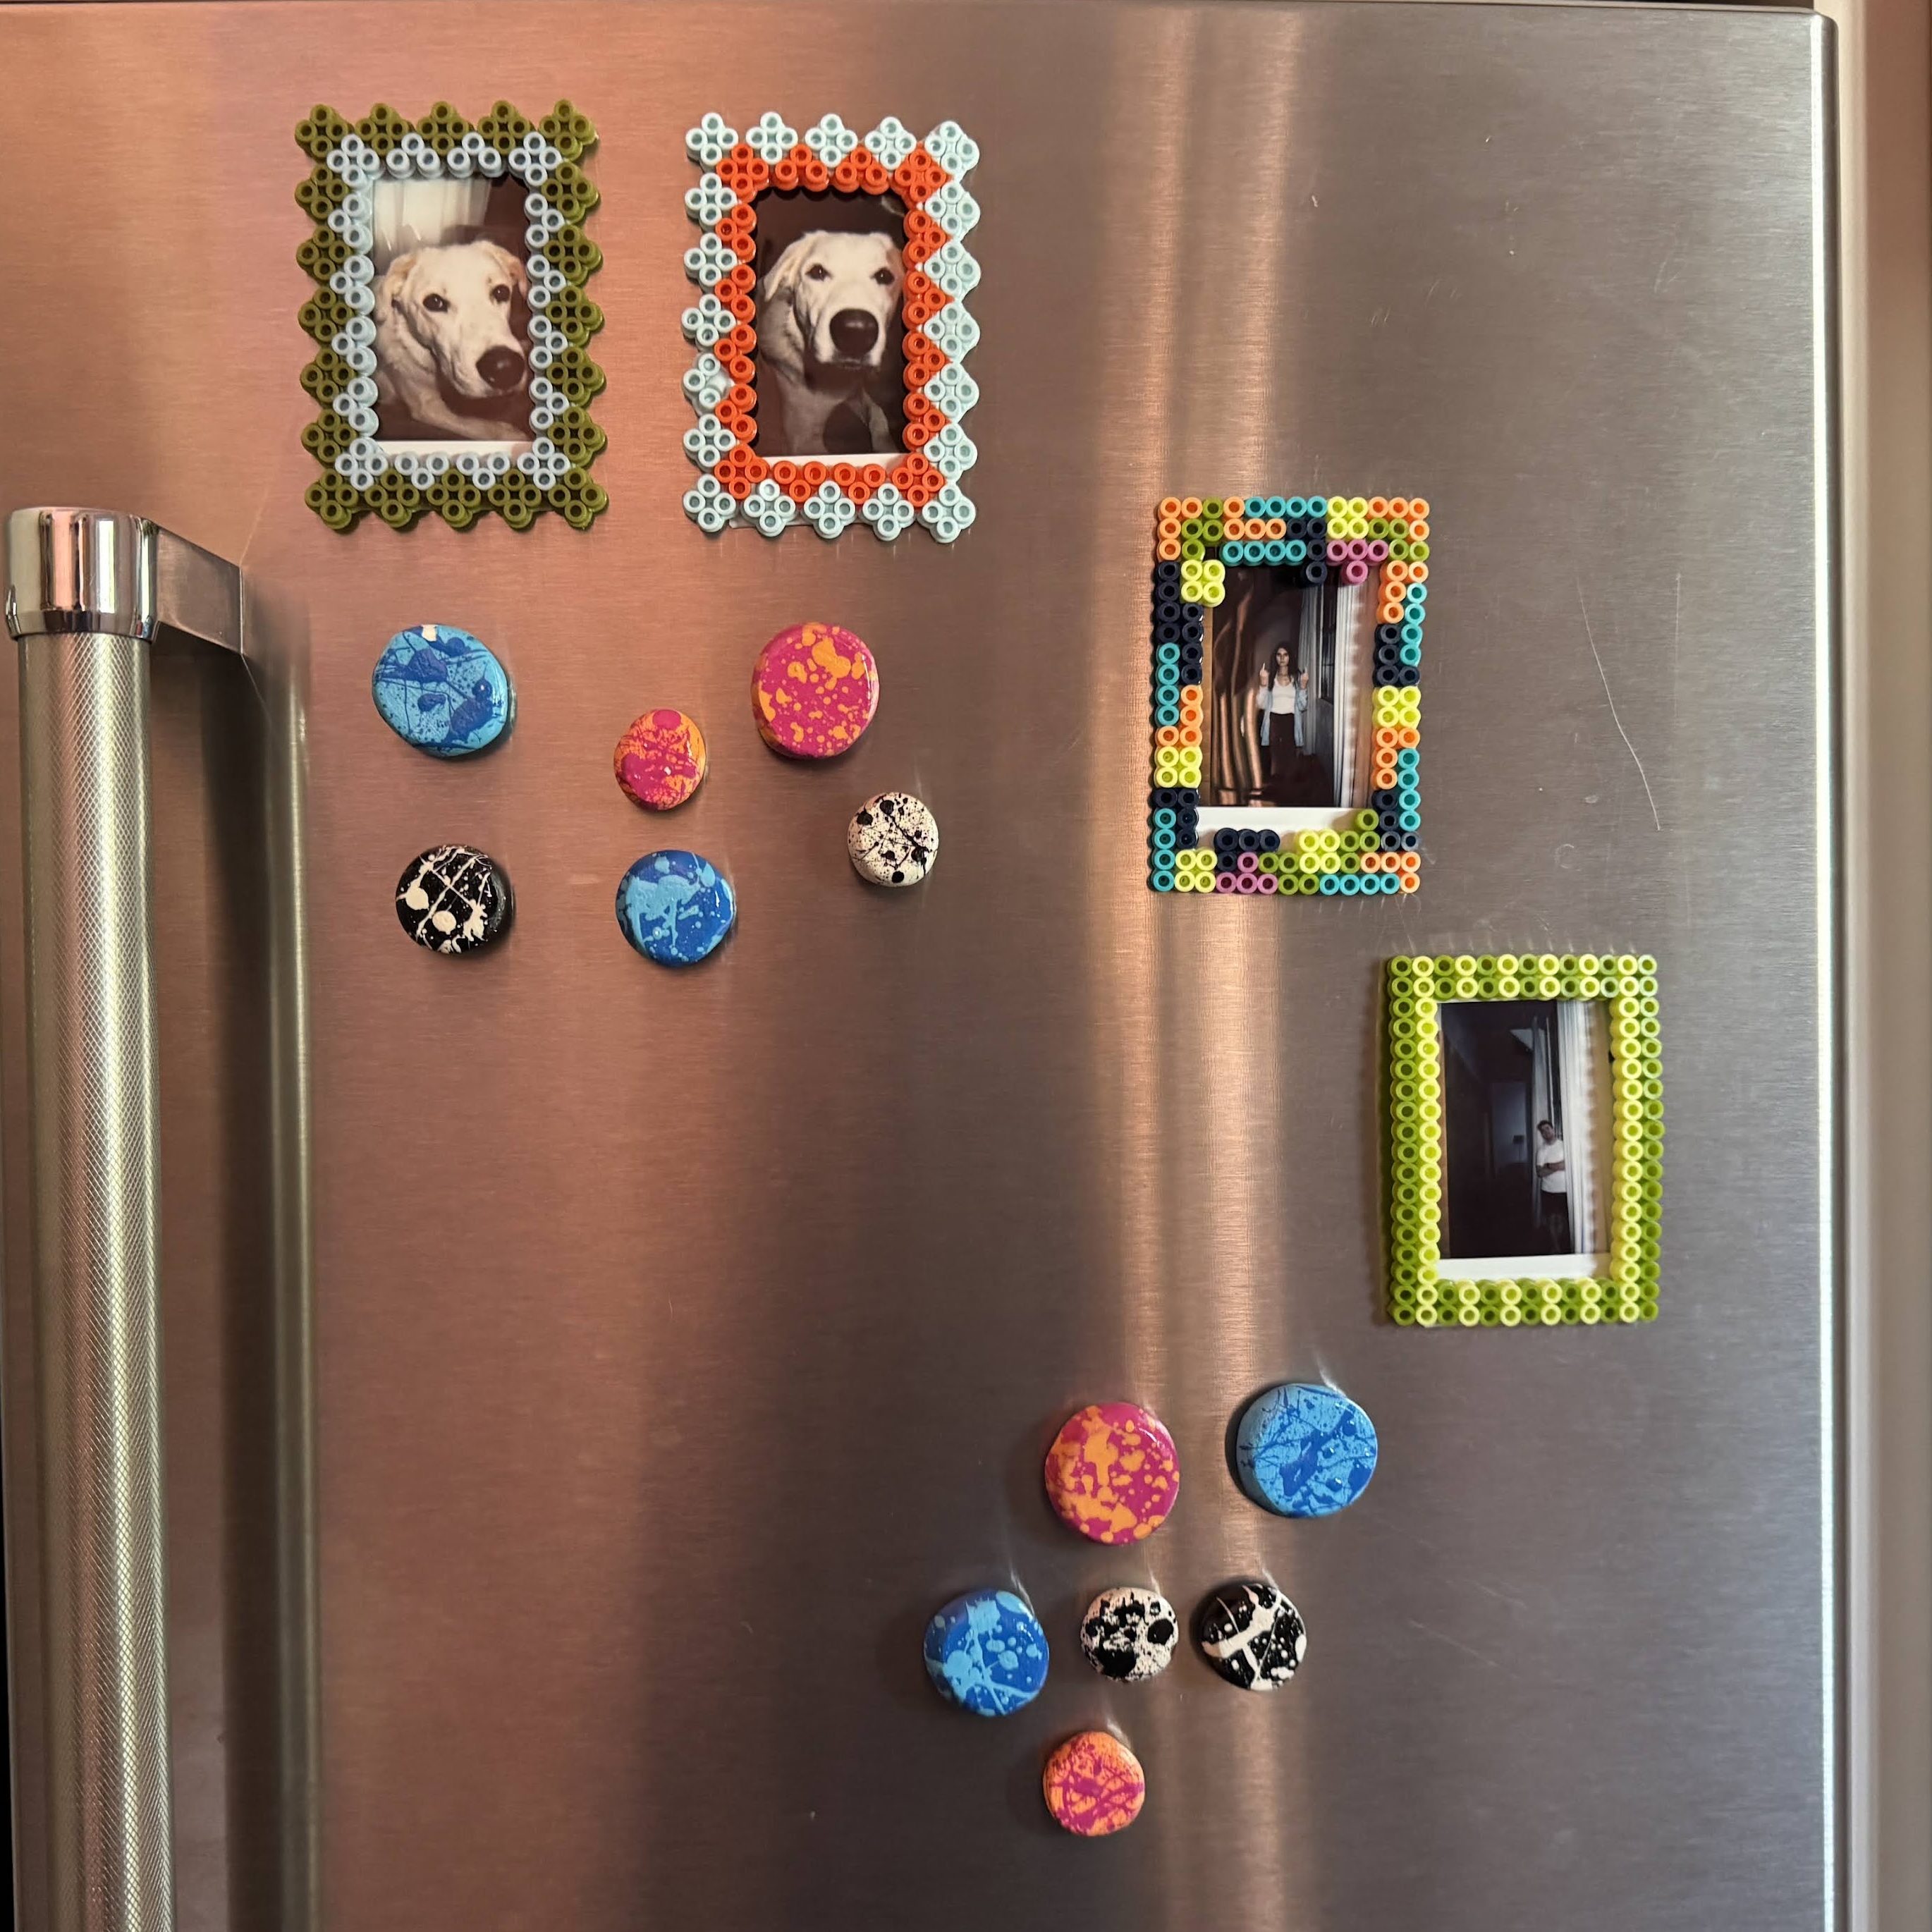
  • After the success of my first air dry clay project, it is time for round two! Another friends birthday was coming up, so I set out to make her a funky set of magnets. She’s a big fan of color and pattern, and one of the first artists that comes to mind who does both of those things very well is Yayoi Kusama.

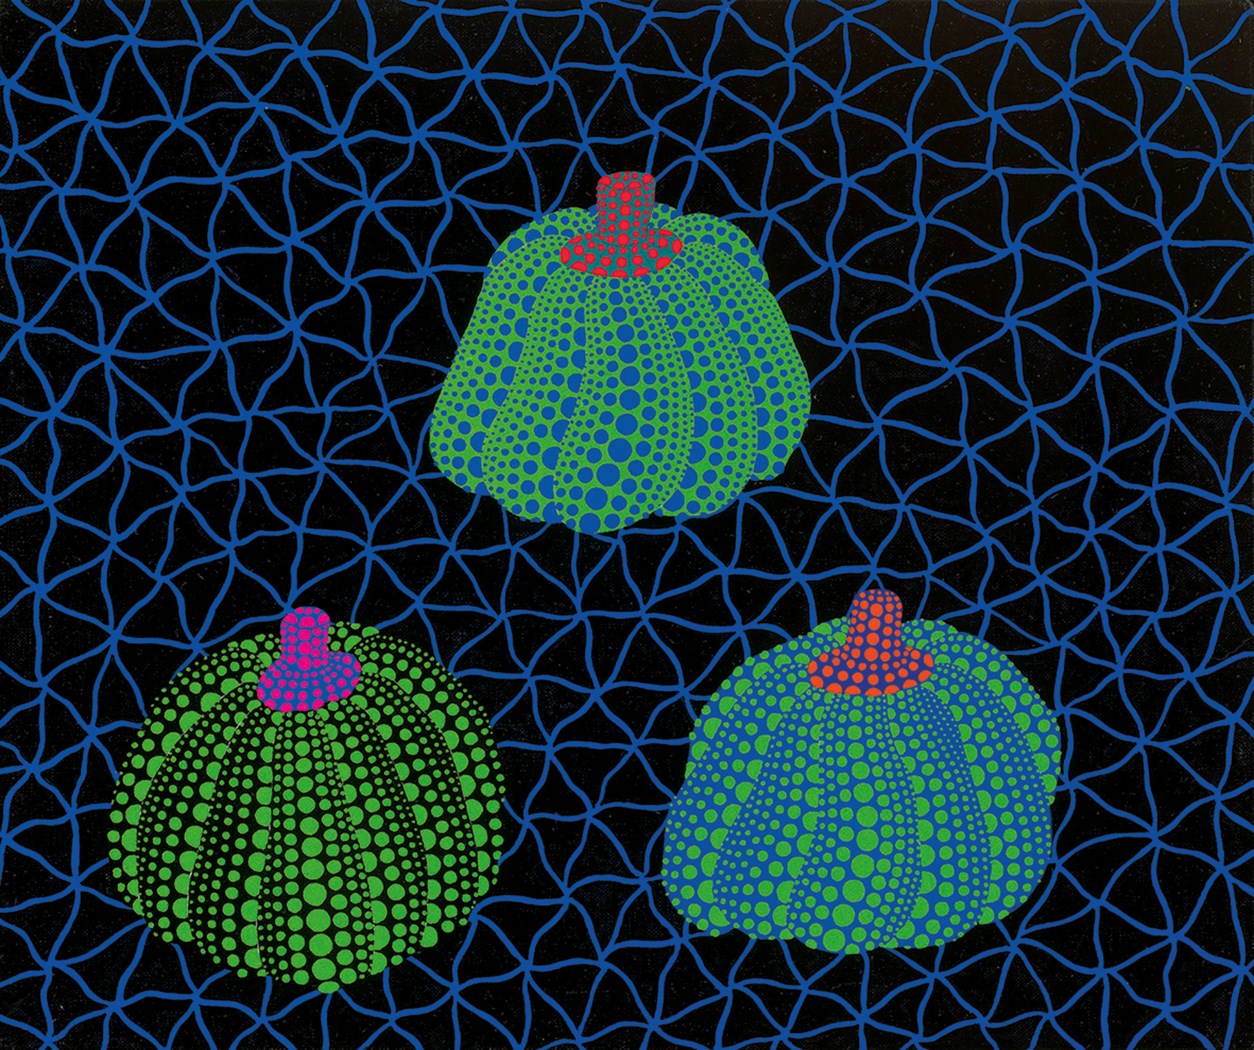
    Yayoi Kusama, Pumpkins, 1987 (source)
    Yayoi Kusama, Pumpkins, 1989 (source)
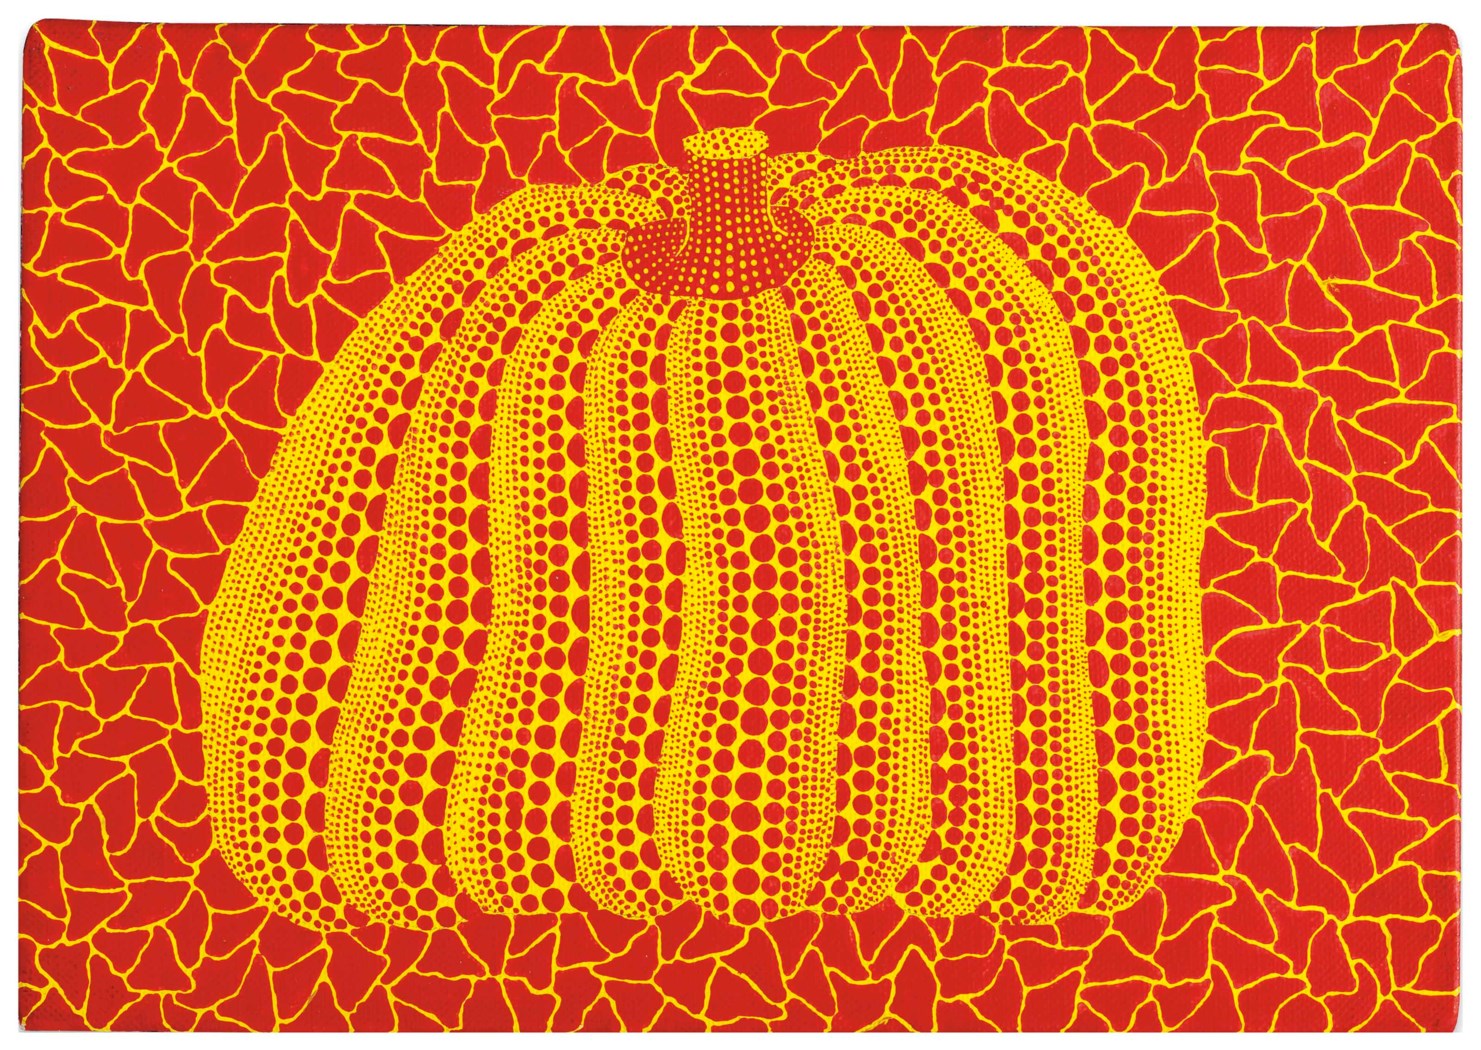
    Yayoi Kusama, Pumpkin, 1991 (source)

    I have referenced several of her iconic Pumpkin paintings, not to replicate their patterns, but as inspiration for bold color combinations.

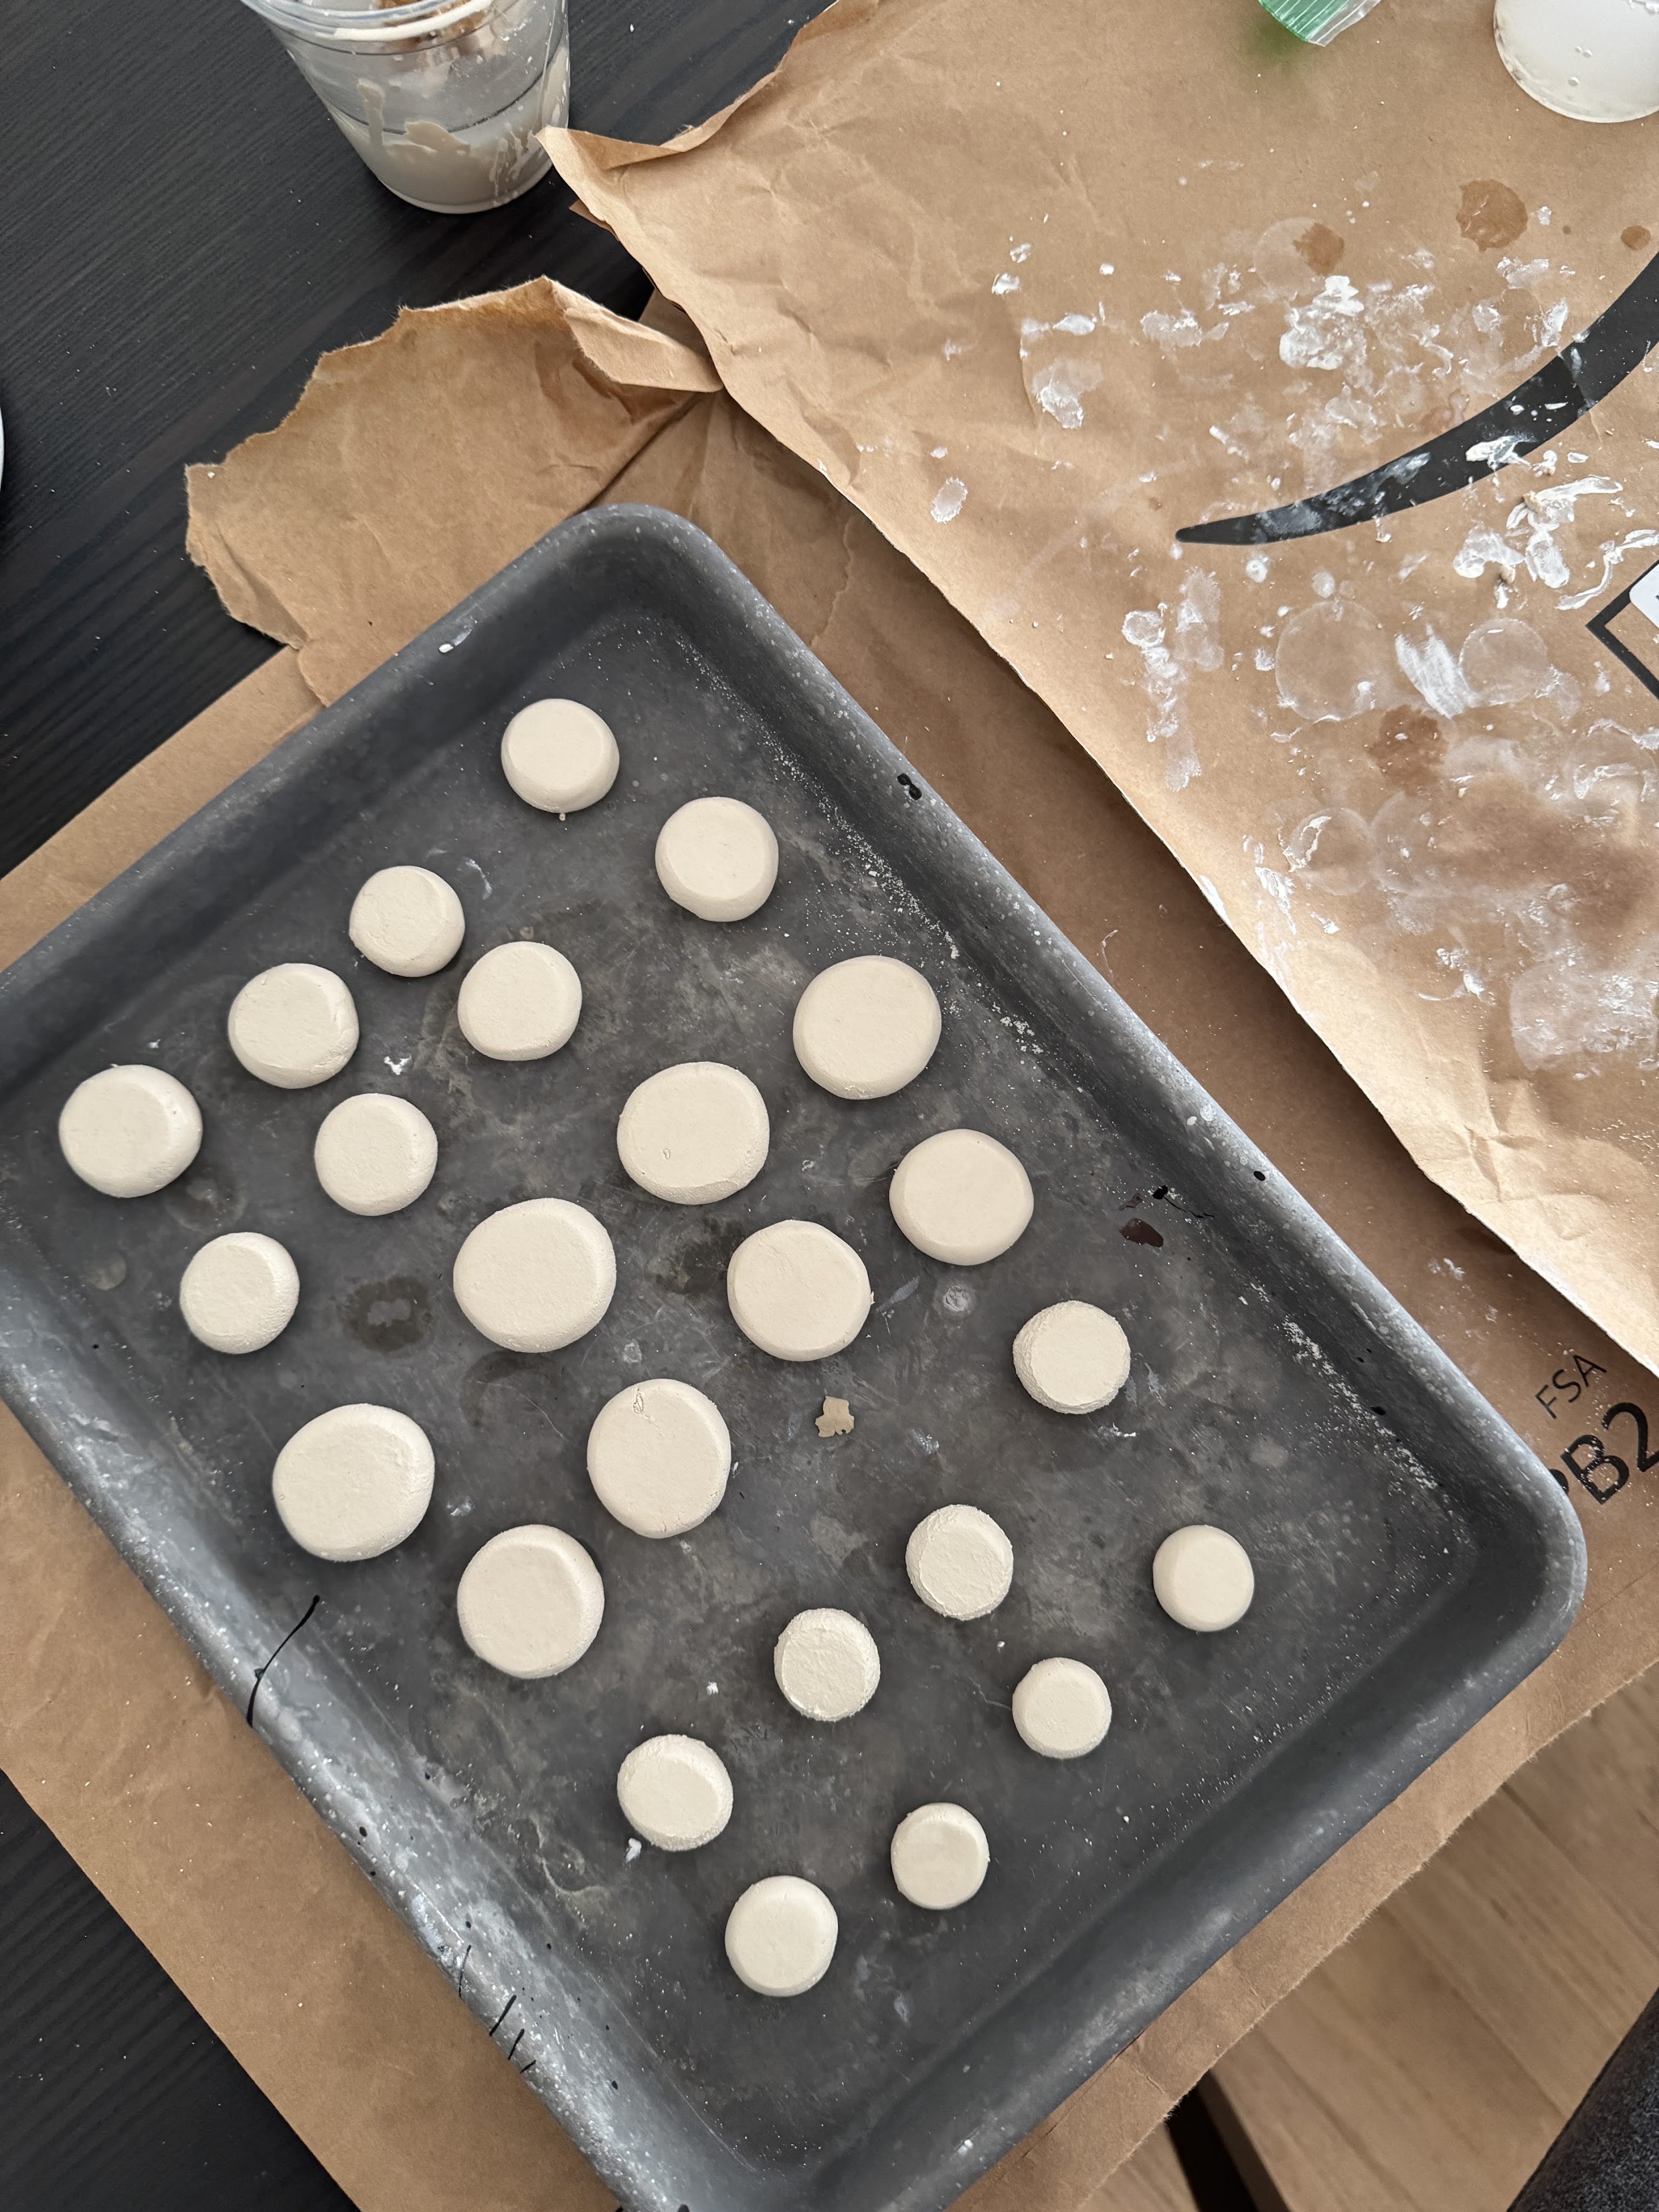
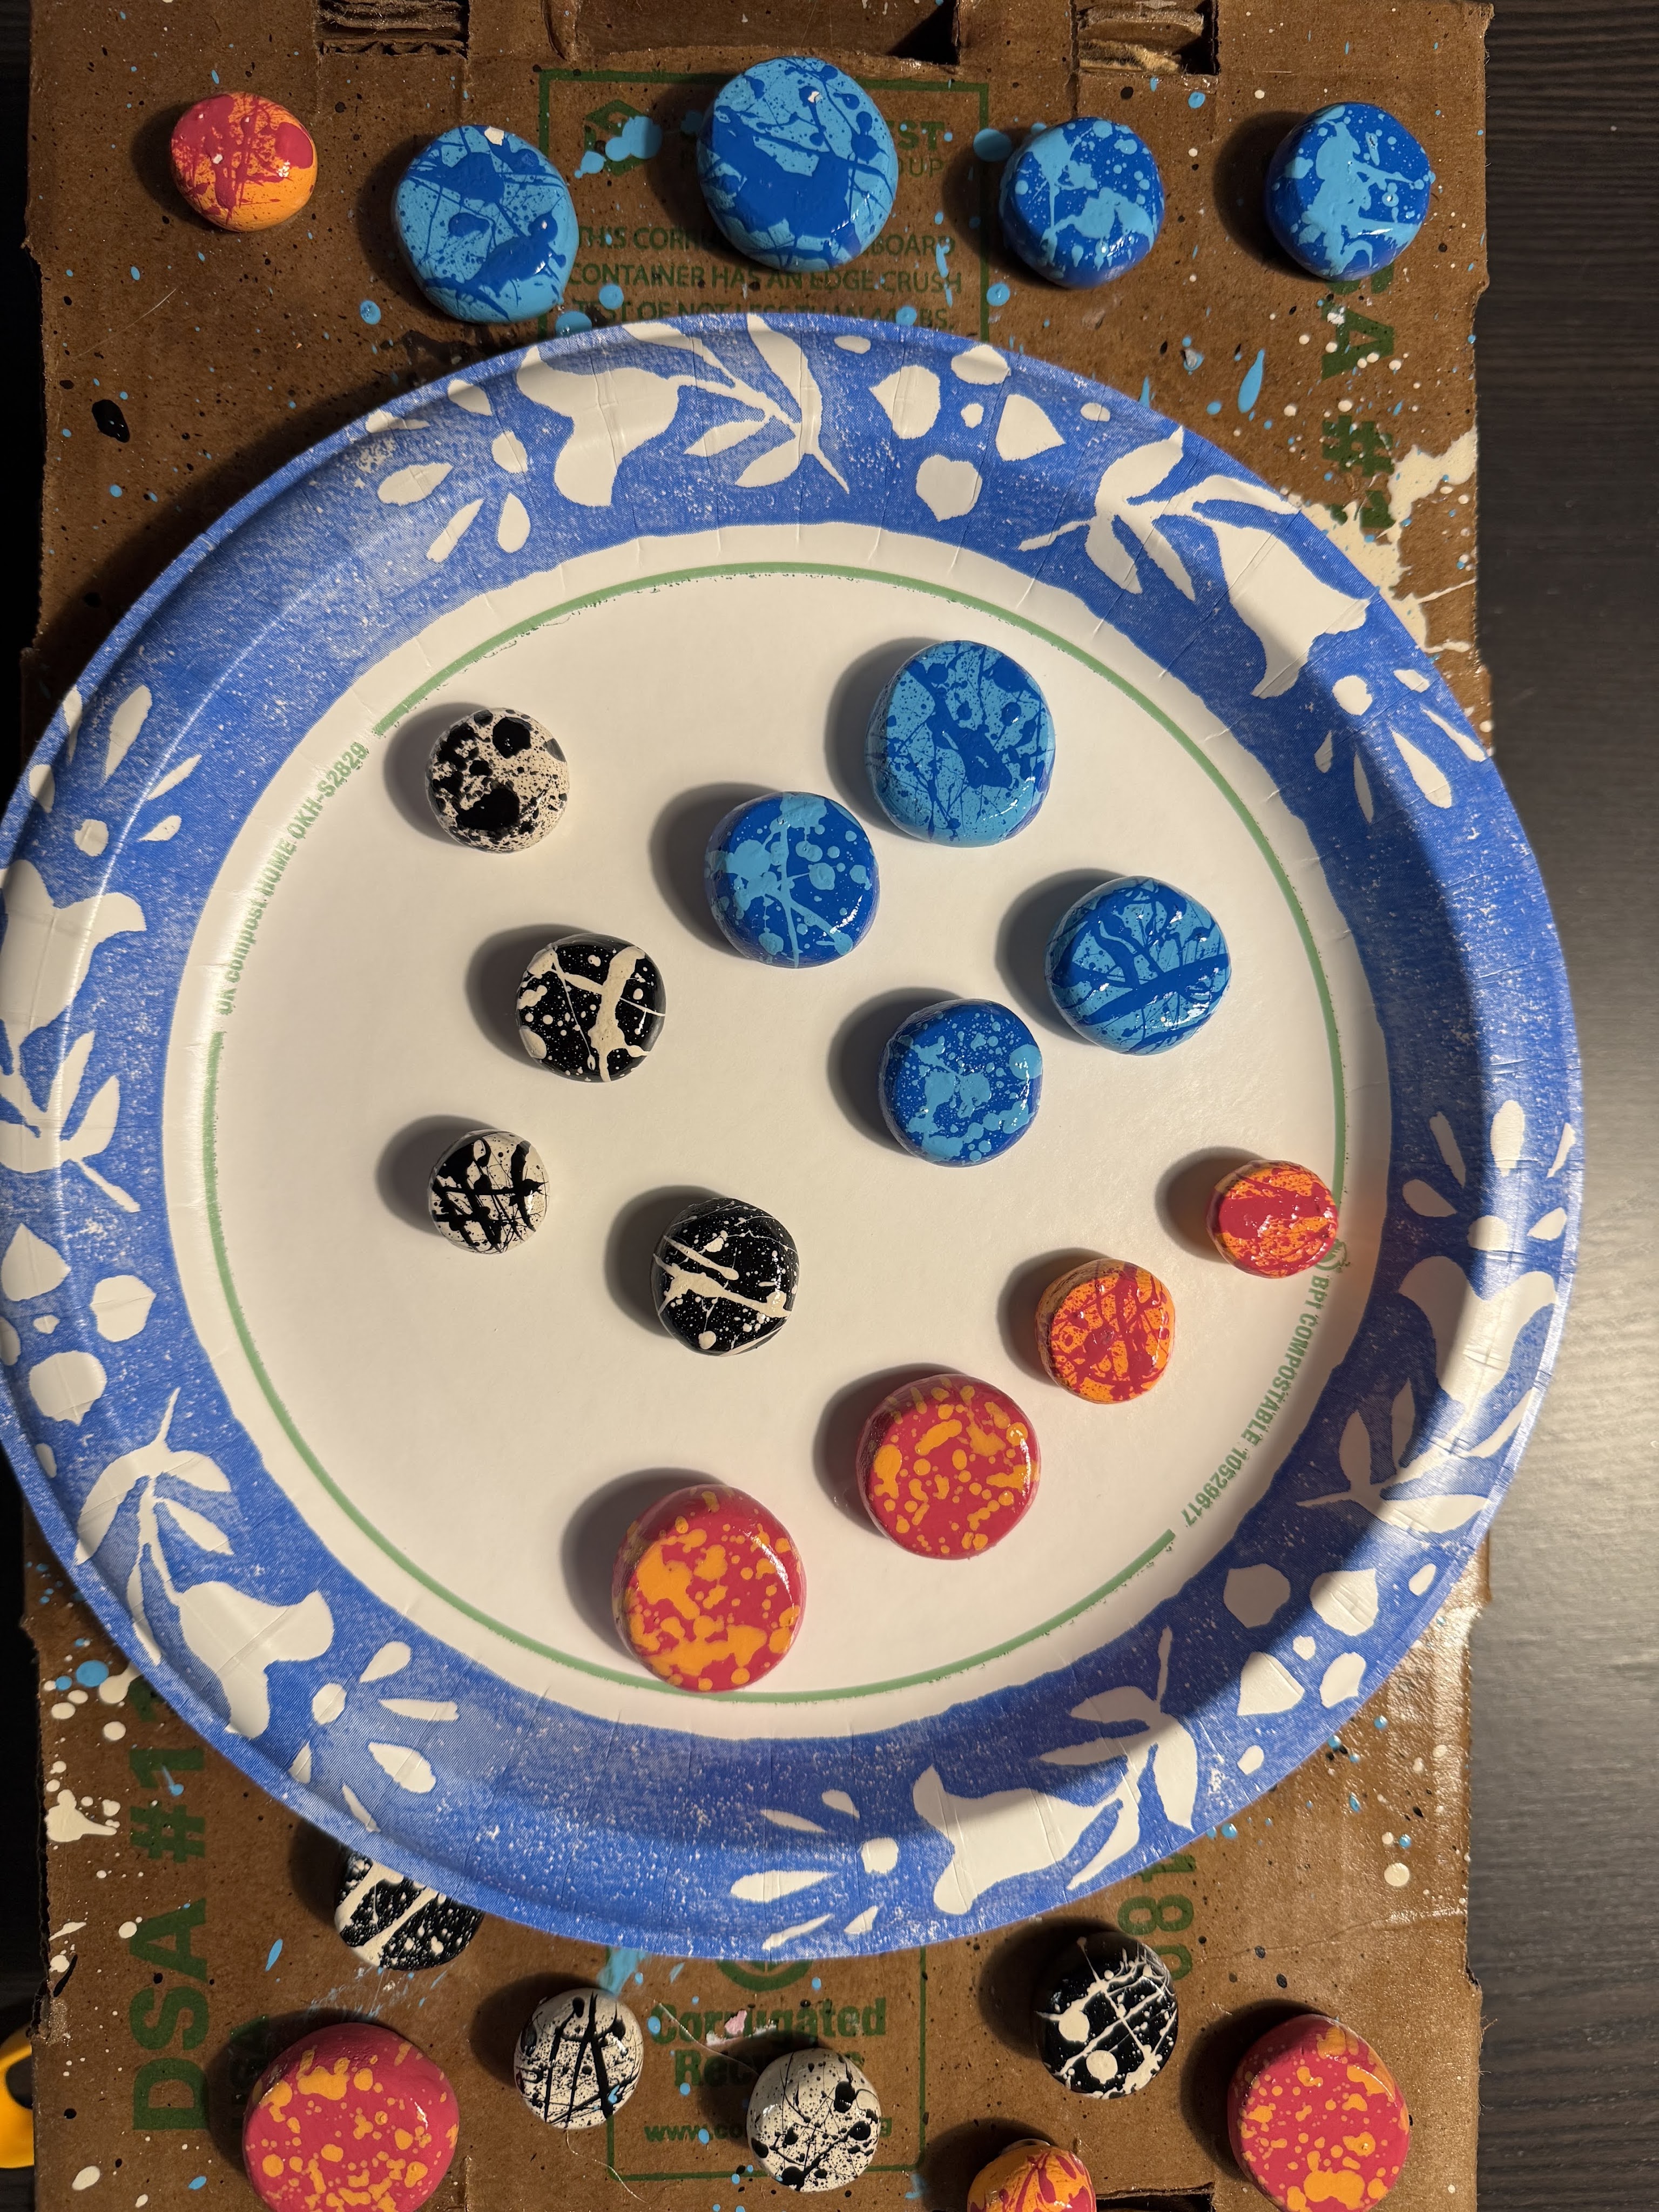
    The process was the same as the kidney bean dish. I dunked a handful of clay in a cup of water, then sculpted the individual pieces. These took much less time to dry, but took significantly longer to sand. For sanding I’m using a 200 grit sandpaper, because it’s what I already had on hand.

    I was trying to only use paint I had on hand, but was never able to achieve a hot pink/magenta color similar to the first reference image. Instead of wasting paint trying to get the right shade, I decided to just buy it.

    To be honest, I am not completely happy with how all of the splatters turned out, but am trying to treat this as a lesson in imperfection. Splatters are not perfect by nature!

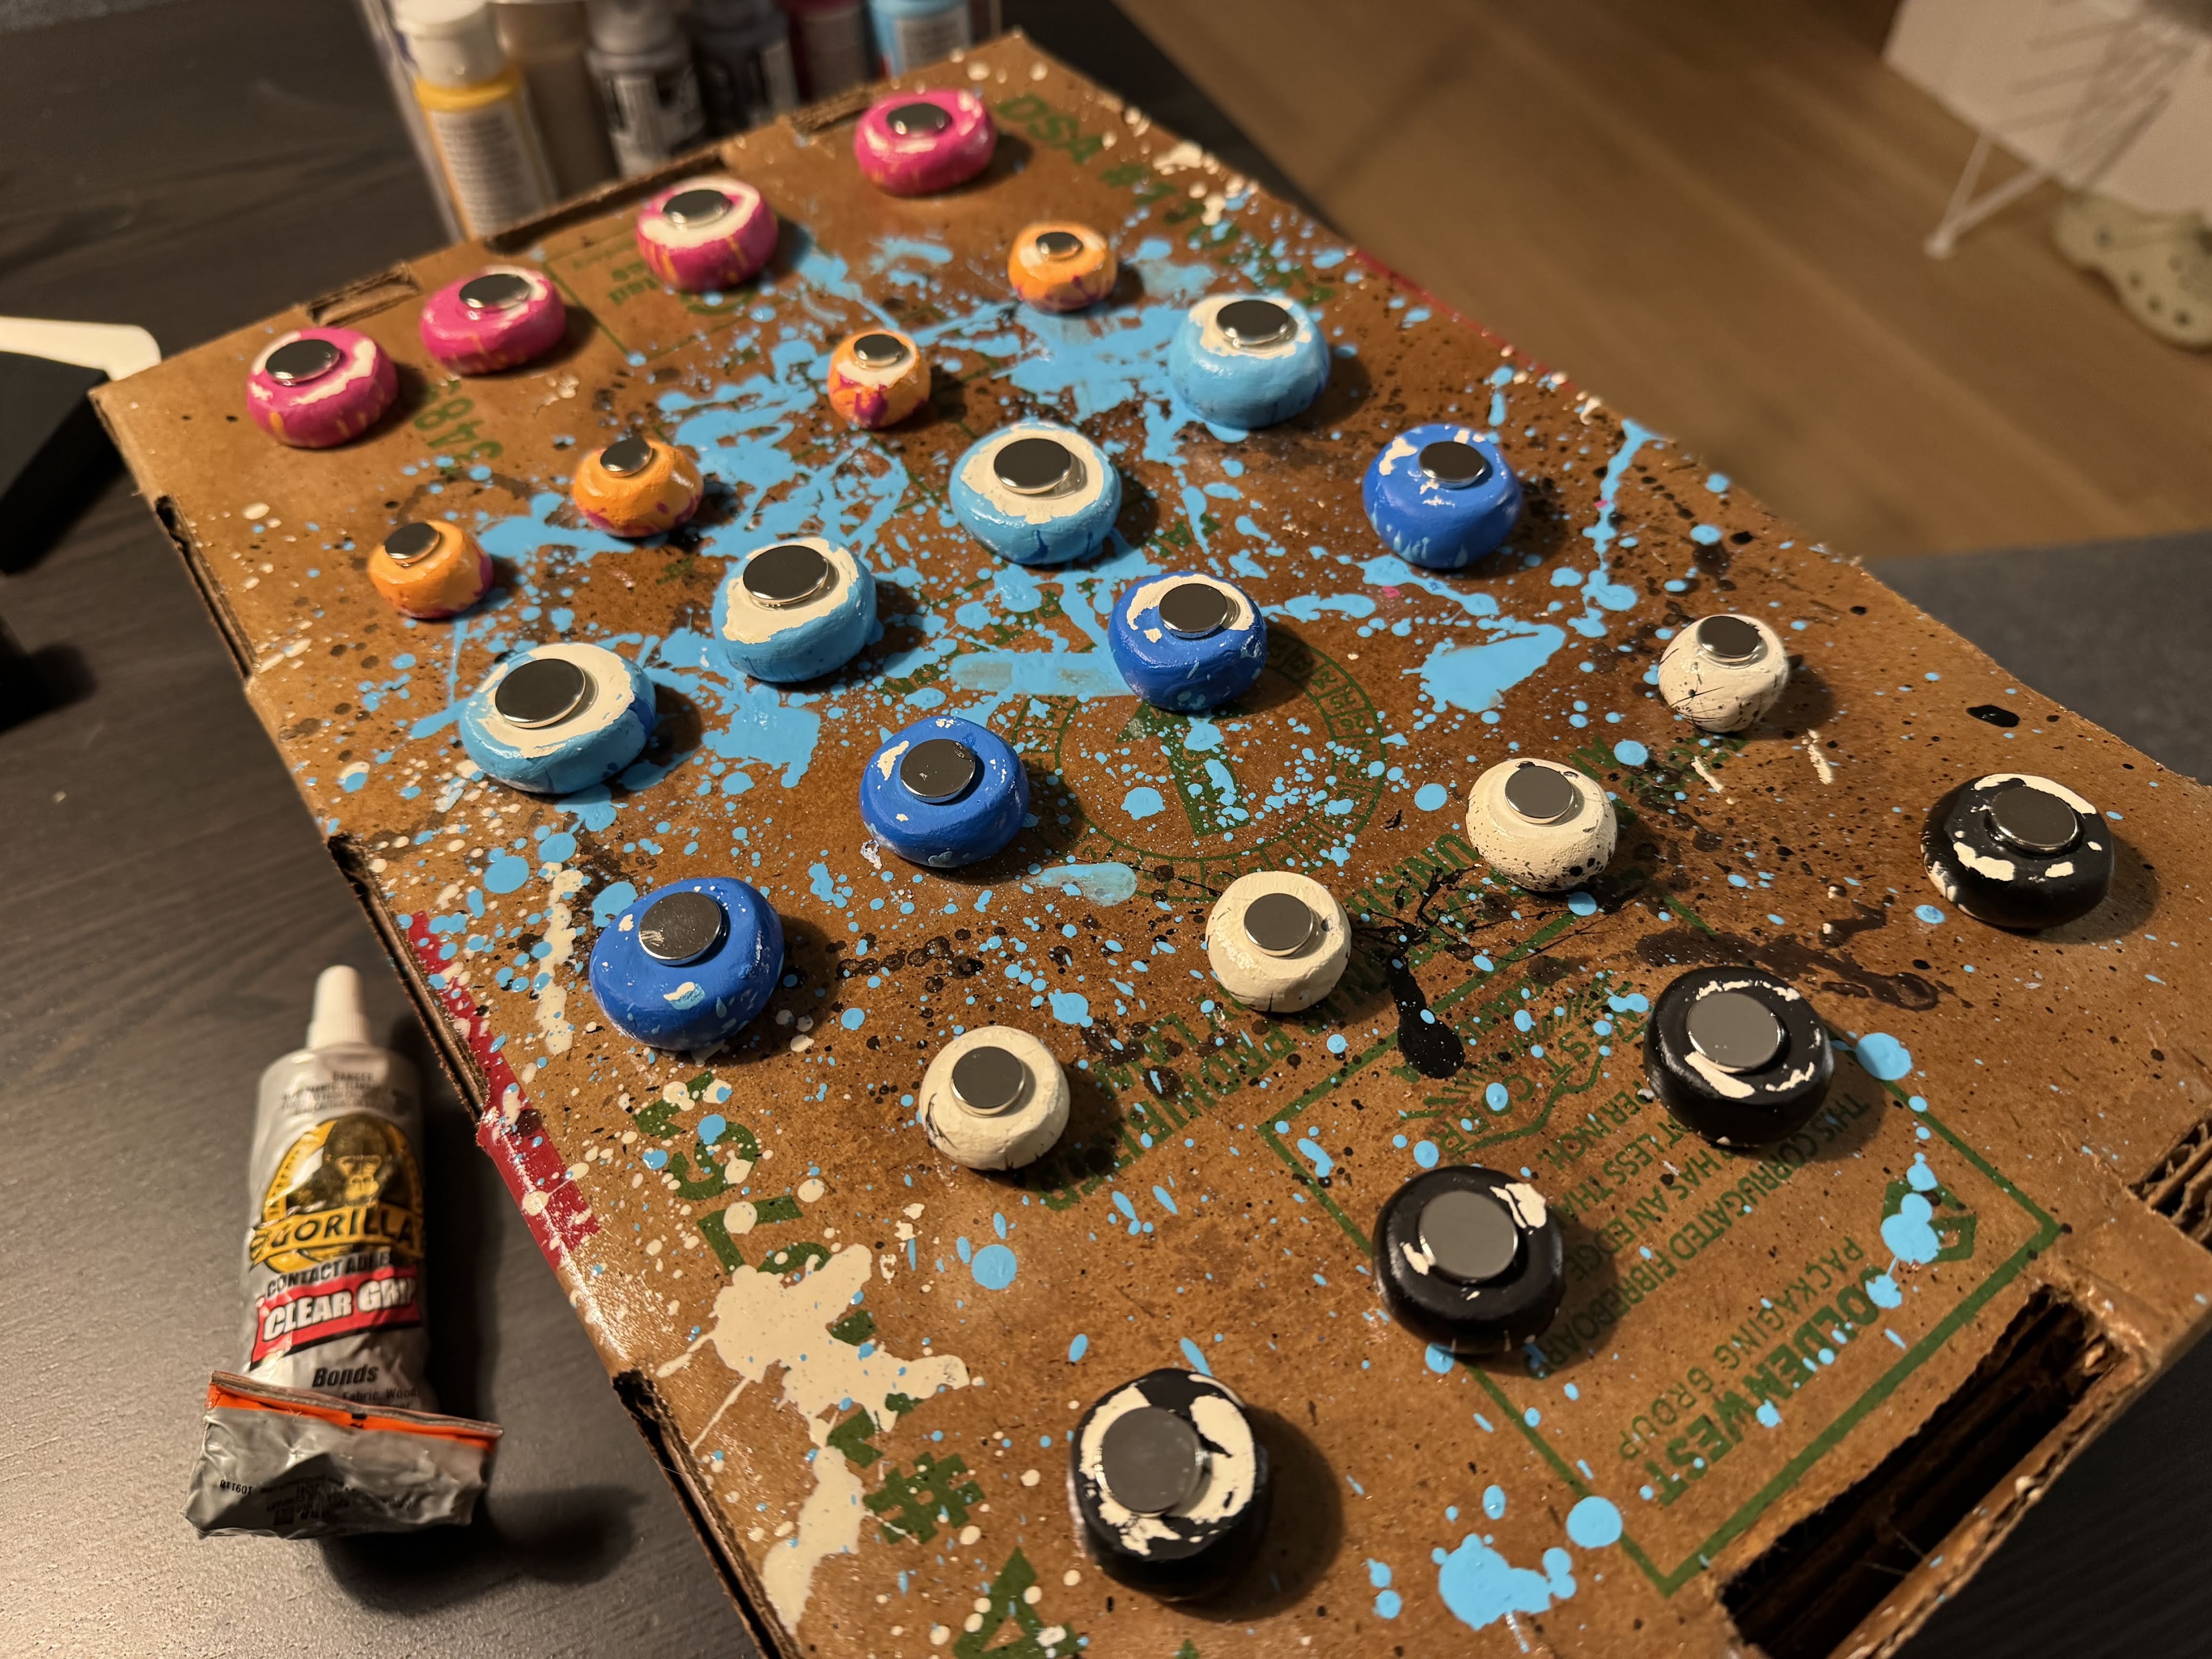
    Now… Here’s where things got kind of scary. After applying 3 coats of glossy mod podge sealer, I flipped the mostly dry pieces over so I could glue magnets to the back. Since that was going to be a really quick task I didn’t think much of it… What I did not take into consideration was that I was flipping them over onto the surface where I had also sprayed the glossy sealer…. and because both were still slightly tacky, a few of the pieces tried to get stuck which resulted in some of the paint peeling off.

    The good news is that the plan was always to create multiple sets of magnets. And like I said before, this is a lesson in imperfection.

    All in all, I am happy with the results and enjoy having a bit more color added to my own fridge 🙂

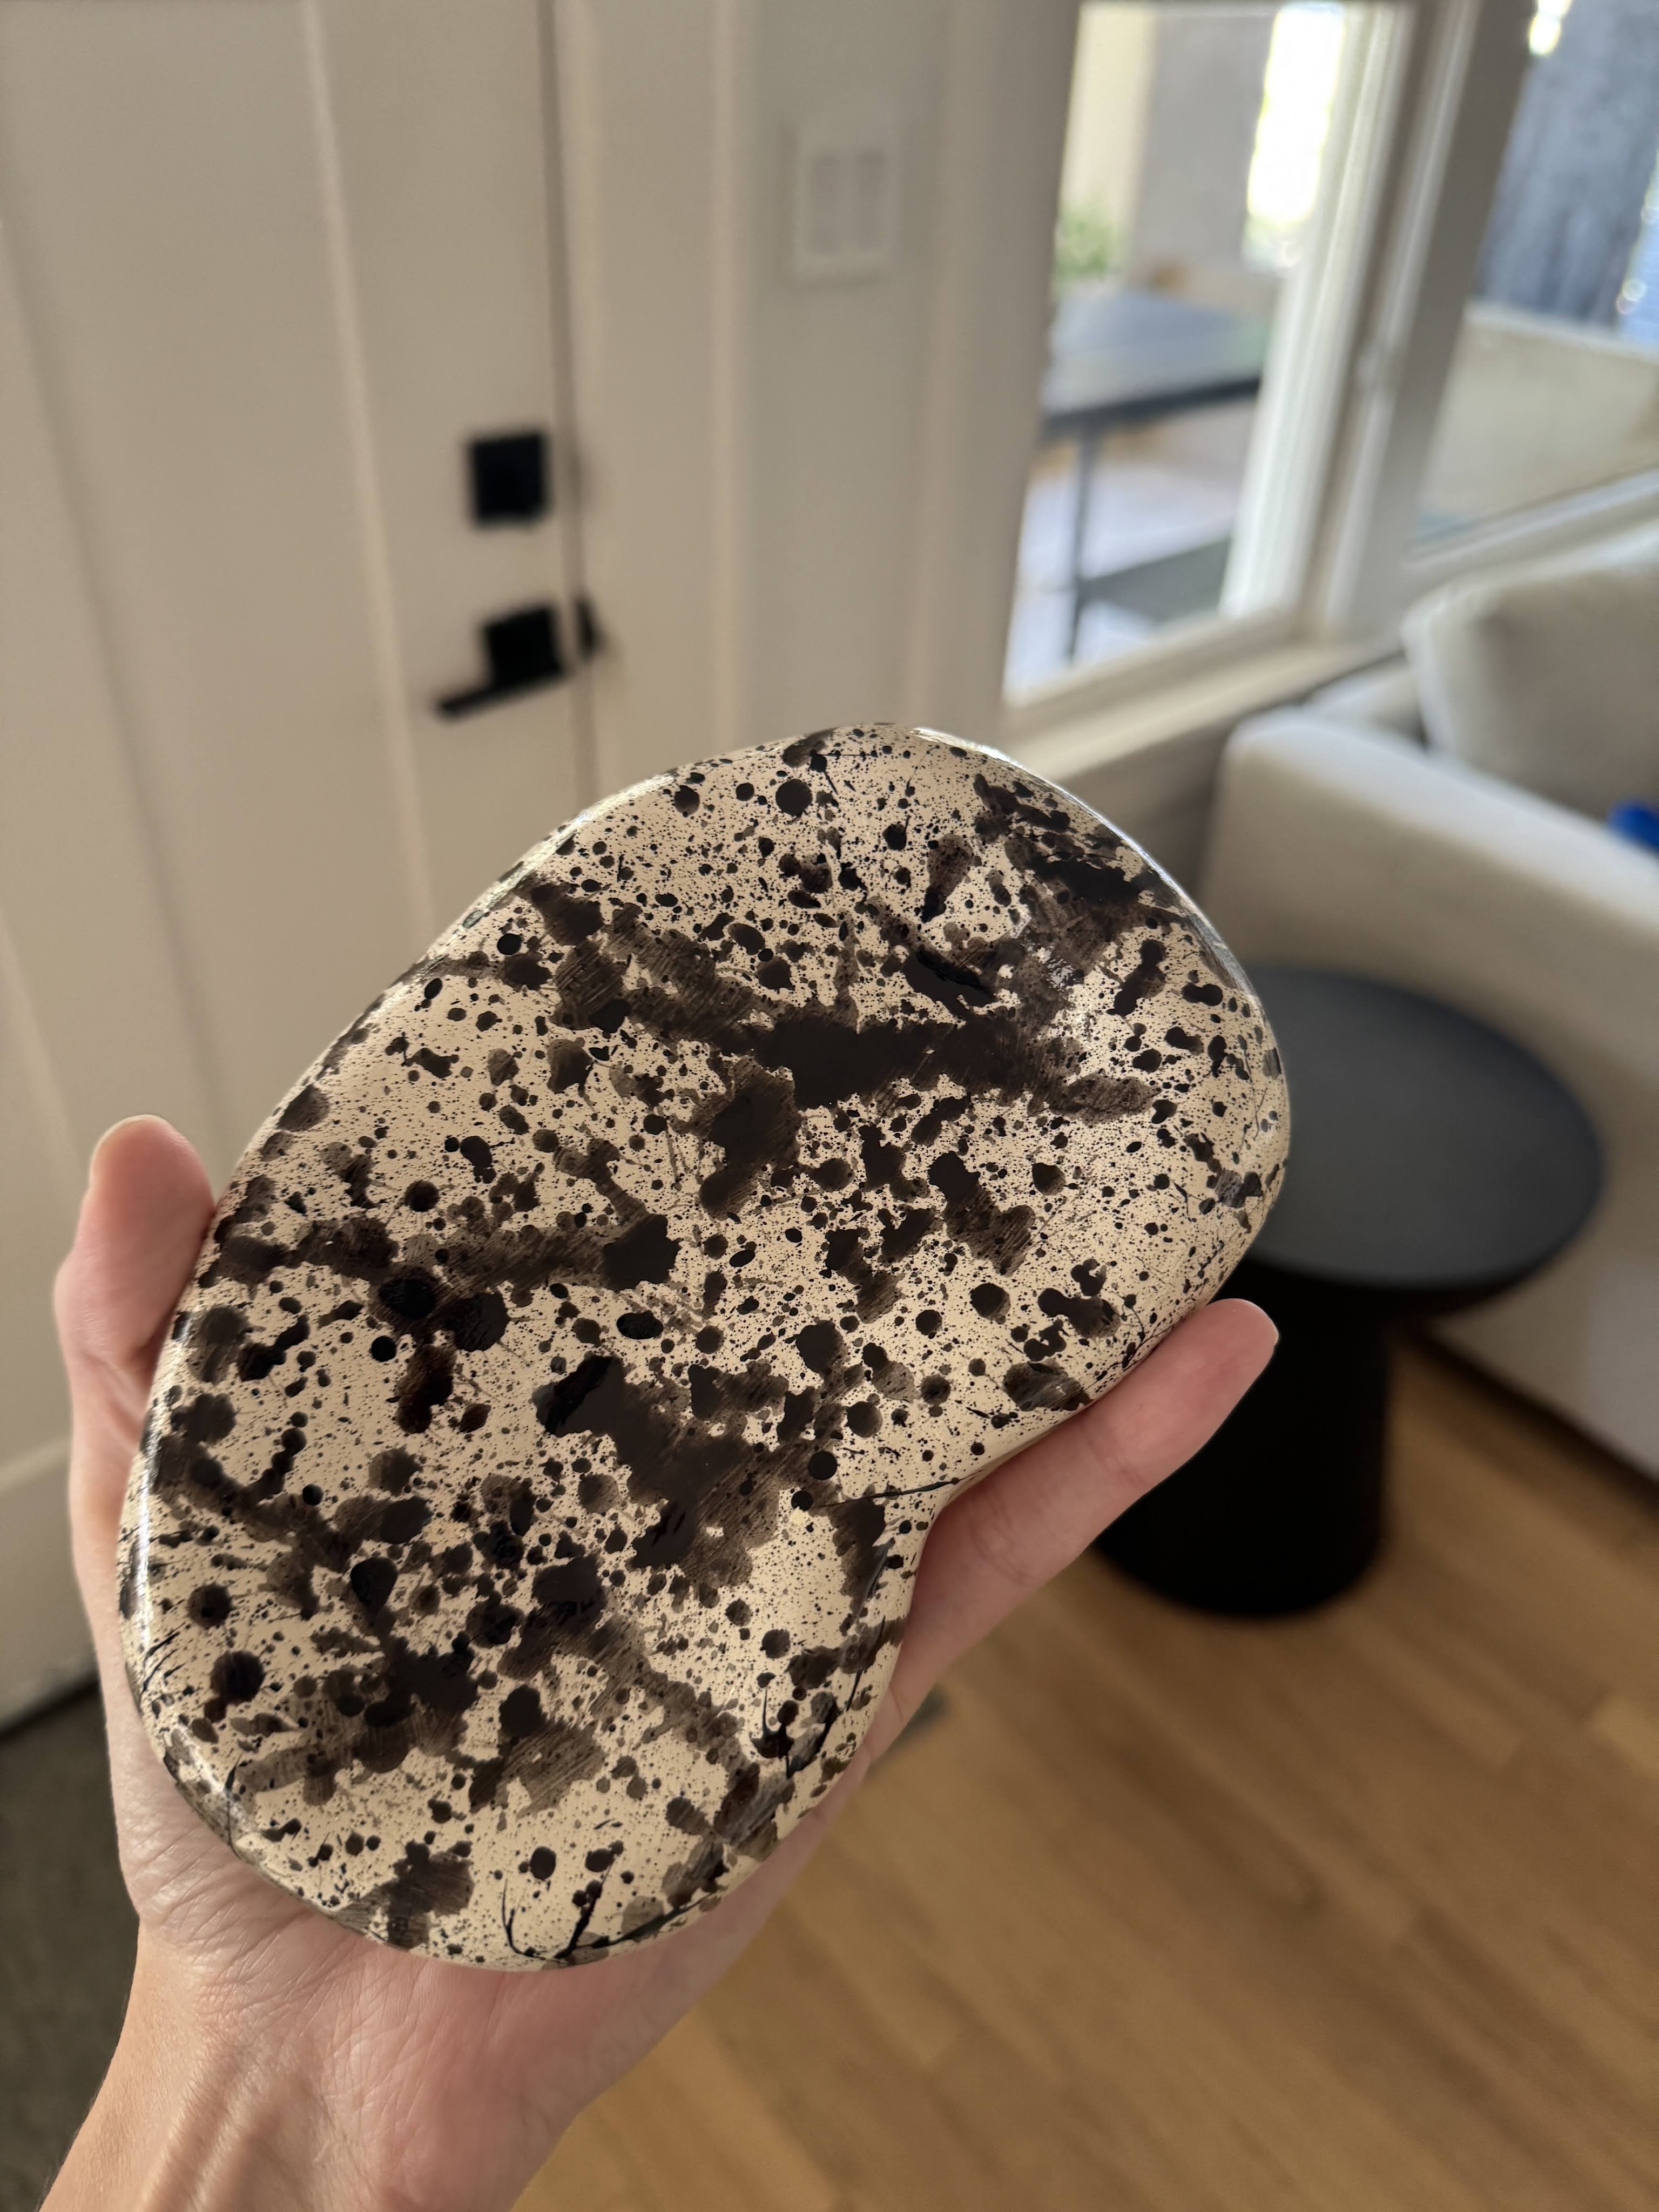
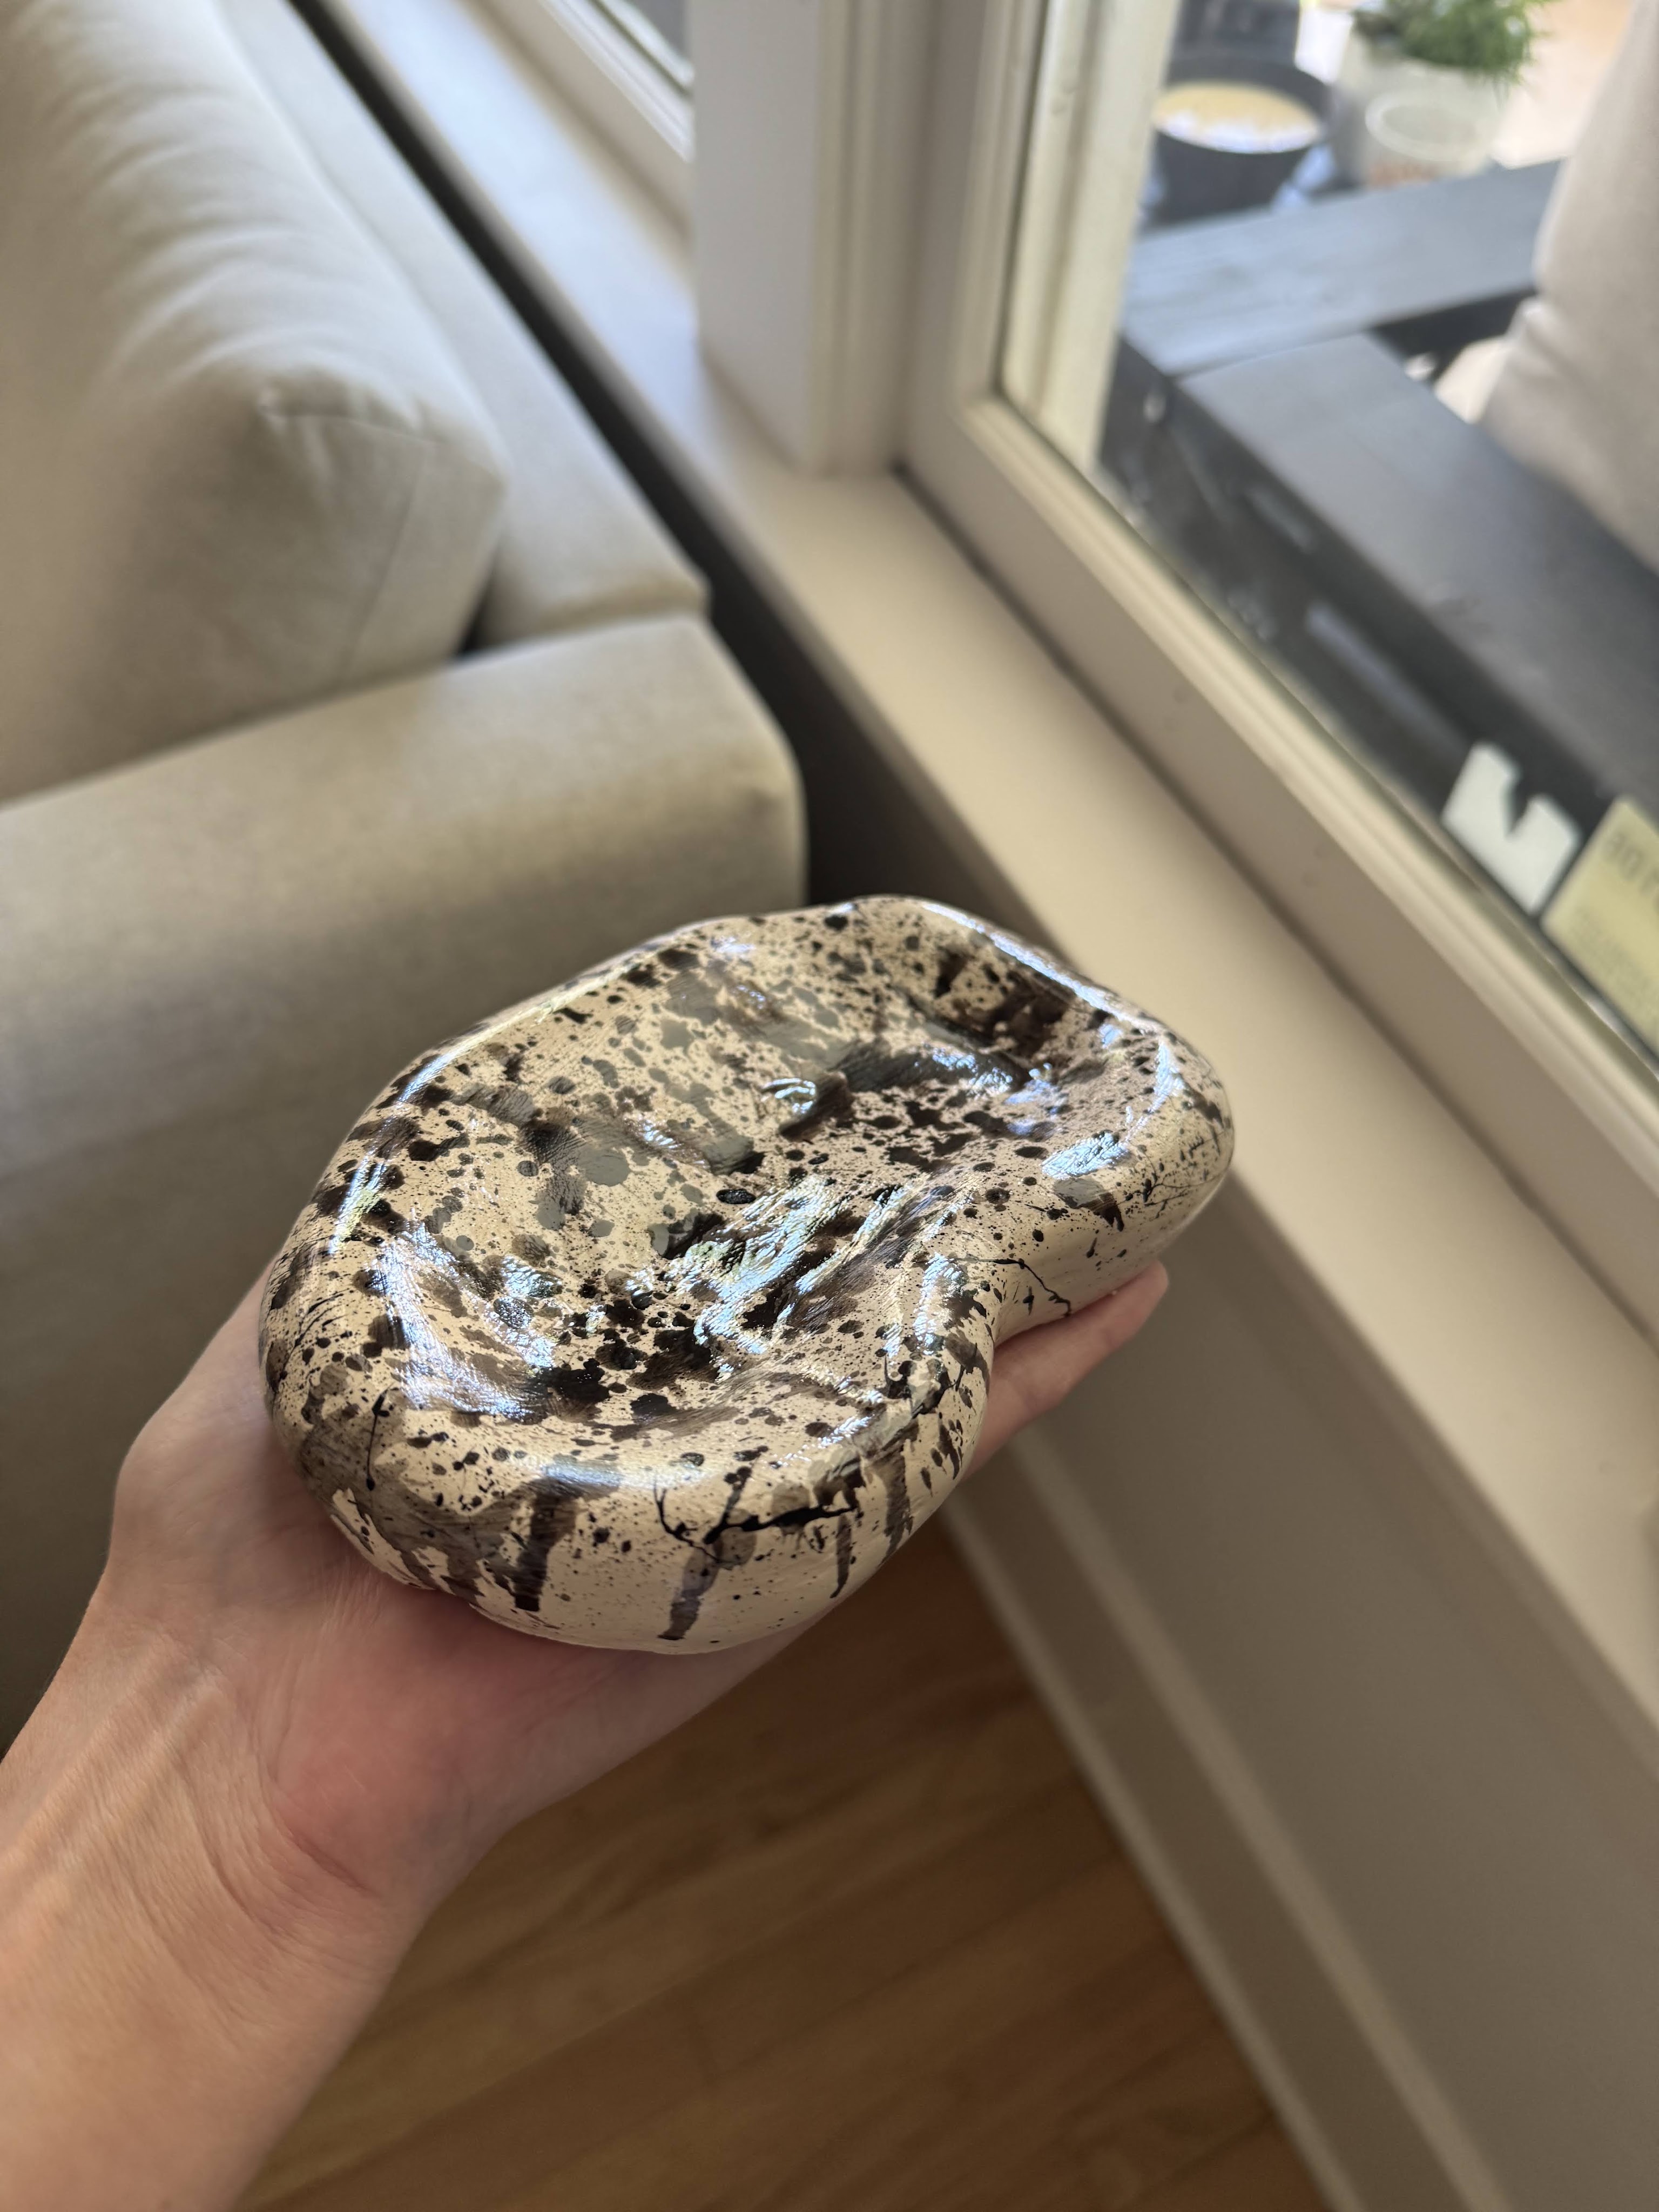
  • Earlier this month my best friend sent me a photo of a ceramic “bean catchall” and I confidently stated that I could made it with air dry clay, paint, and mod podge… or as I called it – modge podge.

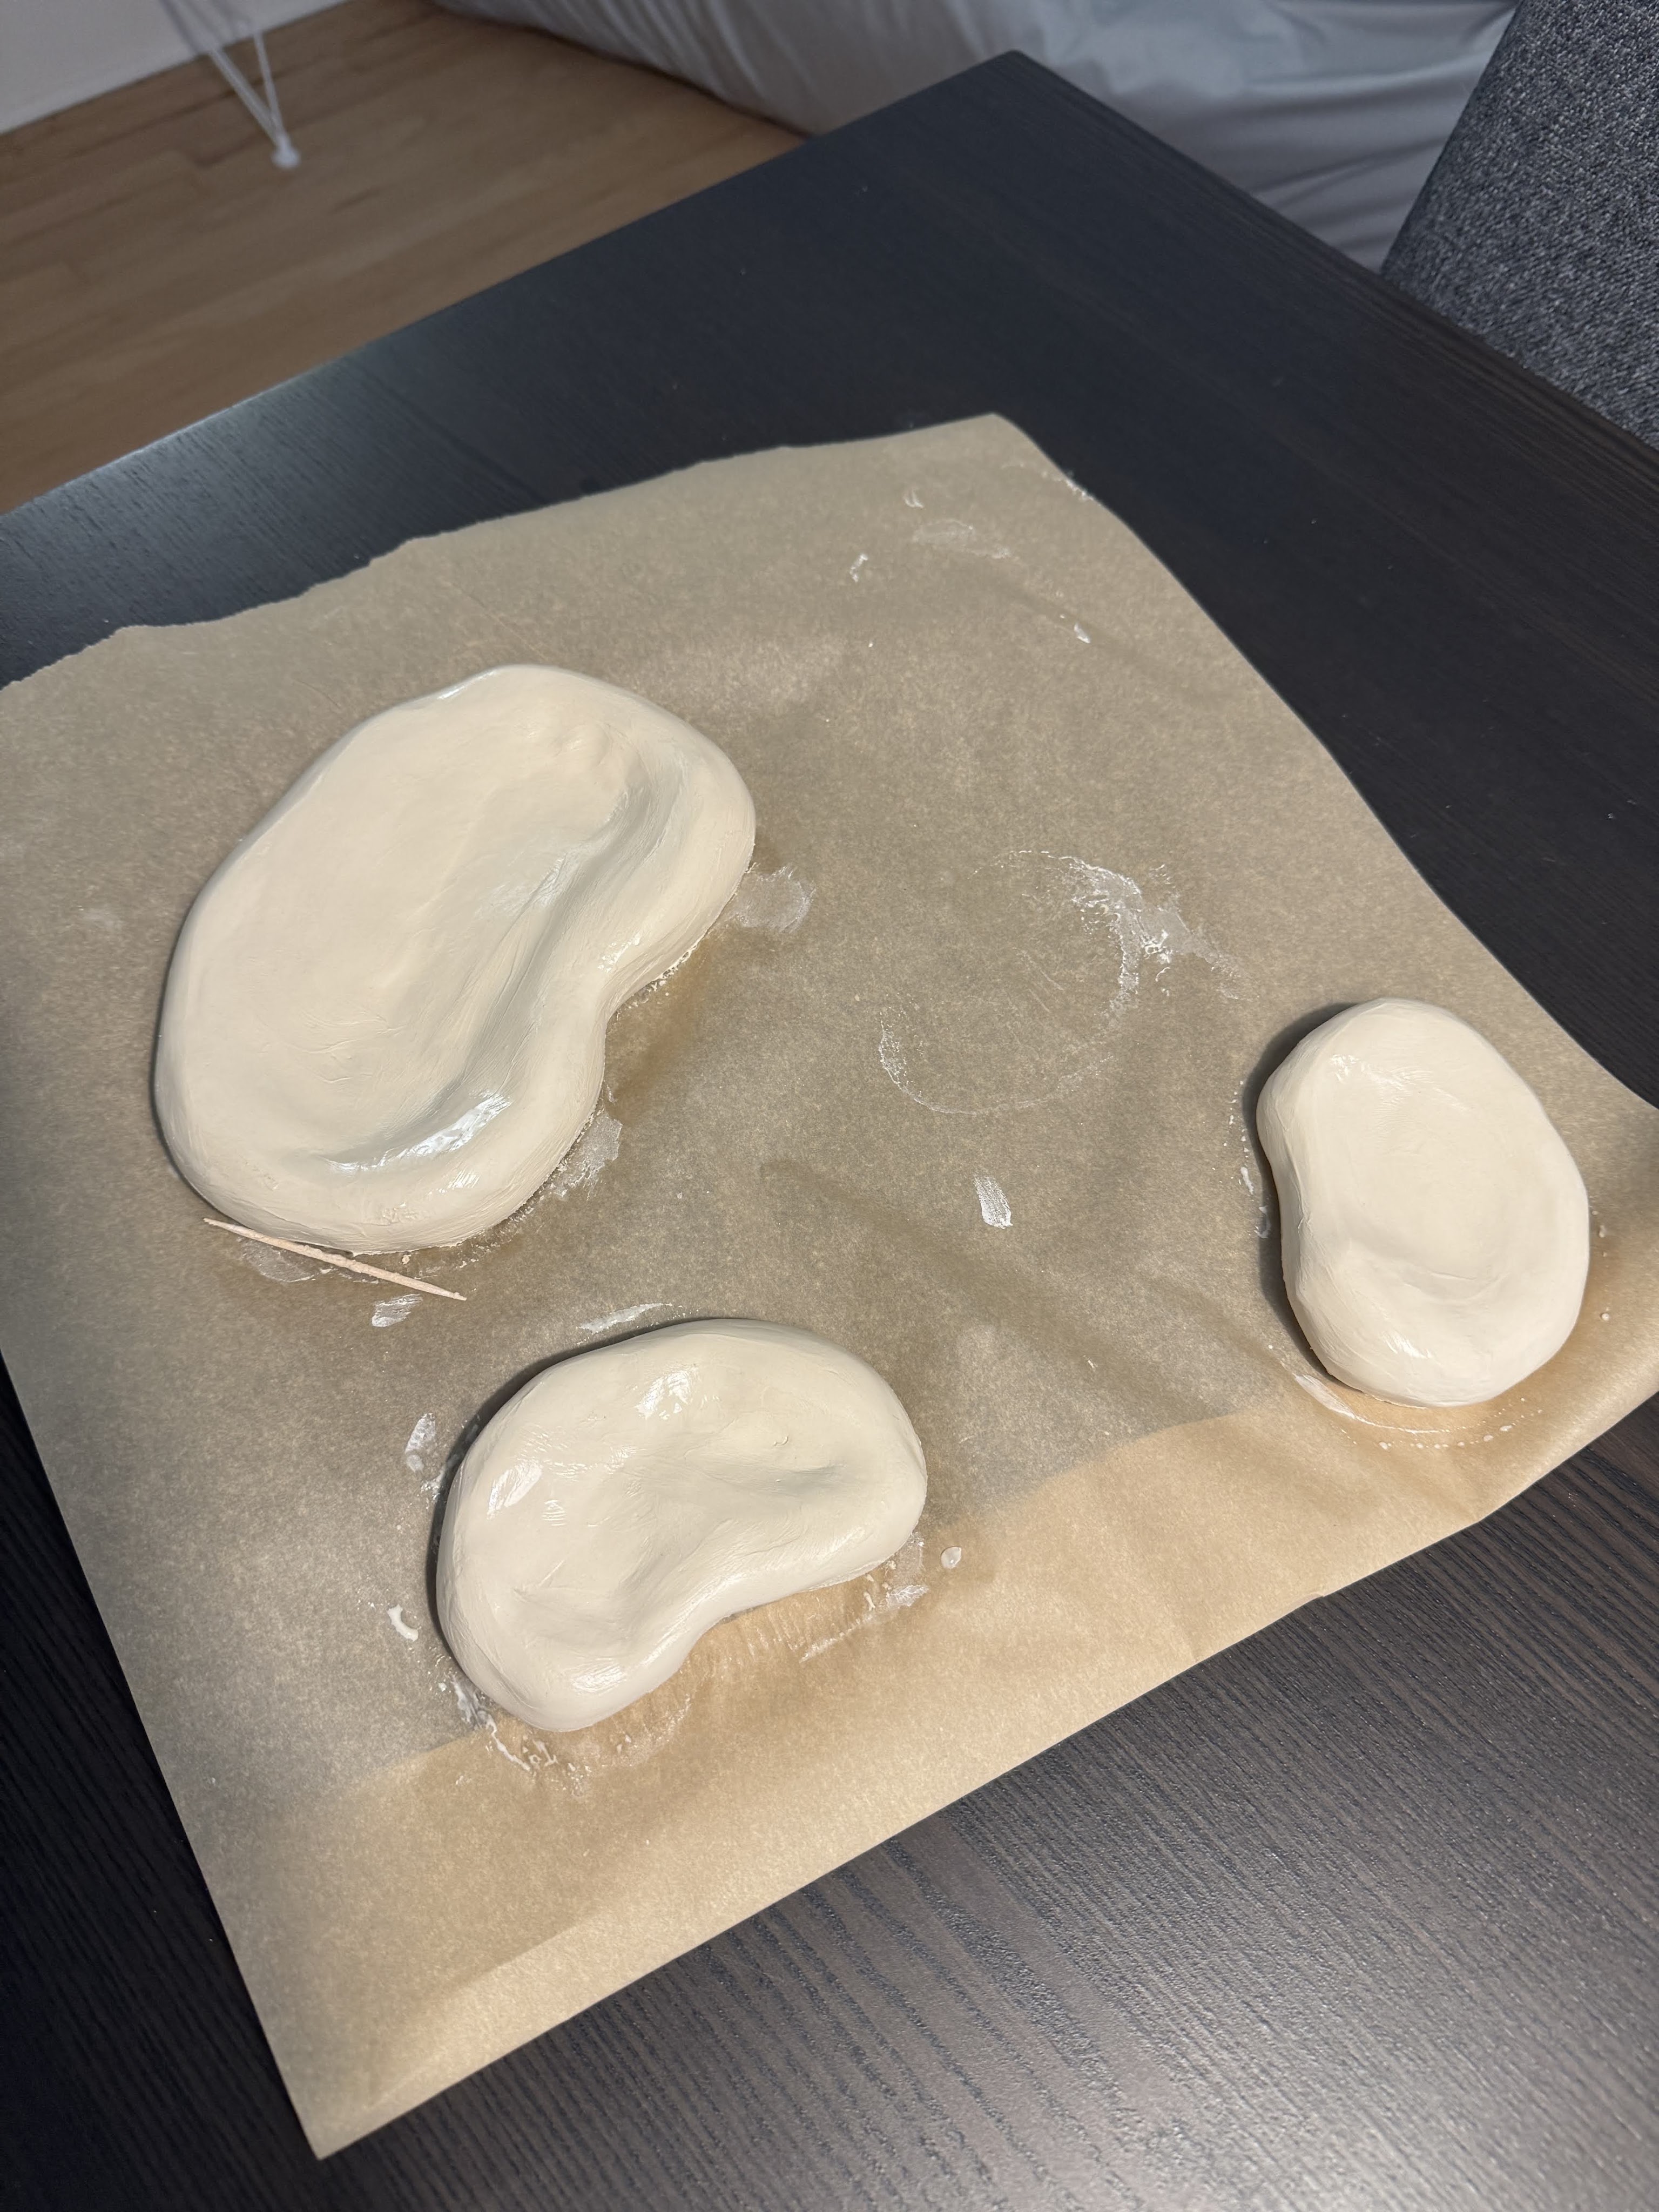
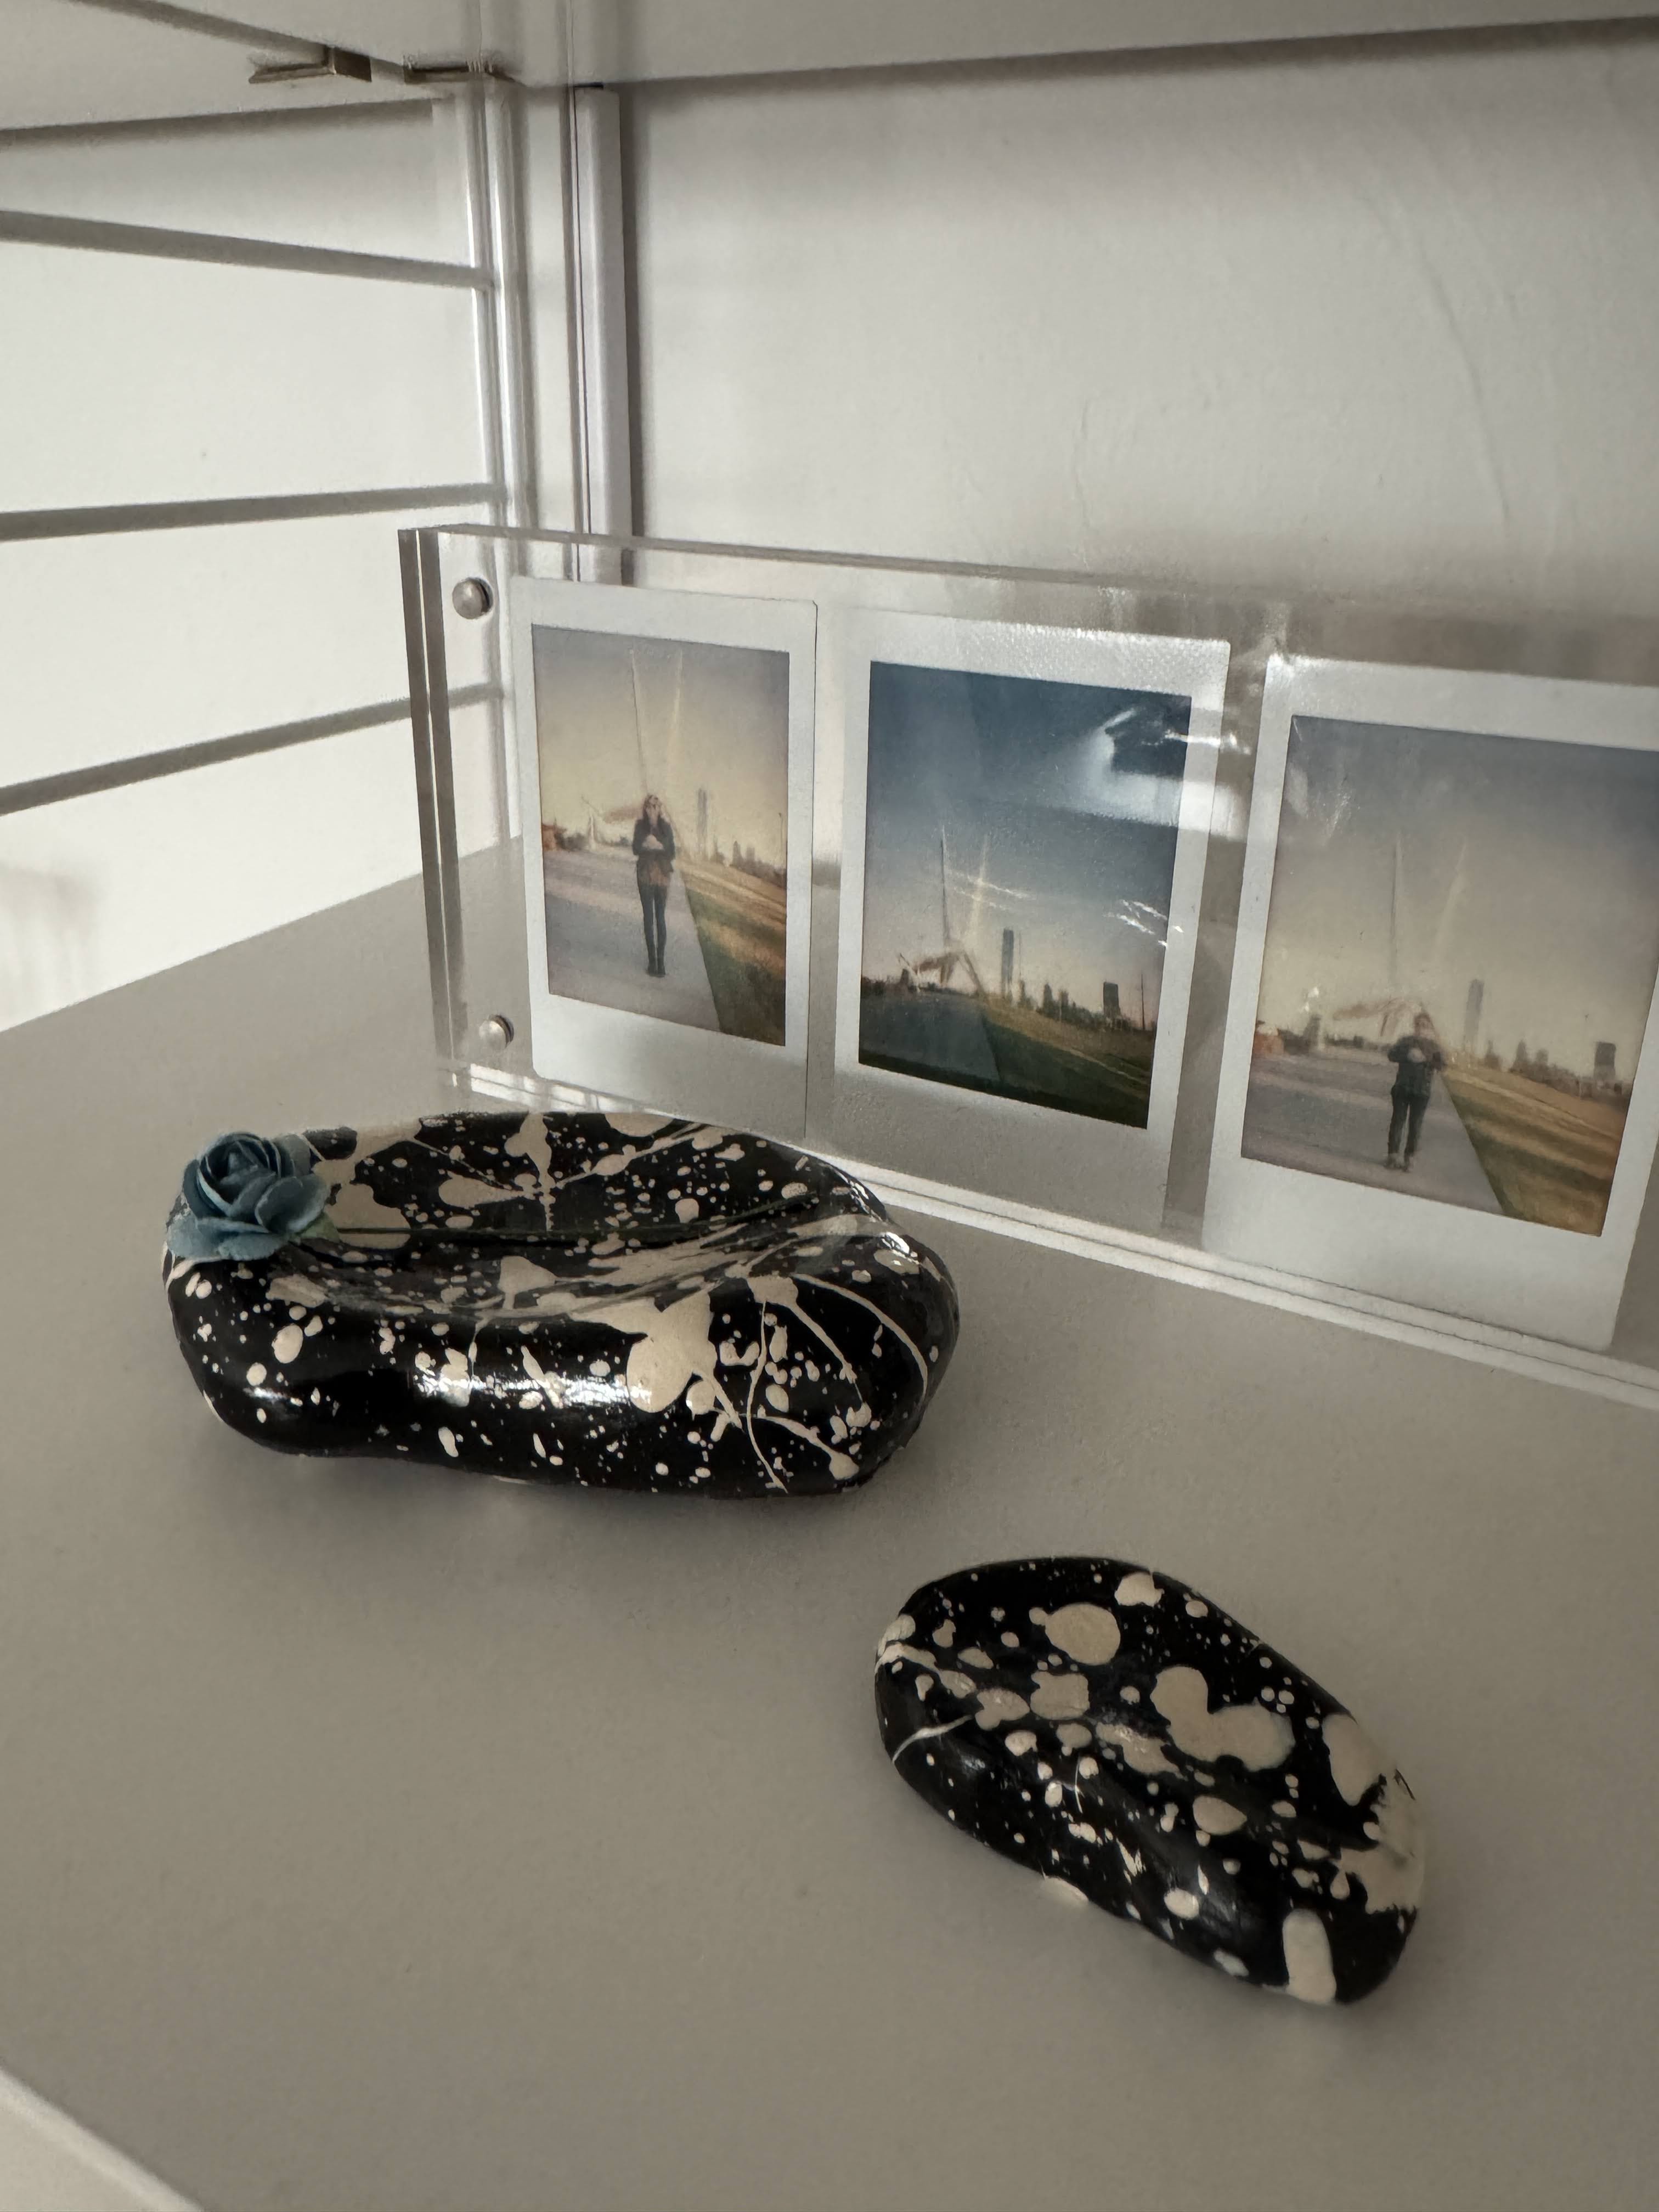
    Despite having never used air dry clay, I referenced the dimensions of the original (~4.5″ x 7.5″) and got to sculpting. The smaller versions were initially created as a means to test painting methods, but they turned out to be my favorite part of the project.

    The internet informed me that air dry clay was prone to cracking so my solution to this was to add a decent amount of water while manipulating the clay. One thing I learned is that air dry clay takes a LONG time to dry… which now that I am typing this out, is probably due to the amount of water I added.

    Once the clay was dry I lightly sanded the pieces, wiped them off, then painted them with a couple of coats of off-white acrylic paint.

    I initially tried to achieve the dots/drops by slightly diluting a dark brown paint and using a dropper. However, I was never able to get the consistency quite right.. It was either so thick that it created a much too solid blob of paint, or so watery that it ran and pooled in the center of the dish.

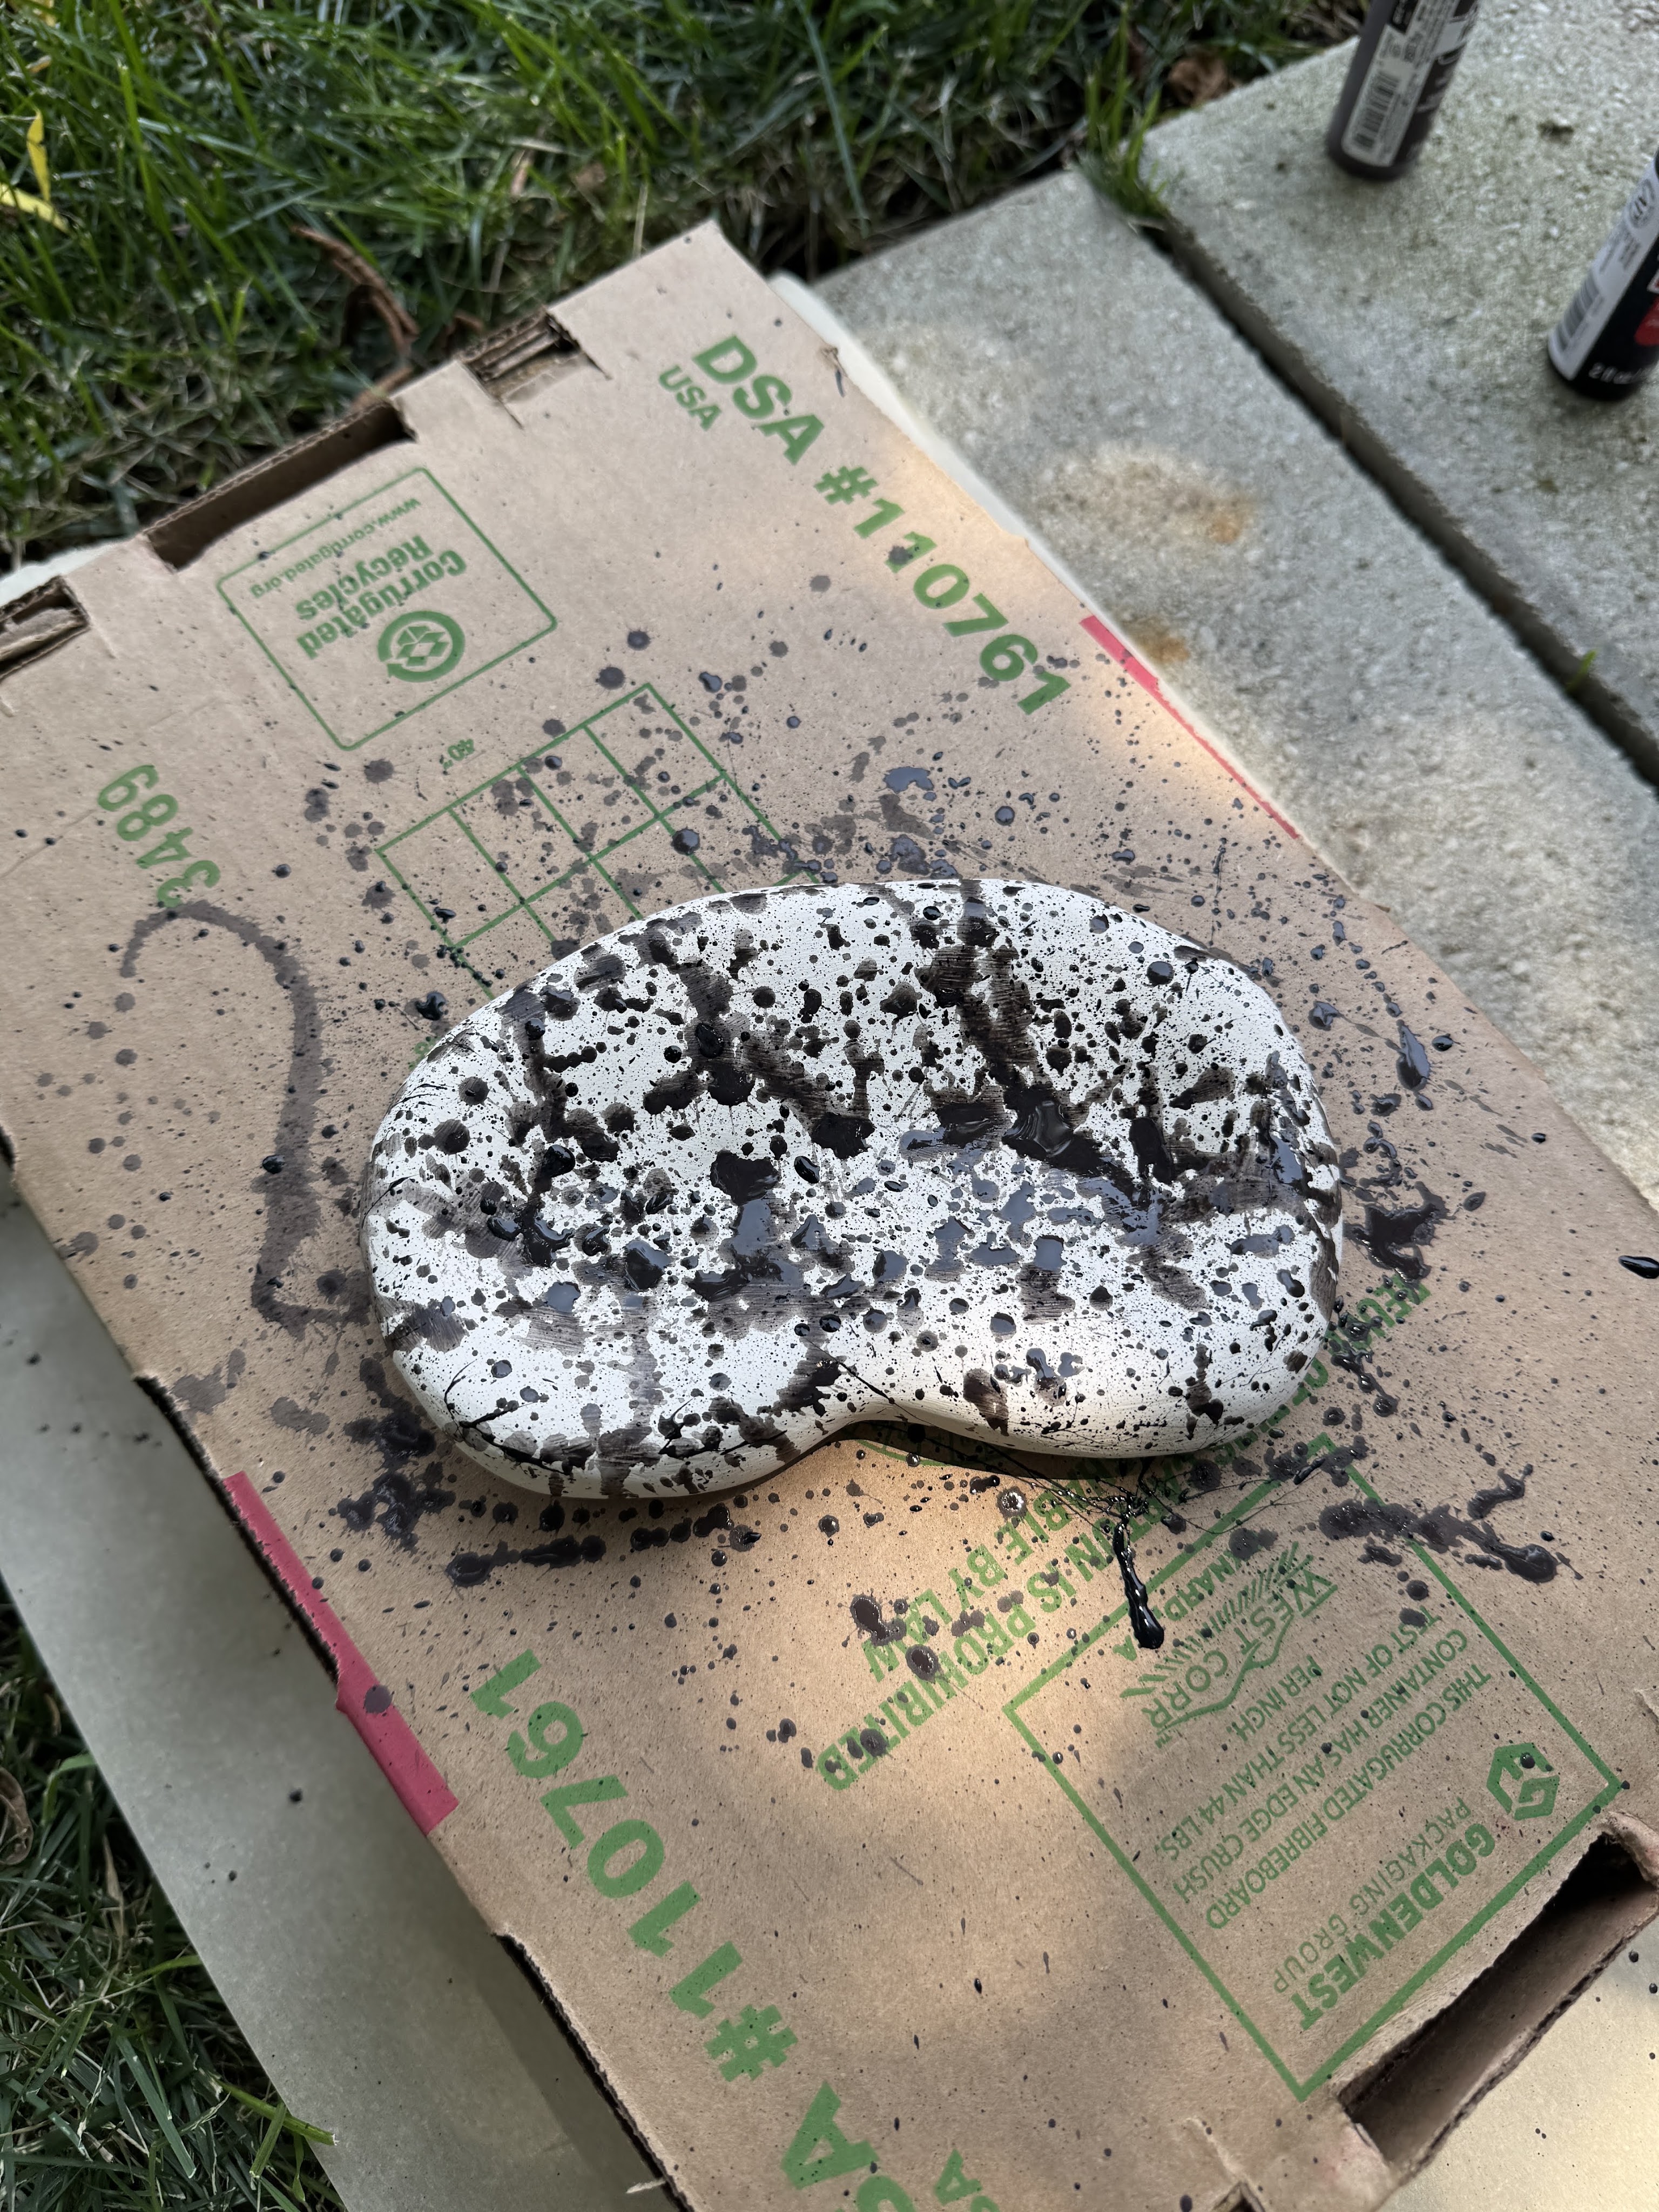
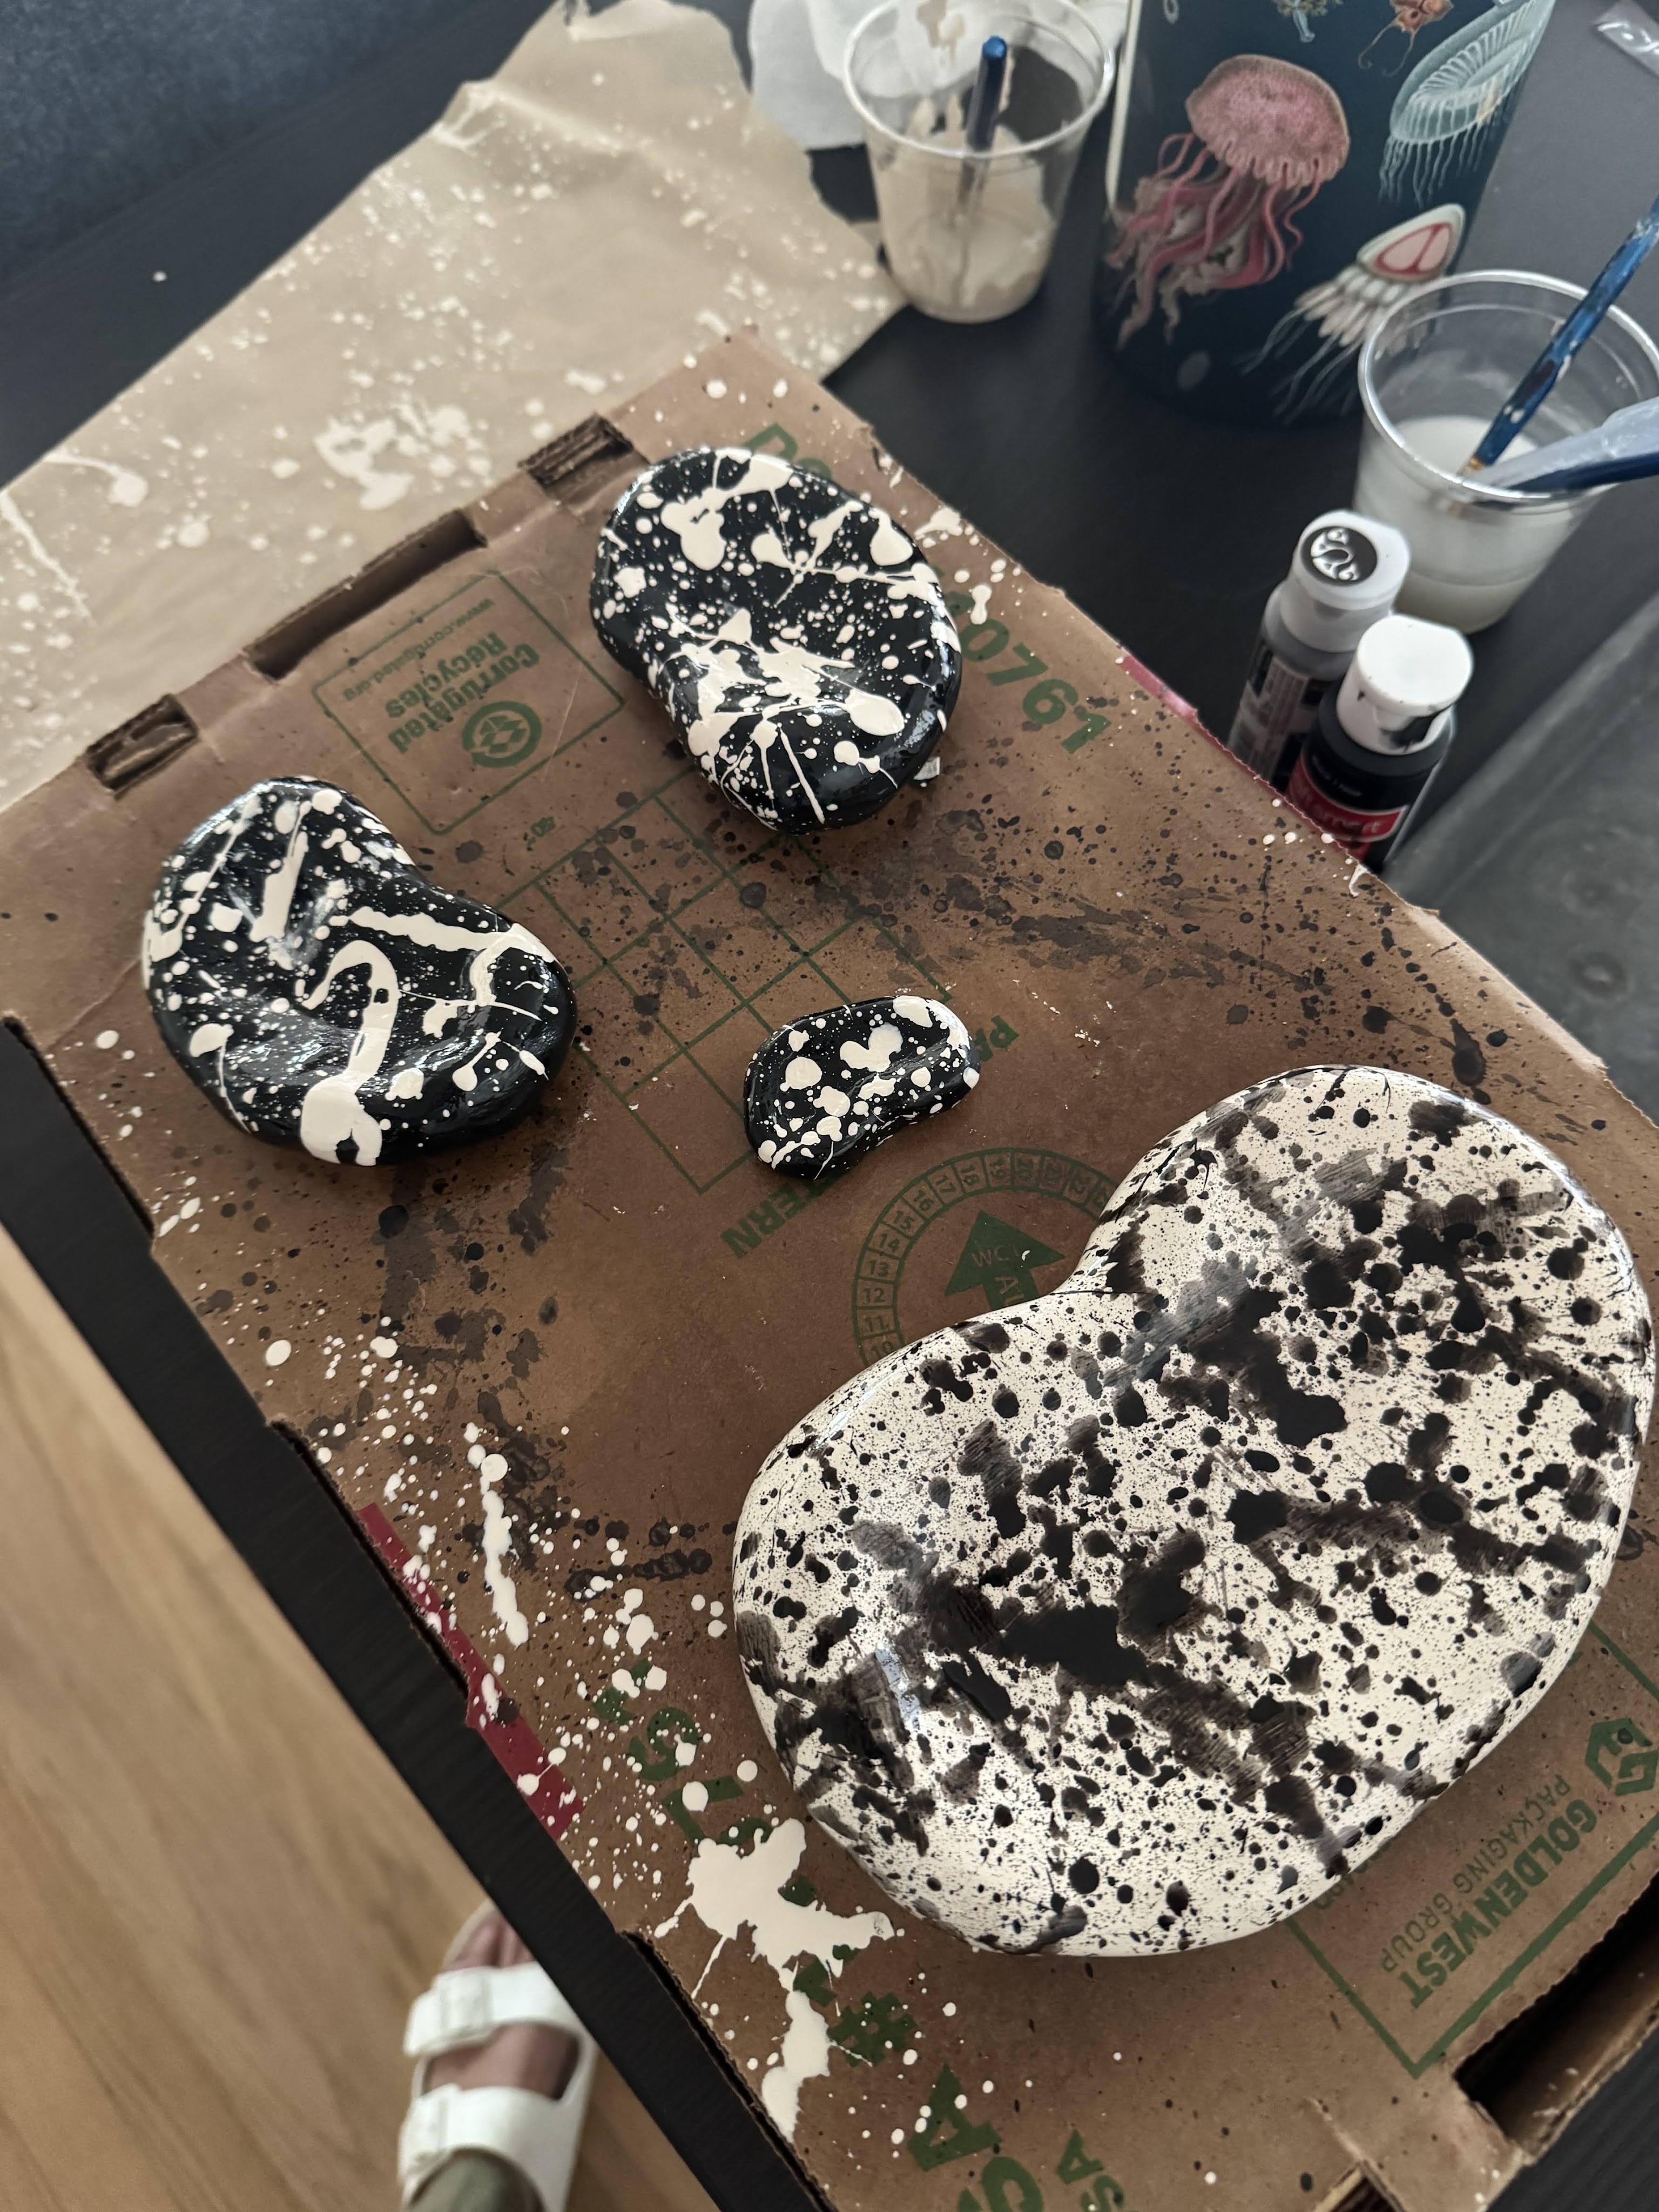
    Luckily these attempts with the dropper were only made on the smaller test pieces, and before moving on to the larger piece I had settled on just splattering paint on with a brush. I didn’t do anything fancy here, just ran my thumb over the bristles and knocked the brush against the lip of my water cup until I was satisfied with the result.

    Since I was unhappy with the methods used on the test pieces, I ended up painting them black and using the off-white paint to create a kind of inverse effect. They remind me of composition notebooks and Harriet The Spy!

    After they were all painted, I sprayed them with about 3 coats of glossy mod podge sealer and voila!

    I’m not going to lie to you, I have been riding the high of this creative win all week and can’t wait to keep making.